
What's In My Kit: Mastering Hard Light for Food Photography
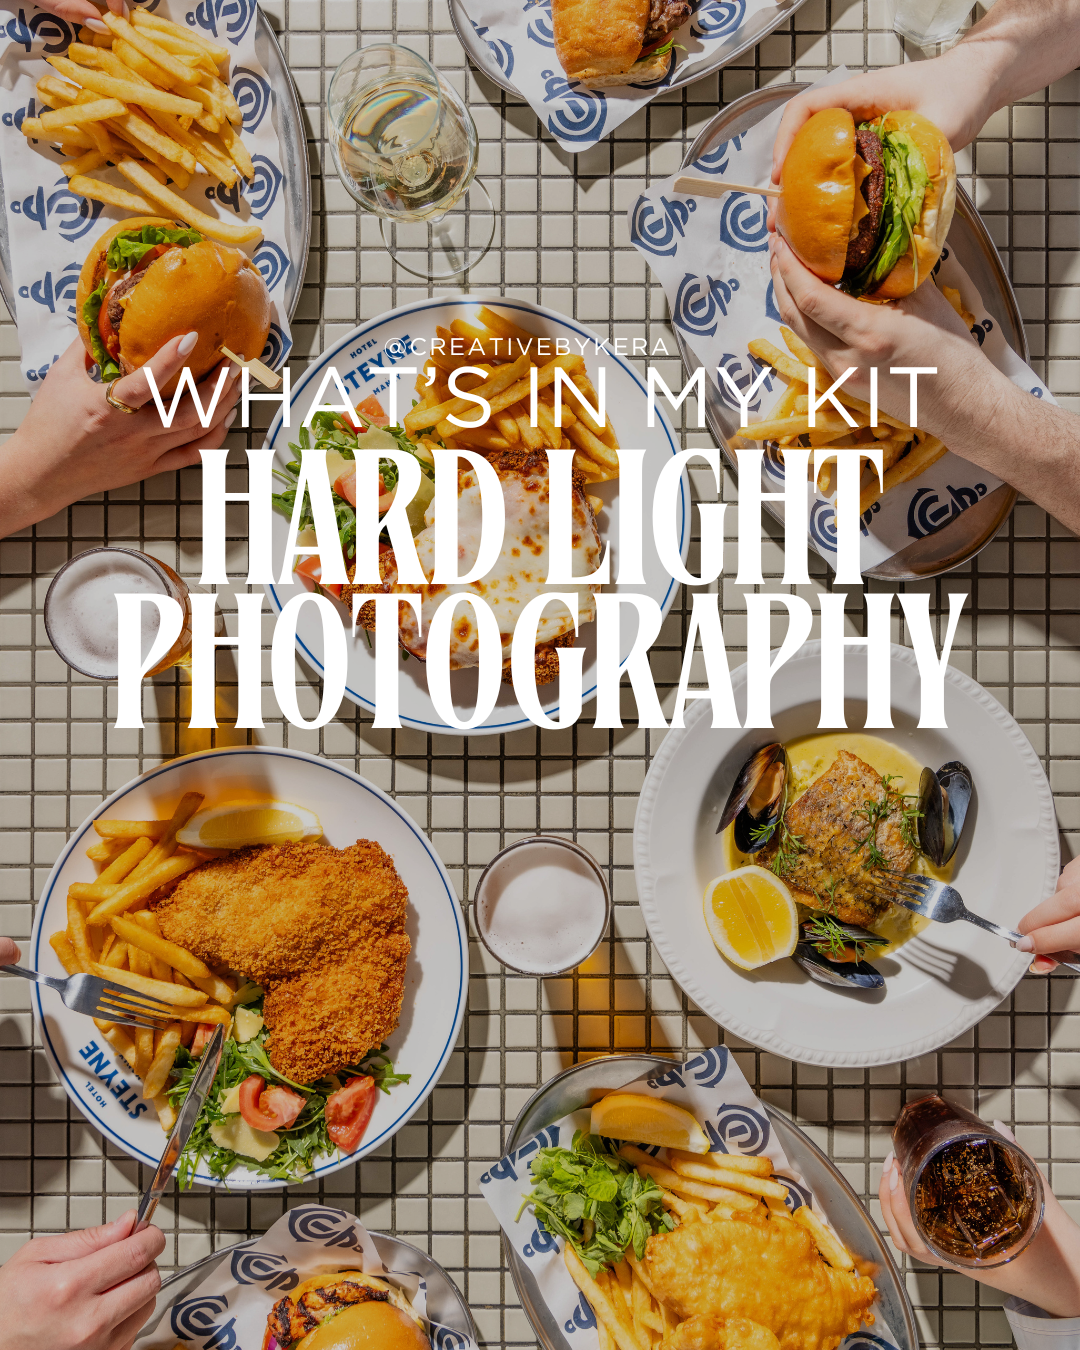
What's In My Kit: Mastering Hard Light for Food Photography
For years, the standard in food photography was soft, ambient light—creating an inviting, delicate look. But modern food imagery is embracing drama, texture, and punch. The secret? Hard Light.
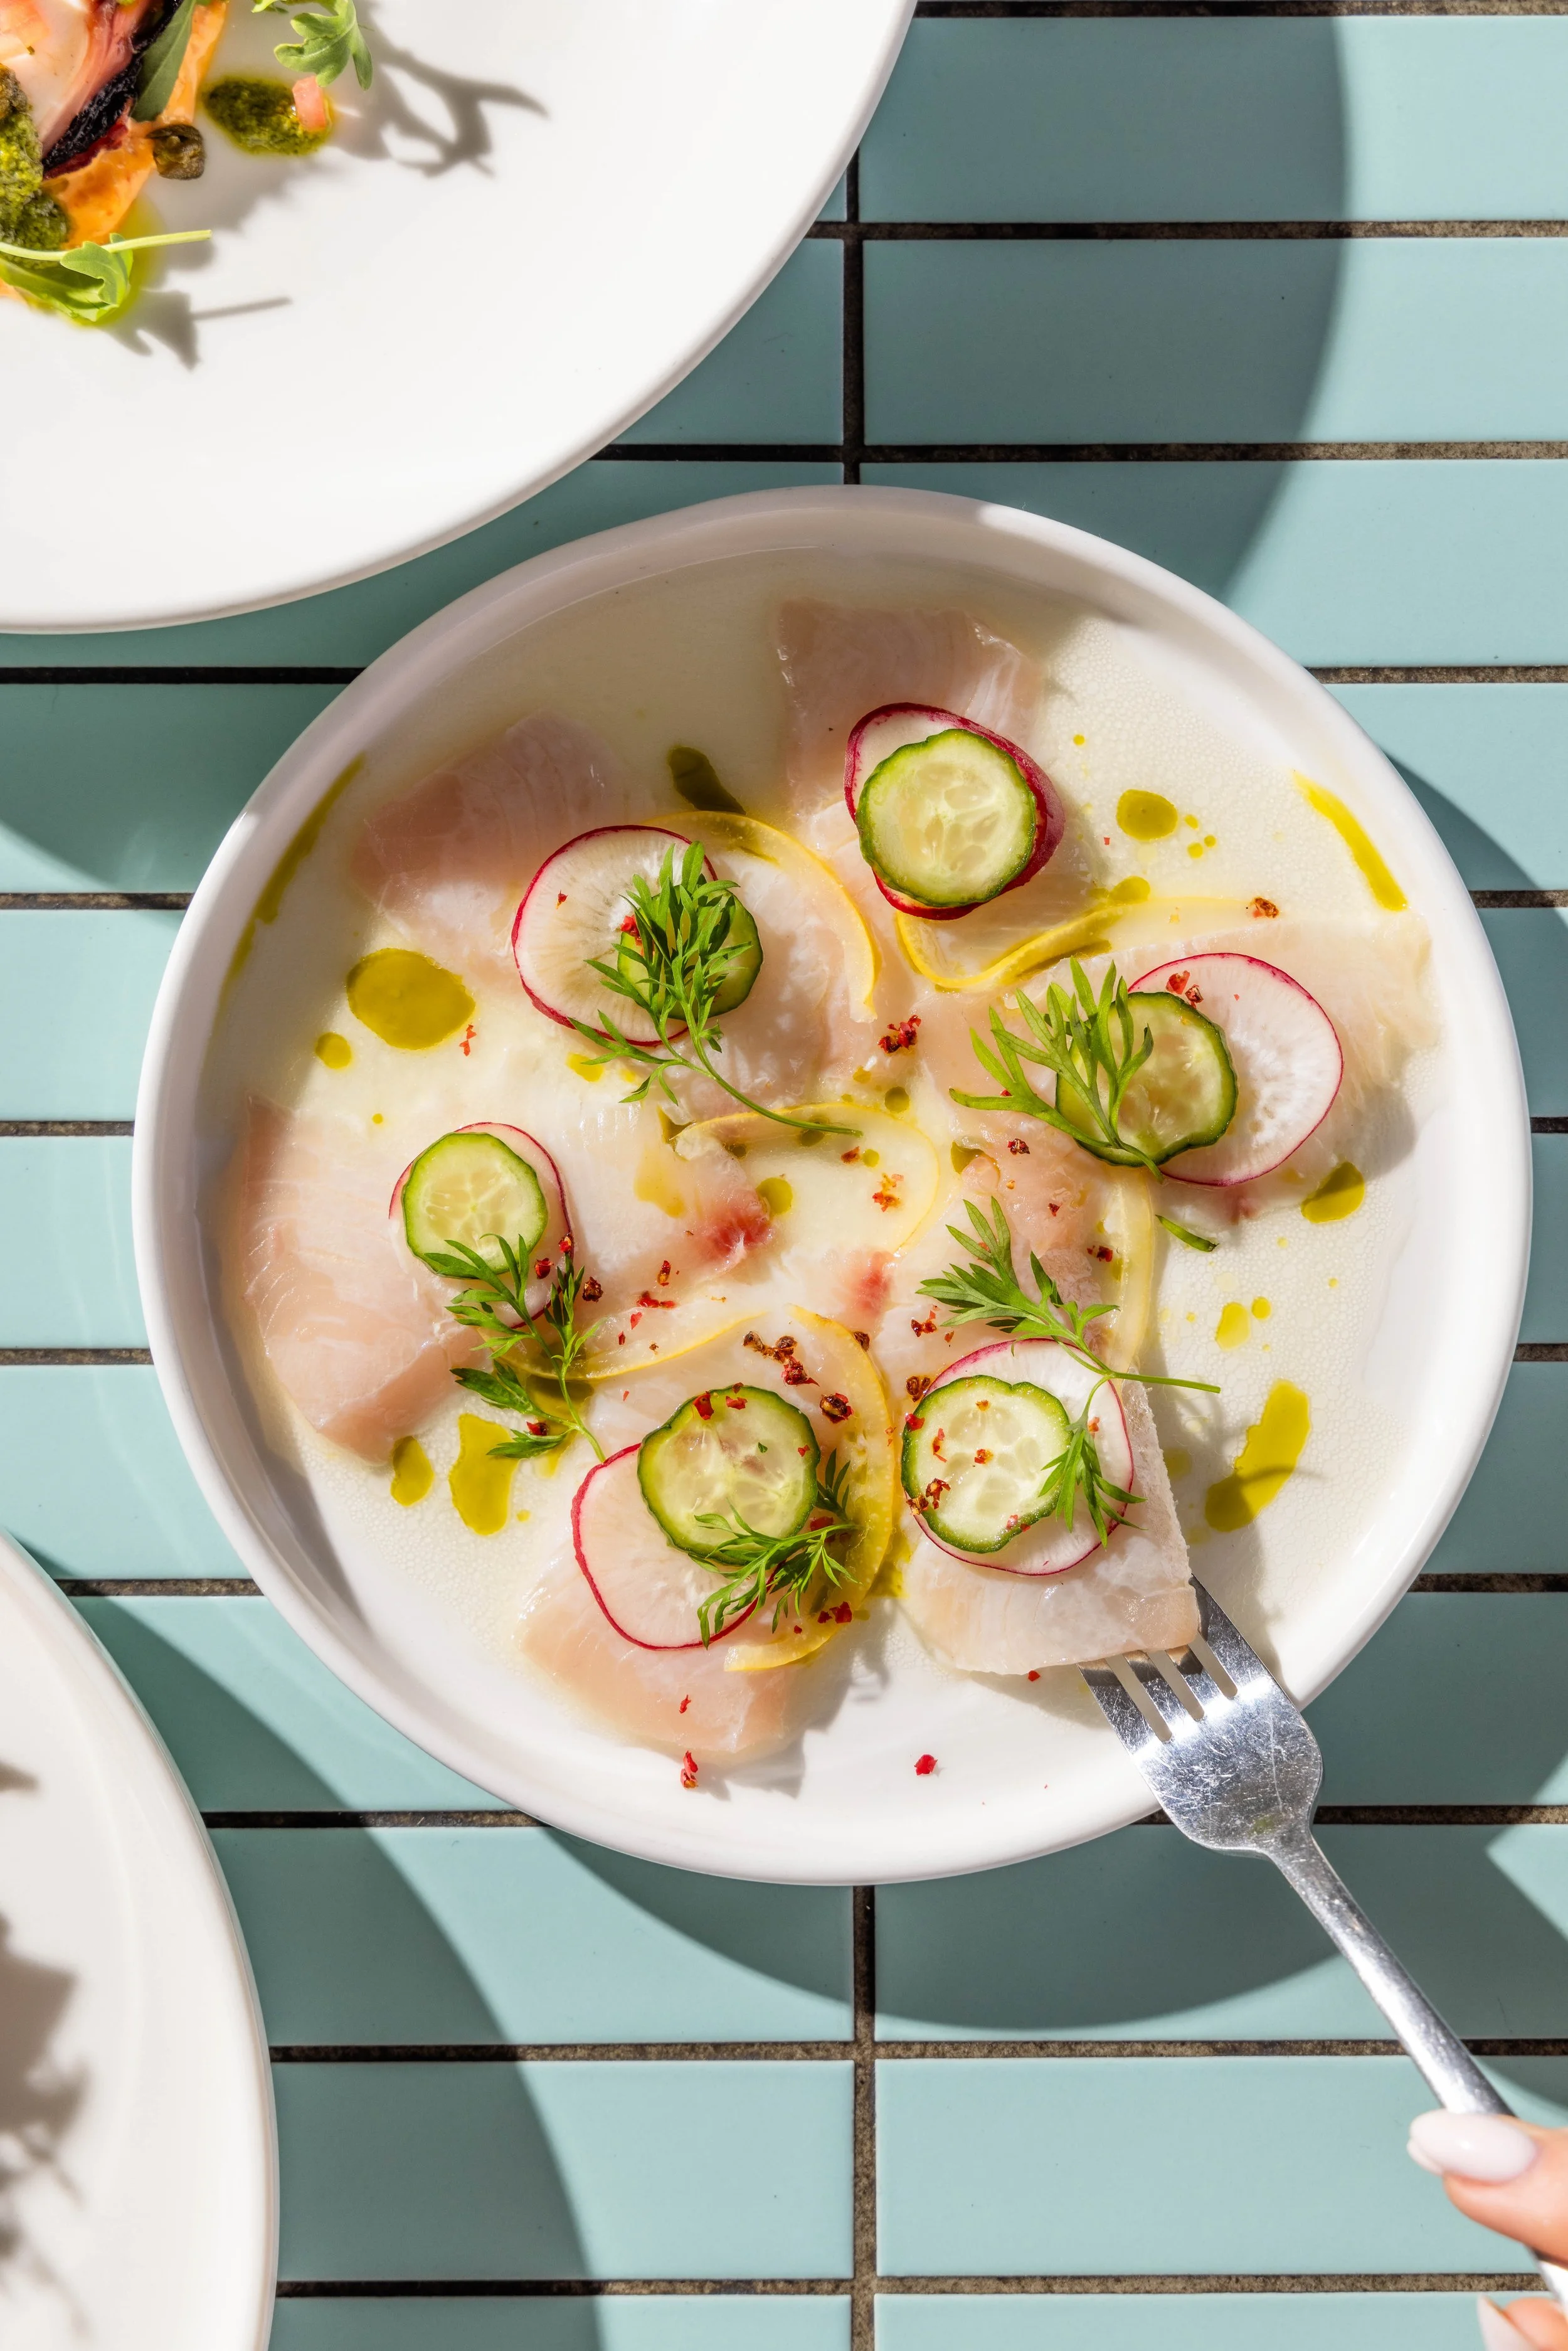
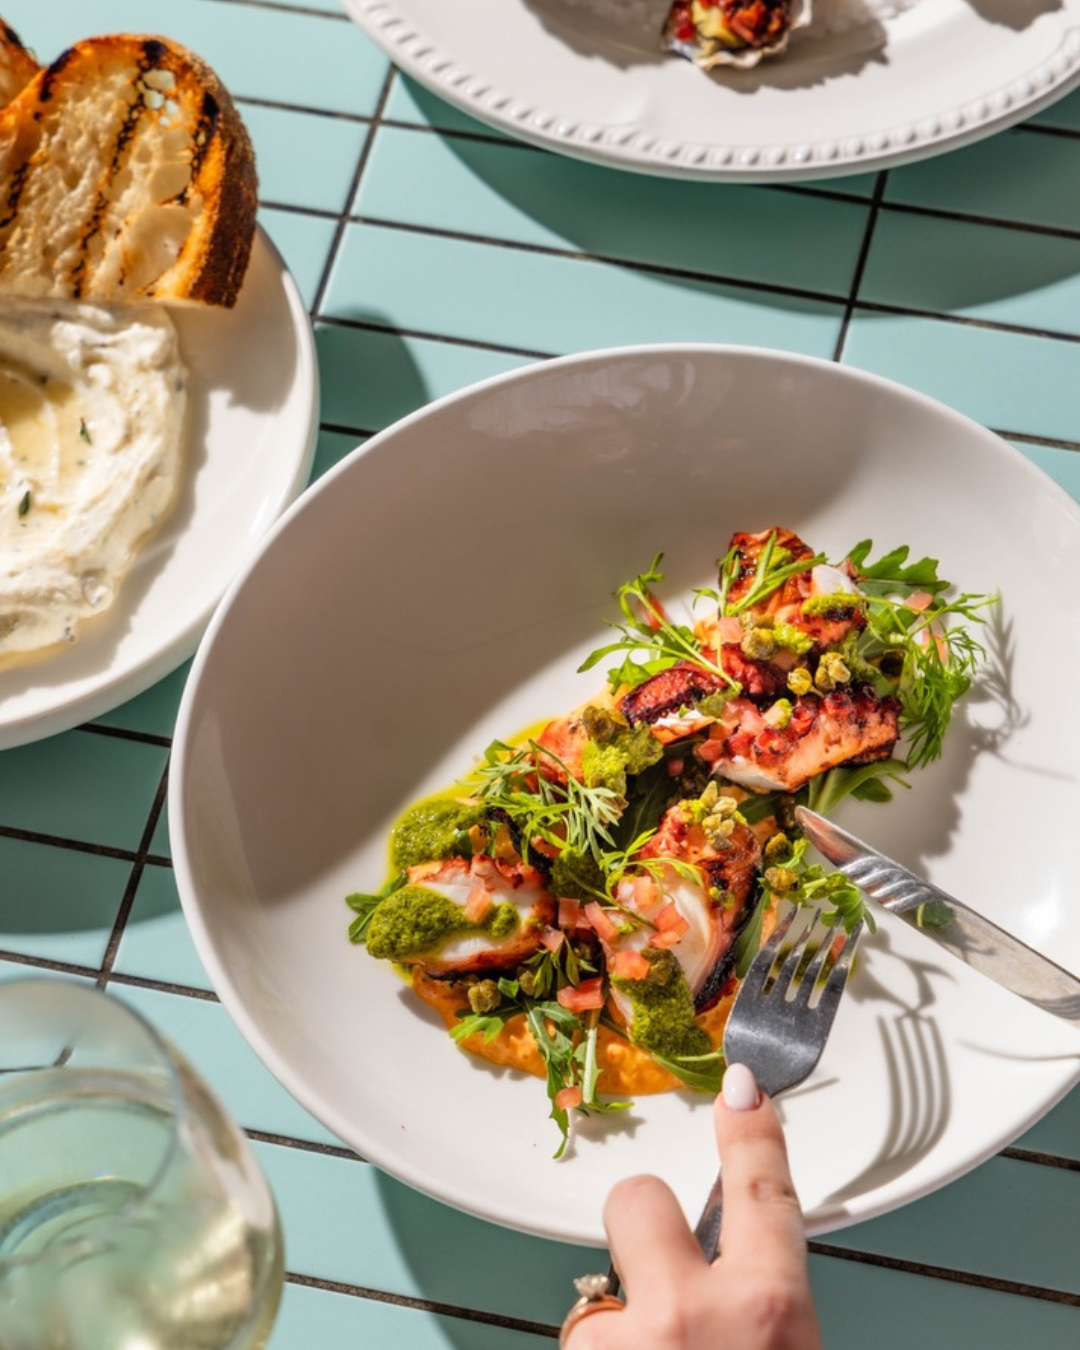
Hard light creates crisp, defined shadows that carve out texture, add a dynamic, sunny feeling, and instantly elevate a dish from flat to three-dimensional. I recently took my kit out for a hard light shoot at the fantastic Steyne venue, and here’s a full breakdown of the gear and technique that achieved the look in images like the vibrant fish and chips or the dramatic oysters.
The Gear Breakdown: A Kit Built for Punch
To achieve this specific look, you need a camera that can handle high-speed sync and a powerful, controllable light source. Here's exactly what I used:
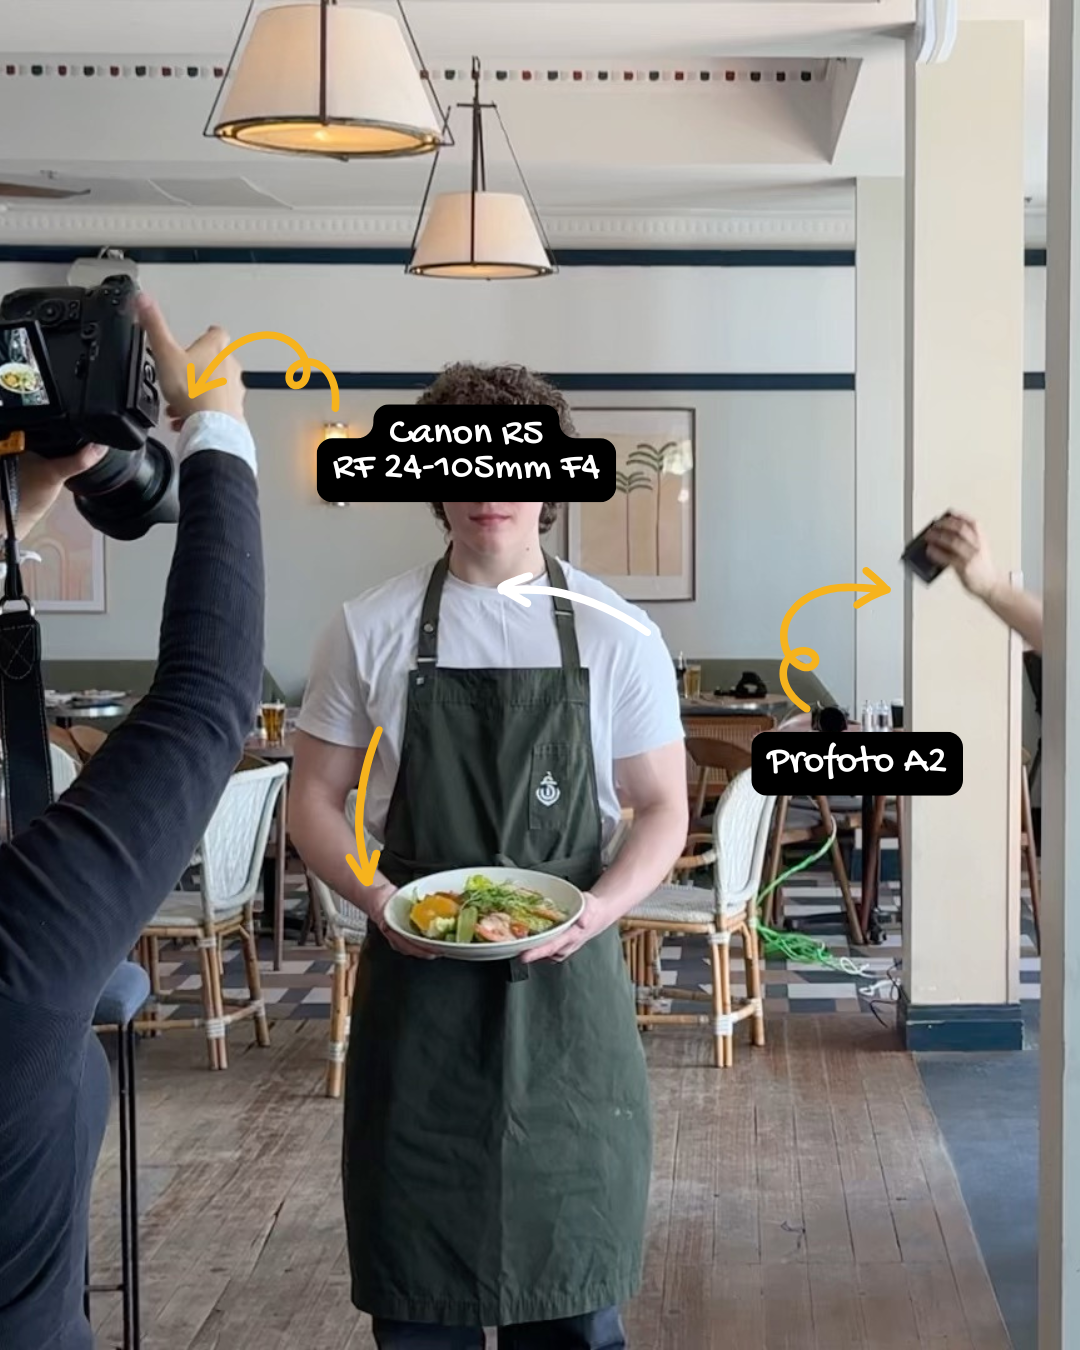
1. The Camera & Lens: Canon R5 RF 24-105mm F4
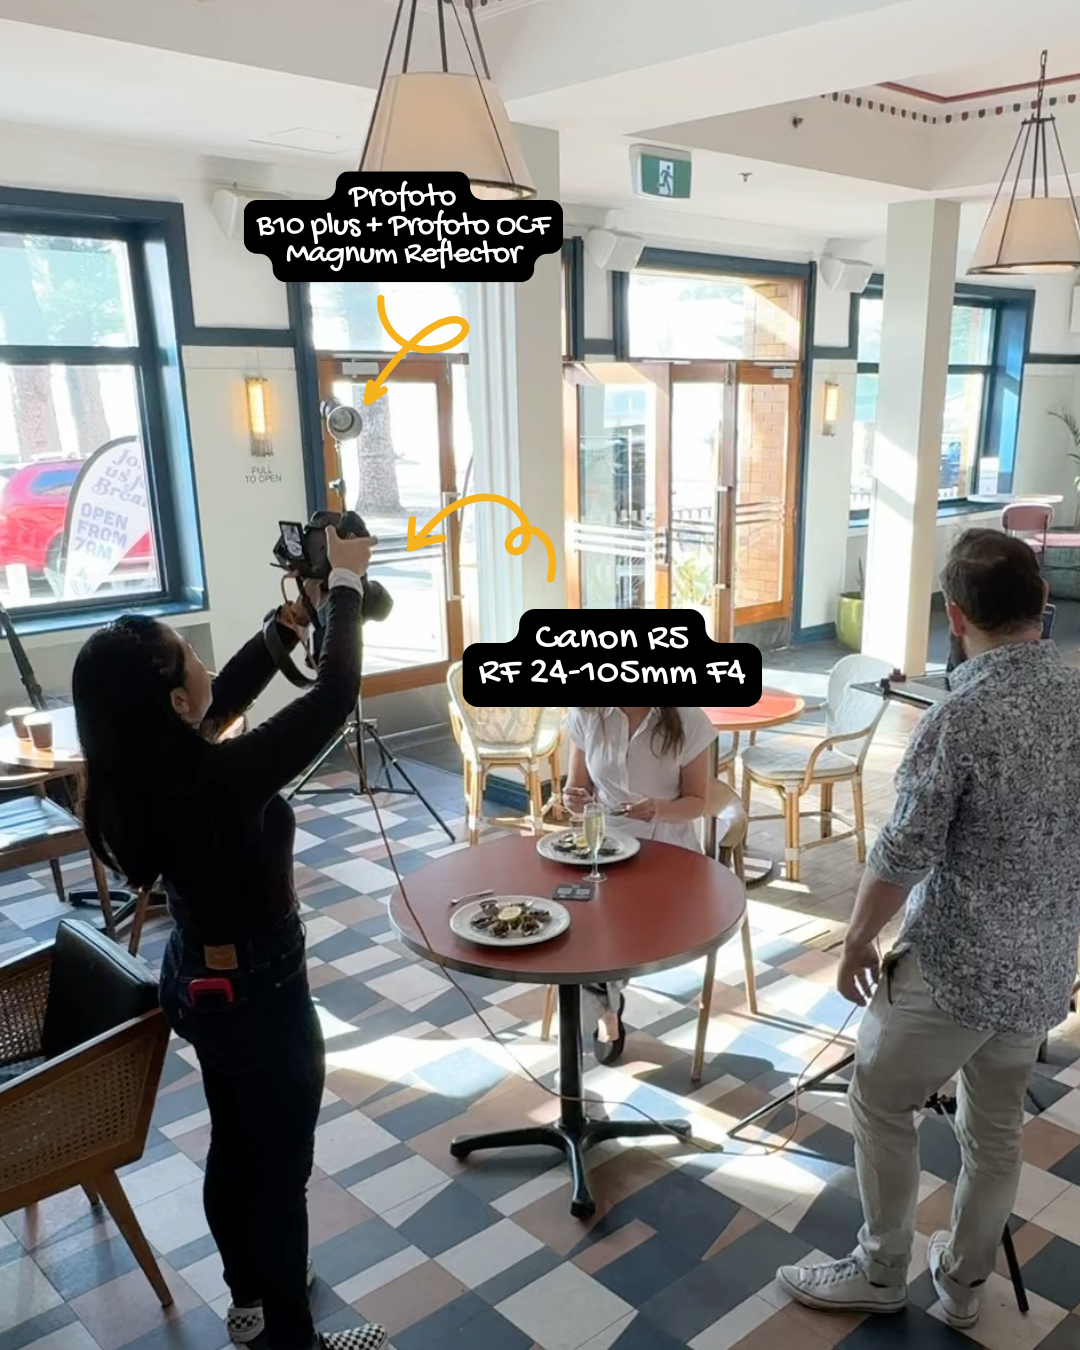

The Canon R5 is a powerhouse camera that provides the resolution and dynamic range needed to capture both the brightly lit highlights and the deep shadows characteristic of hard light. Paired with the versatile RF 24-105mm F4 lens, I have the flexibility to shoot everything from overhead group shots to tight, detail-oriented close-ups. Its constant f/4 aperture is excellent for food work, offering enough depth of field without becoming unwieldy.
2. The Main Light Source: Profoto B10 Plus & OCF Magnum Reflector
This is the engine of the hard light look.
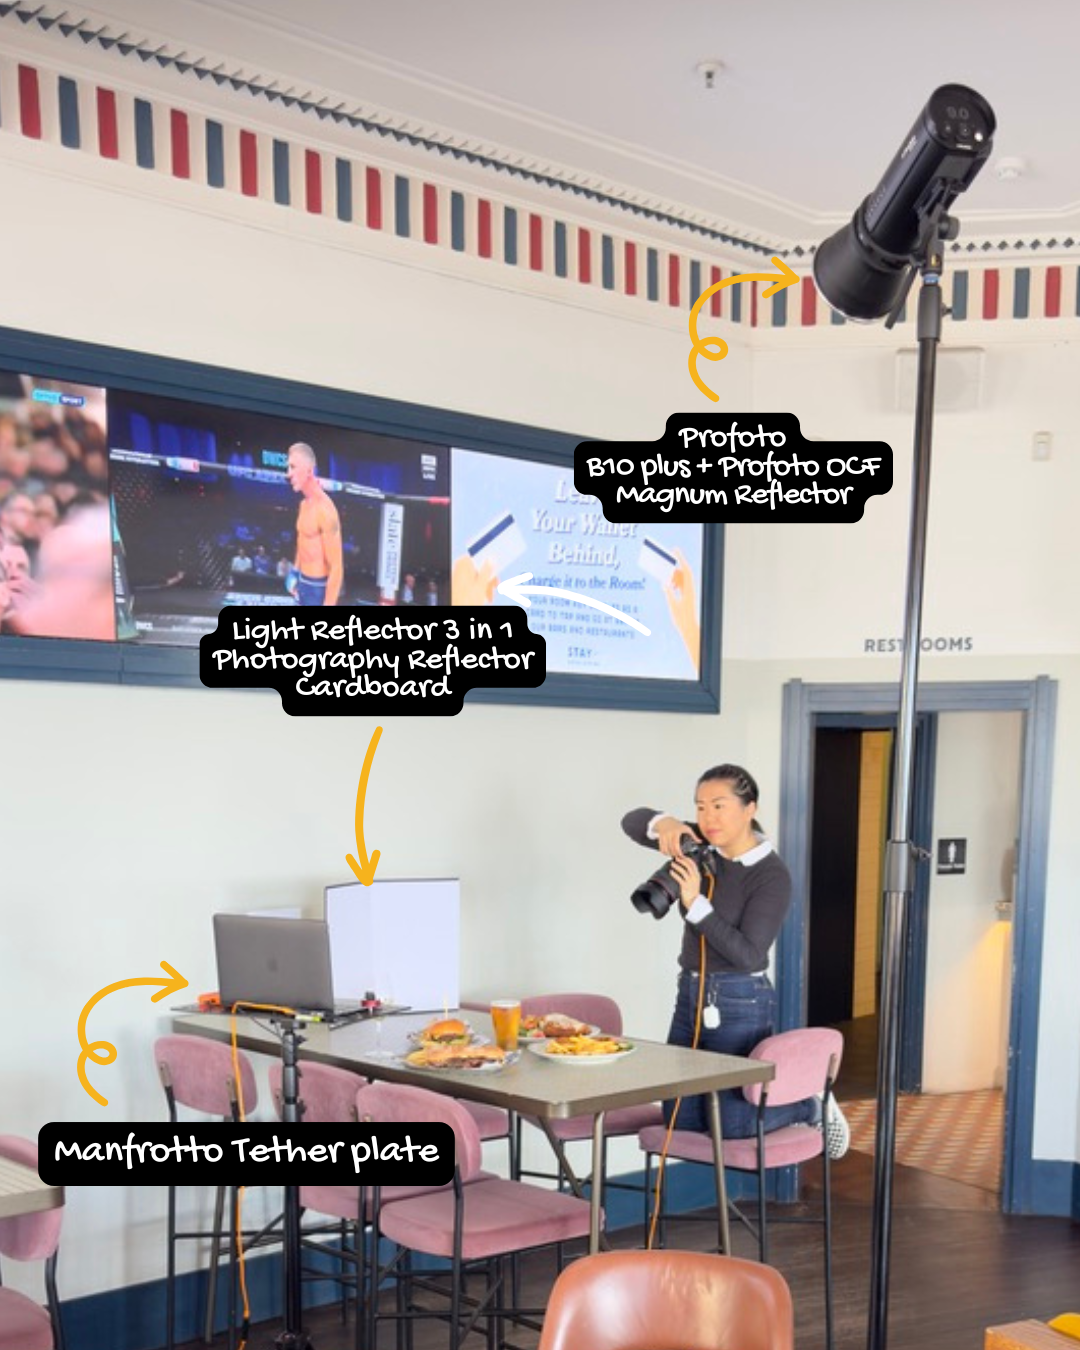

Profoto B10 Plus: A compact, powerful flash that offers high-speed sync (HSS) capabilities. HSS is crucial when shooting with hard light, as it allows you to overpower ambient light, even near windows, and use a fast shutter speed to freeze motion (like the lemon squeeze in Image 8).
Profoto OCF Magnum Reflector: The key to hard light is a small light source relative to the subject. The Profoto B10 Plus is inherently soft without a modifier. The Magnum Reflector is a deep, silver reflector that focuses the flash into a narrow, intense beam. This concentration of light creates the small, defined light source needed for those crisp, dramatic shadows.
3. The Accent Light: Profoto A2
For shots where a secondary light source was needed—perhaps a subtle kick of light to separate a server from the background, or a subtle back-rim light on a dish—the Profoto A2 was perfect. It’s an incredibly compact, battery-powered flash that can be placed quickly and discreetly.
4. Light Shaping & Control: Reflector Cardboard
While the main goal is hard light, you still need control. The Light Reflector 3 in 1 Photography Reflector Cardboard serves two primary functions:

Negative Fill: Positioning the black side of the reflector to absorb light and deepen shadows, increasing the contrast and drama.
Subtle Bounce: Using the white side to subtly kick a tiny bit of light back into the deepest shadows for a touch of detail, without softening the overall hard light effect.
5. Workflow Efficiency: Tethering Setup
When shooting commercial projects, tethering is non-negotiable.

Manfrotto Tether Plate & tether tools cable: This setup keeps the workflow seamless. The Manfrotto plate provides a stable platform for a laptop, and the tether tools cable ensures a reliable connection. Shooting tethered allows the client, food stylist, and photographer to instantly view the images on a large, color-accurate screen, making immediate adjustments possible and drastically speeding up the shoot.
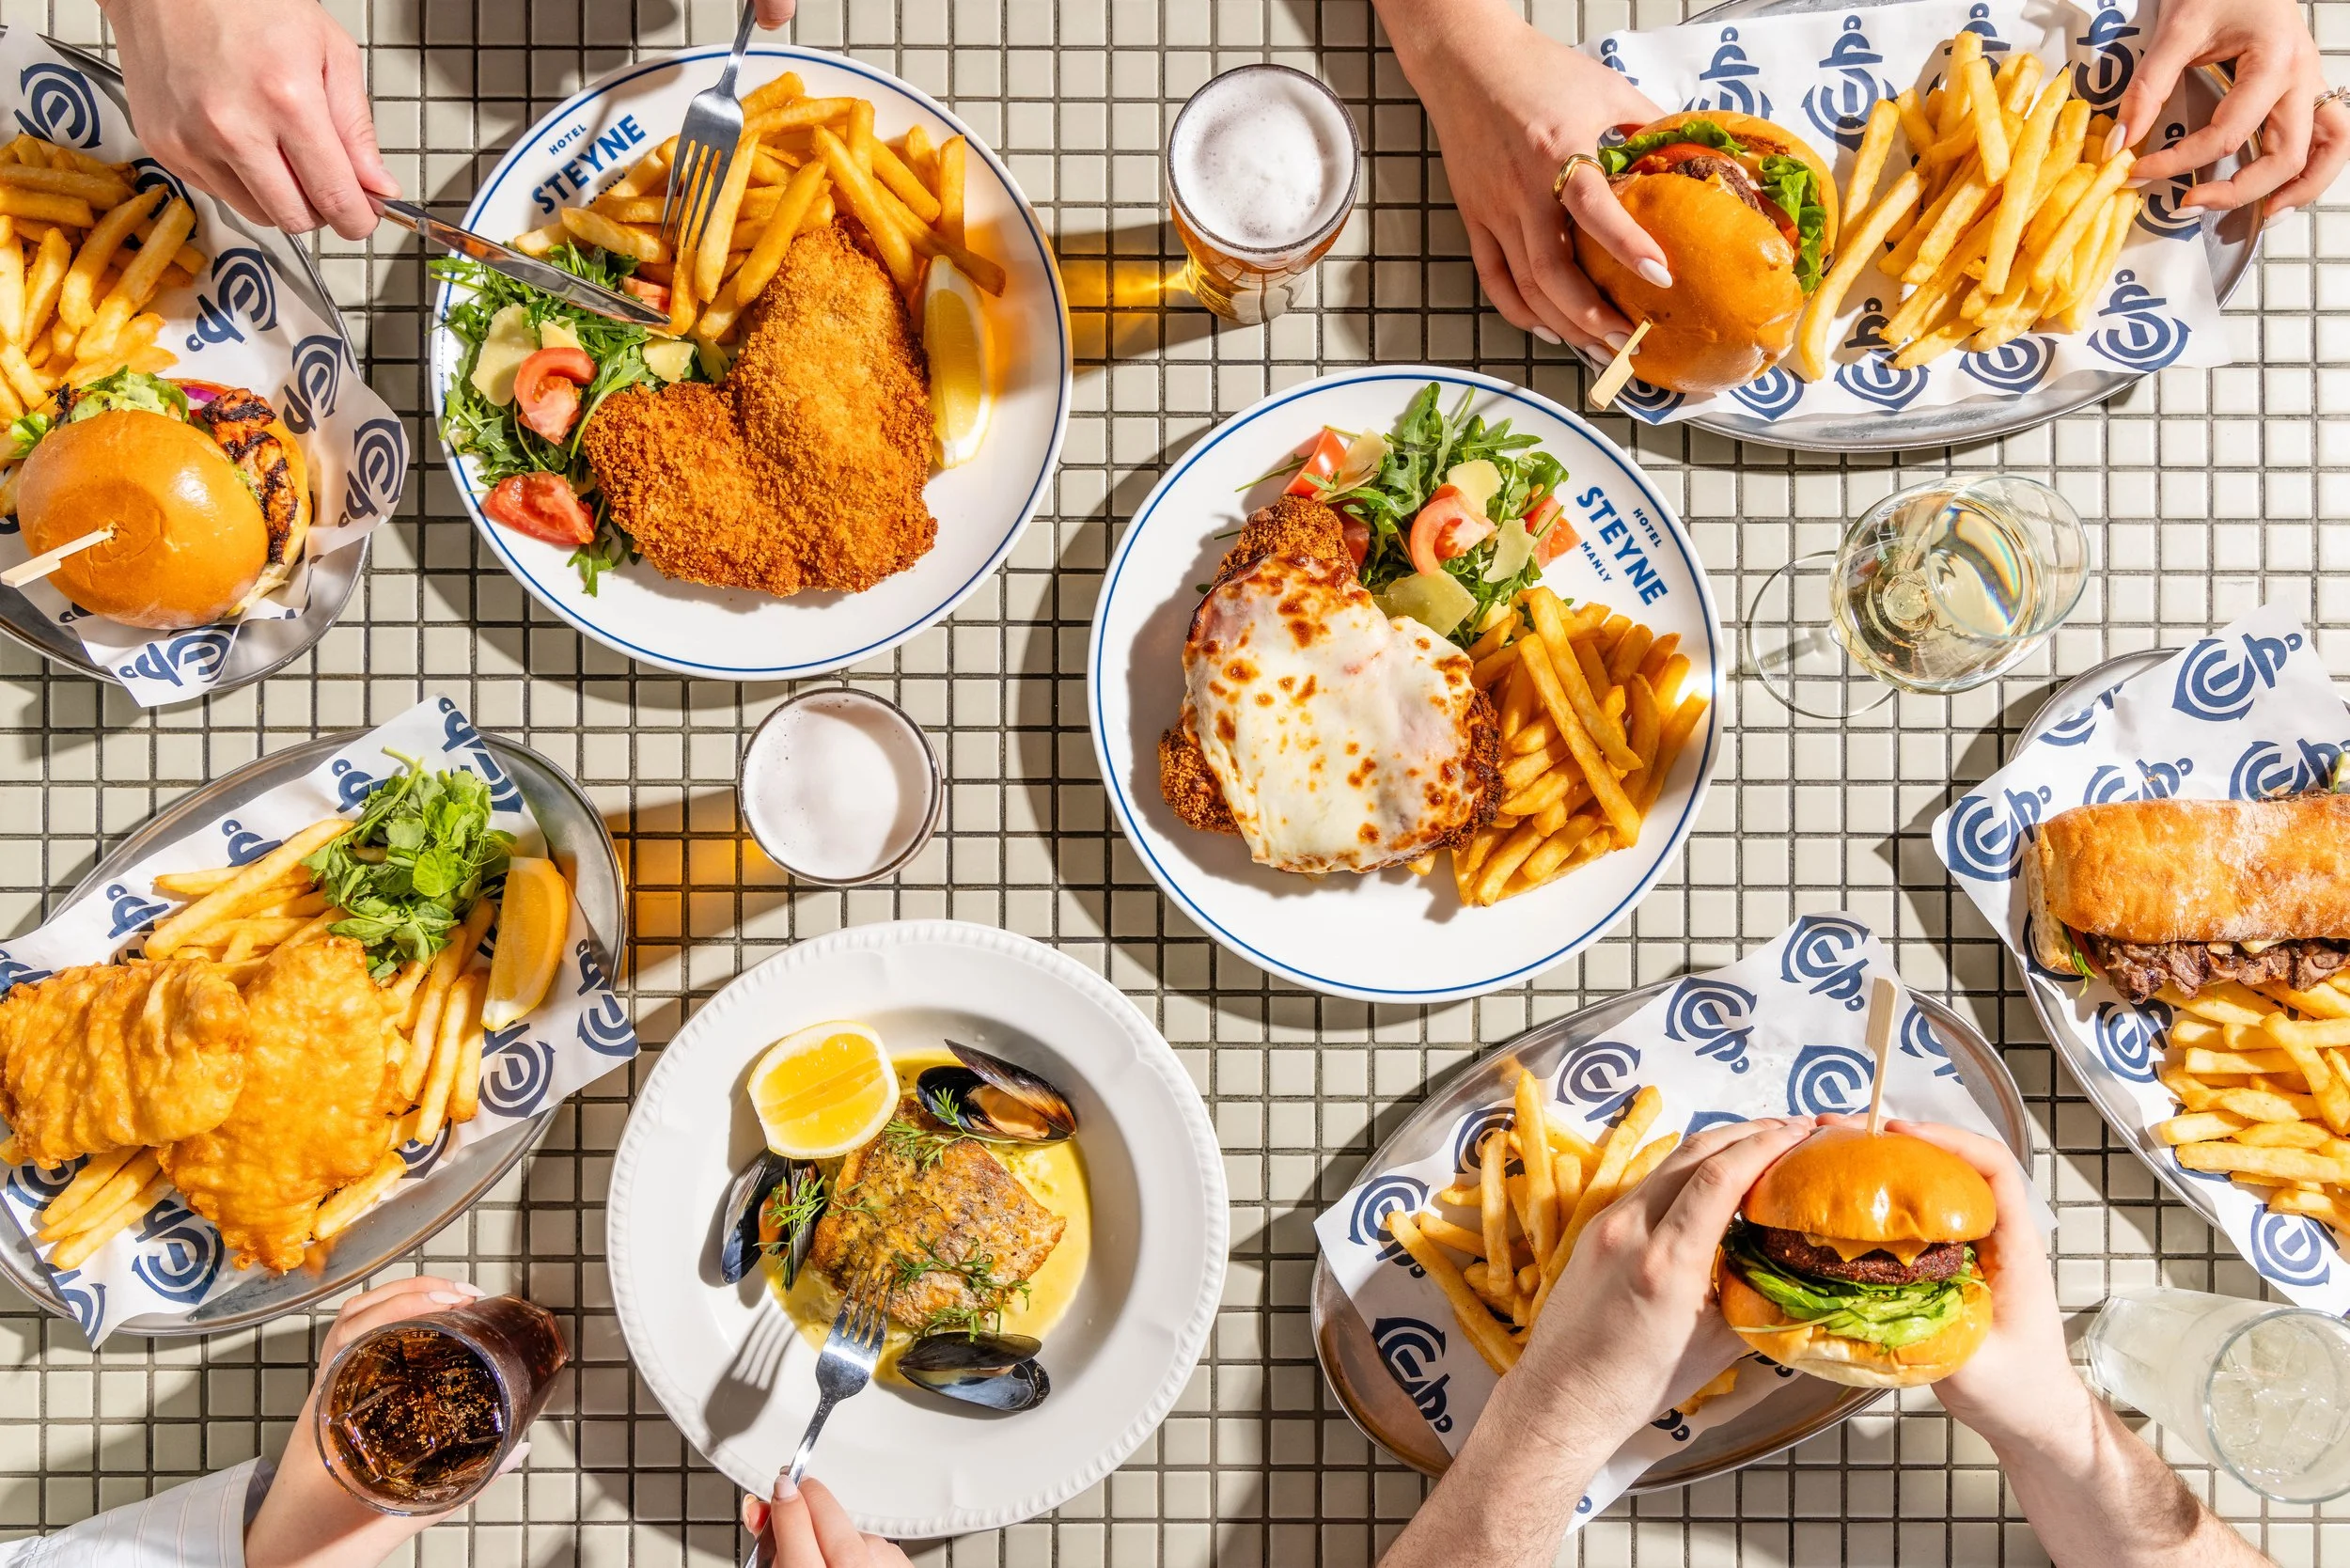
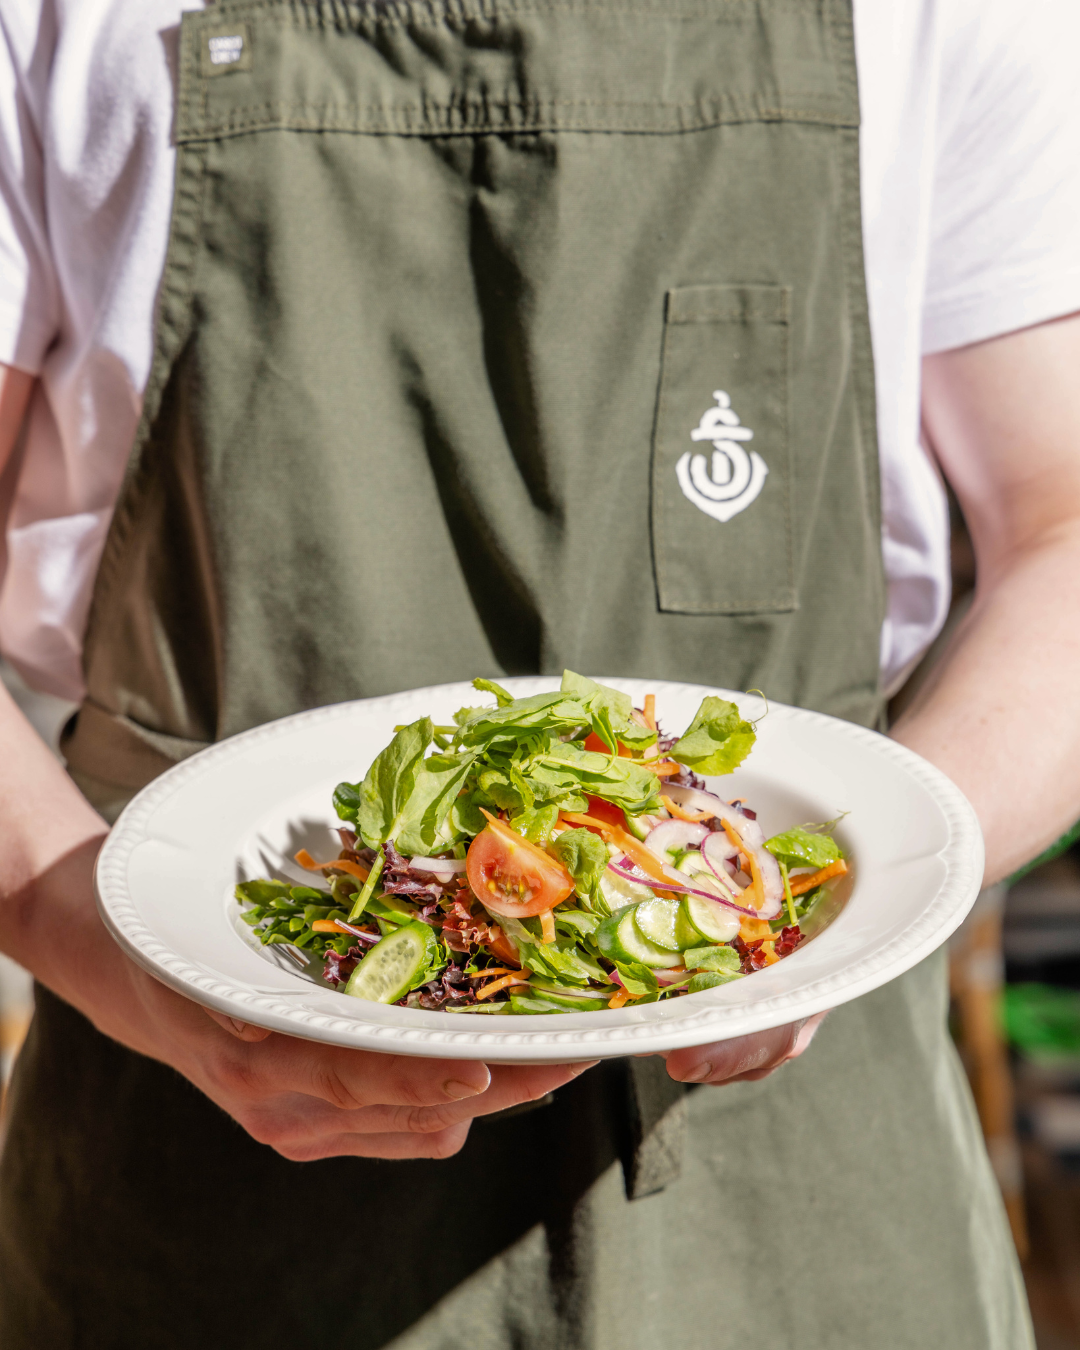
The Technique: Creating Sunny Drama Indoors
The final images show the tell-tale signs of hard light: crisp shadow lines and high contrast.
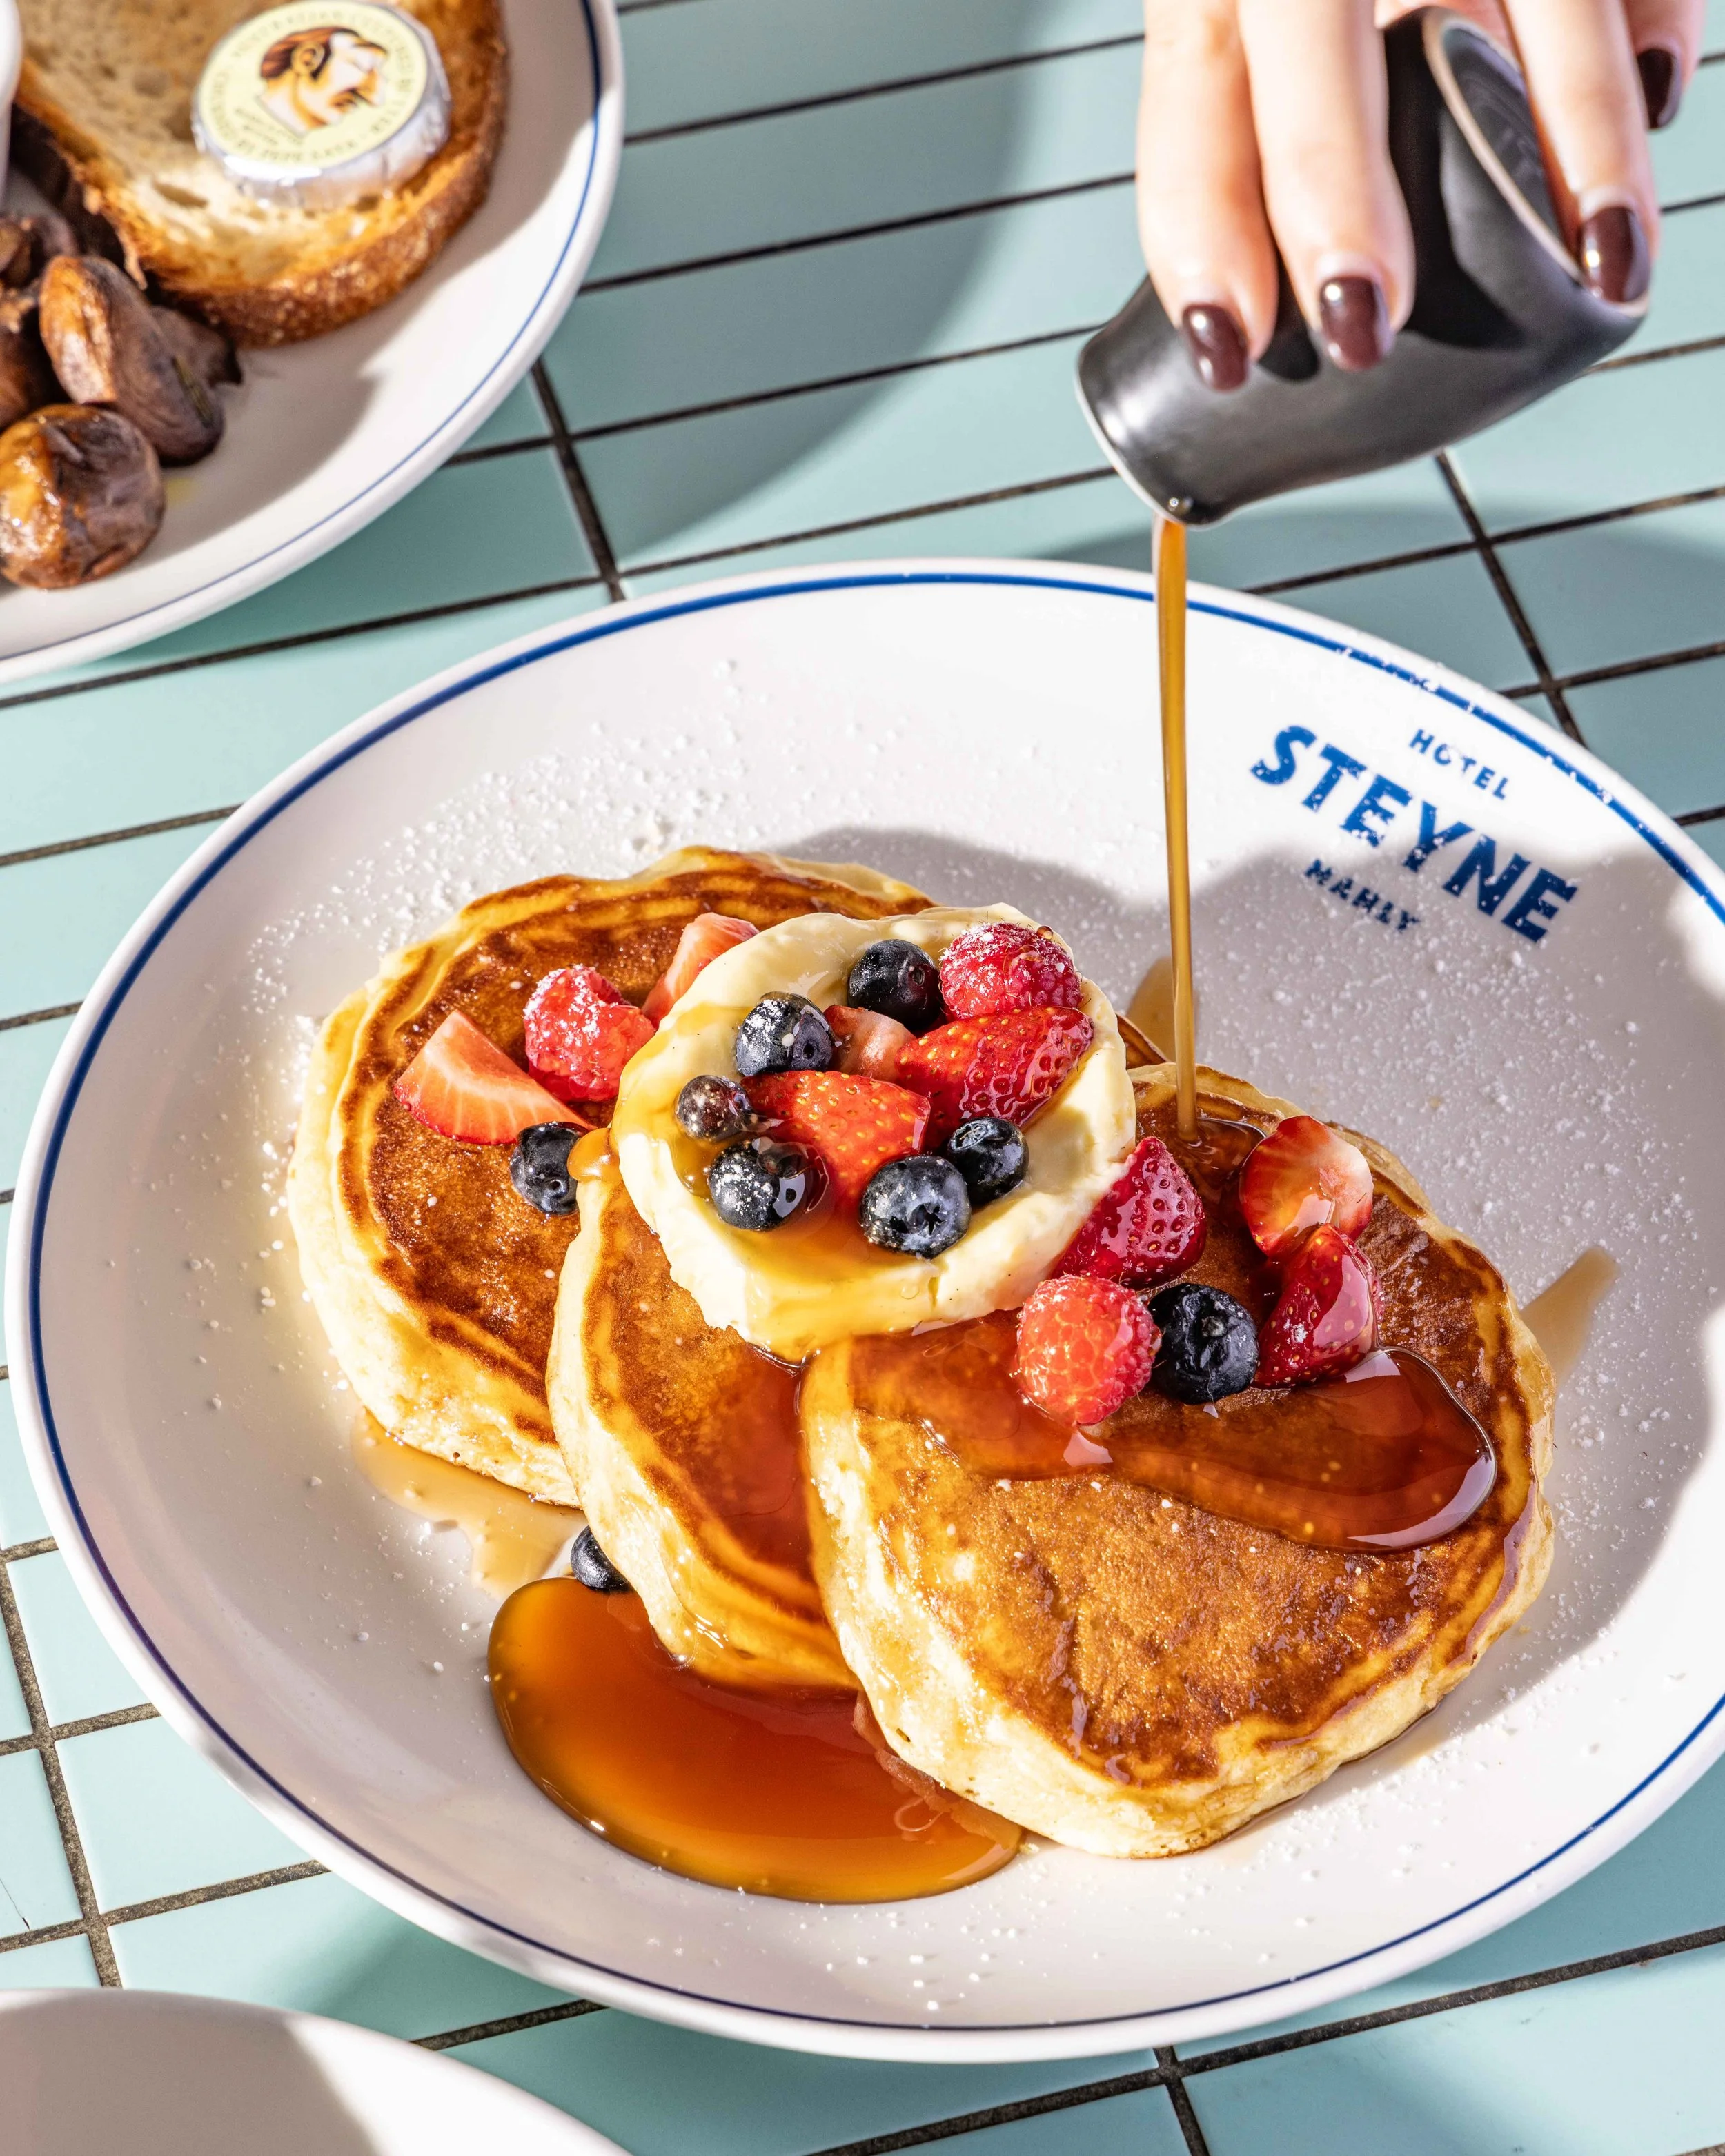
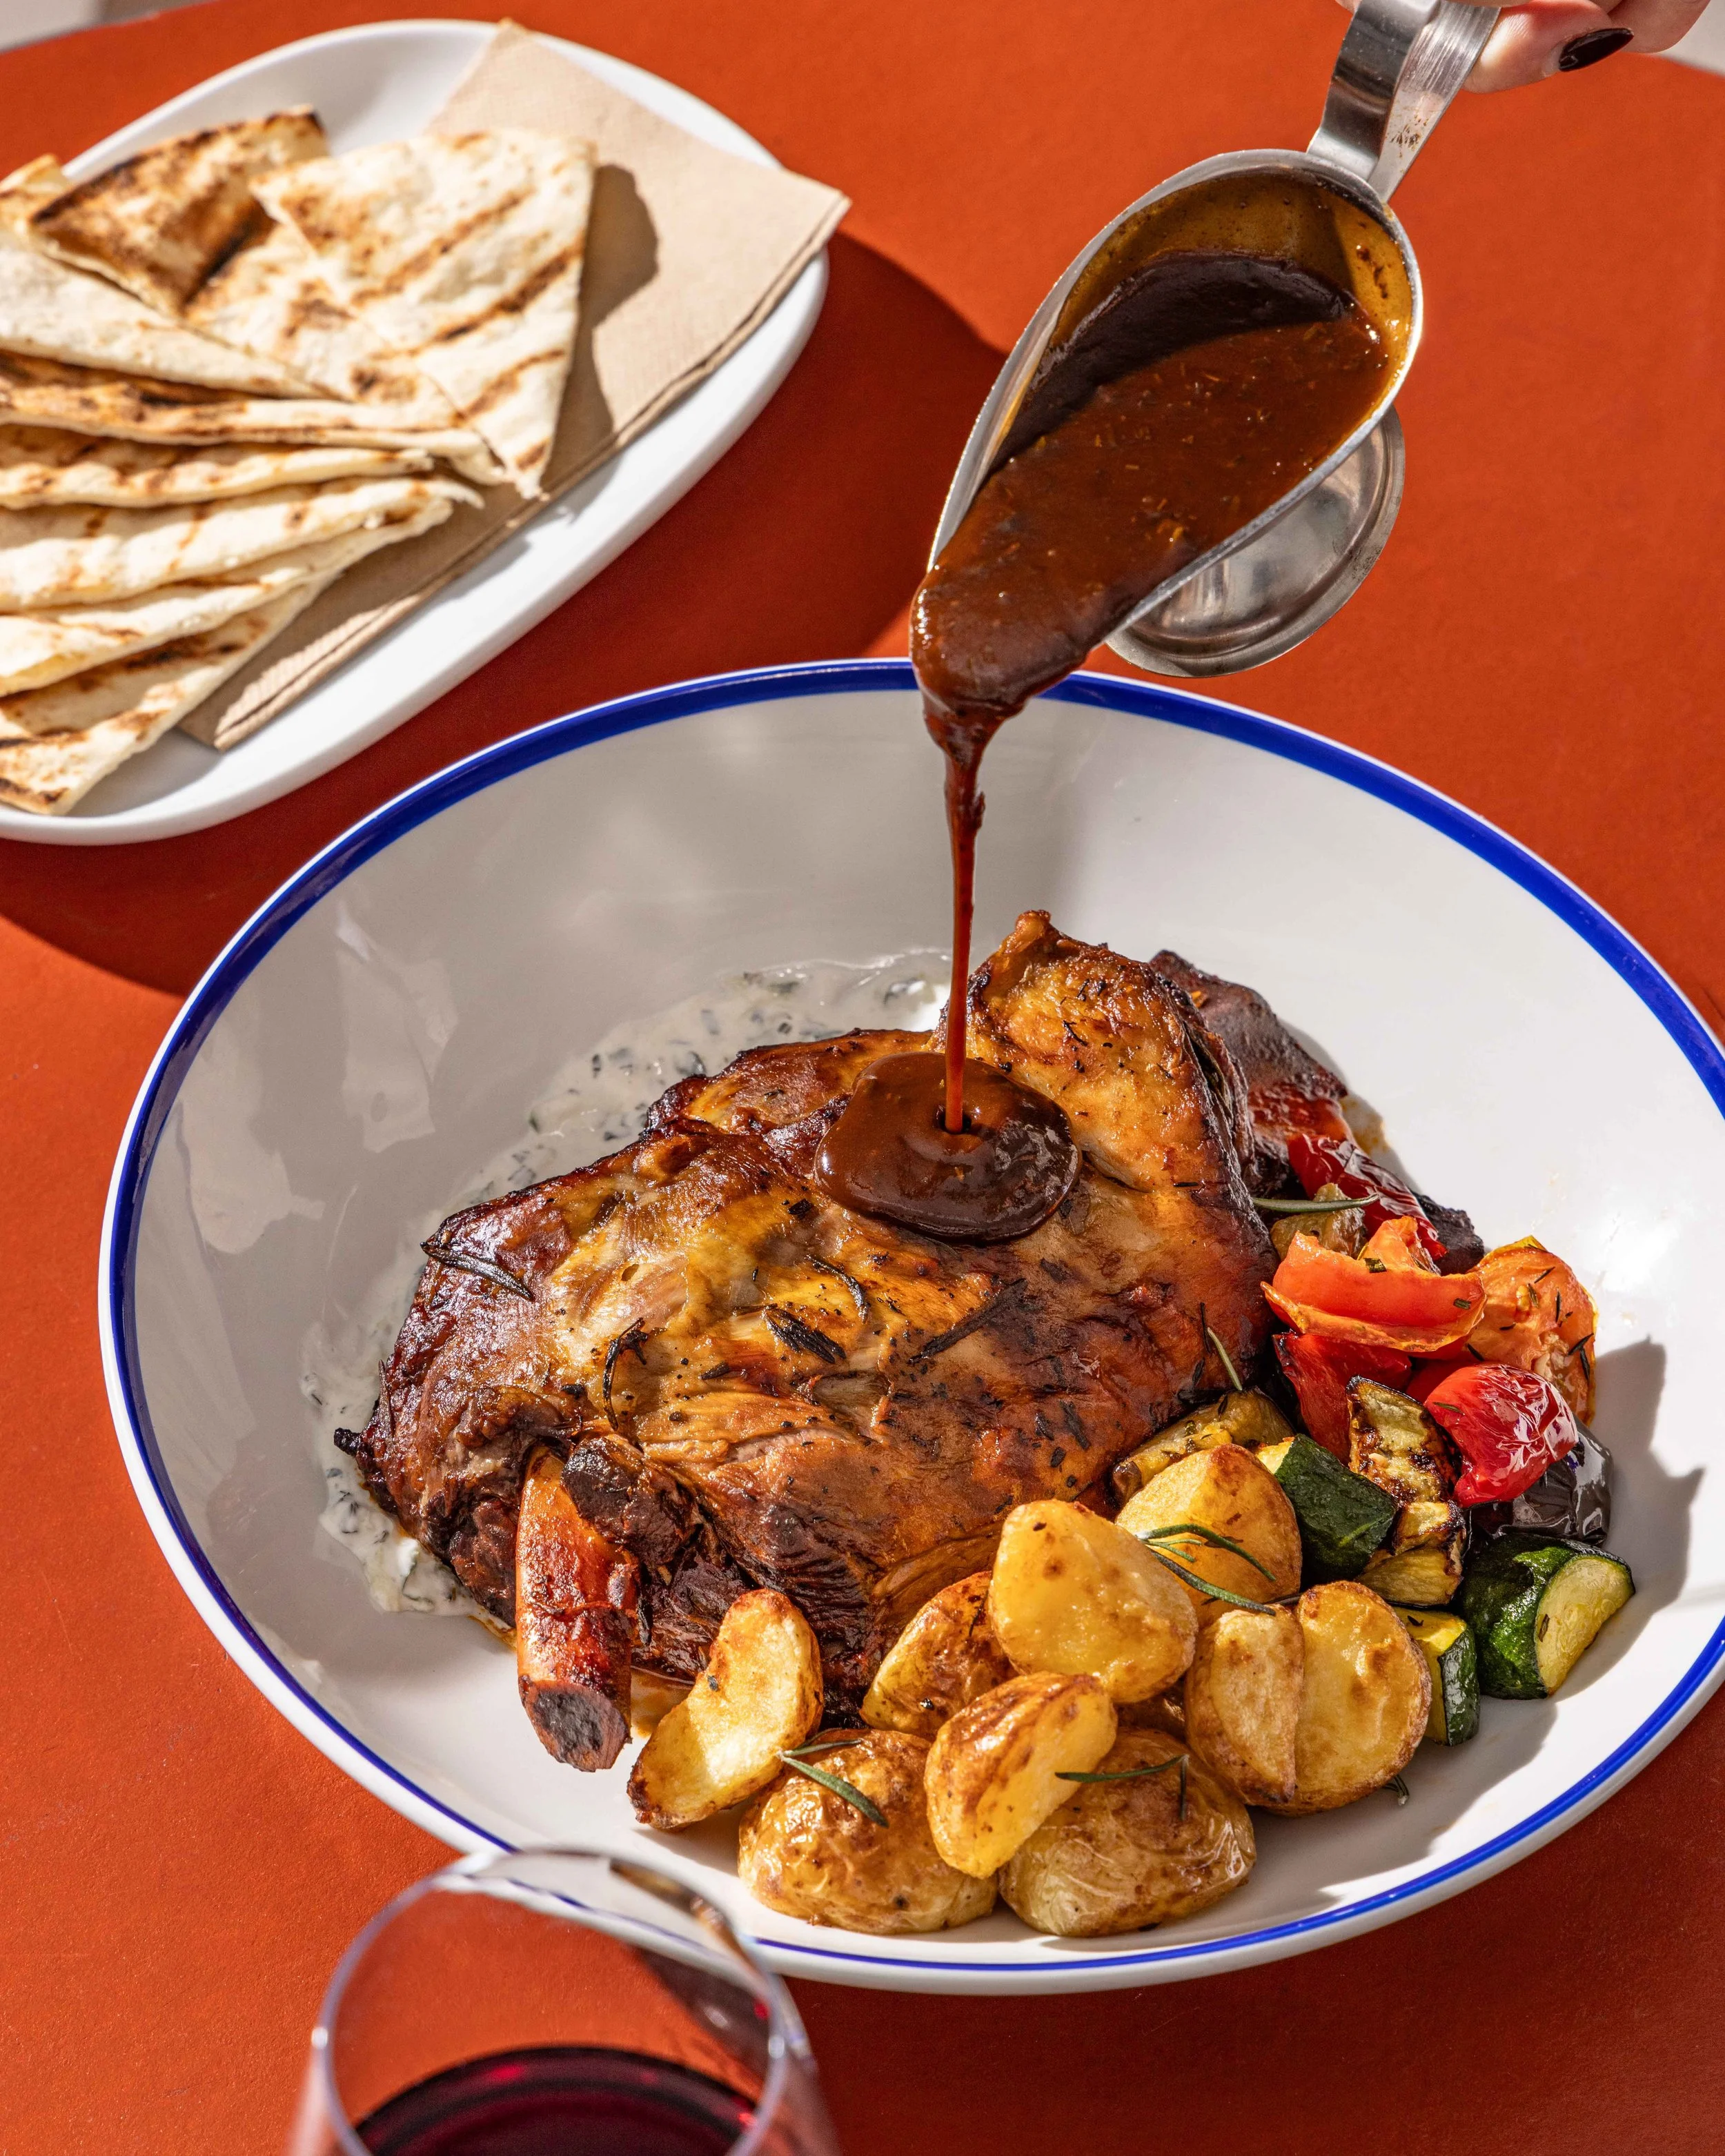
Placement is Everything: The B10 Plus + Magnum Reflector was positioned high and at a steep angle, mimicking the sun at midday. This angle is what creates the elongated, dramatic shadows that fall across the table and the food.
Distance Matters: By keeping the light source a fair distance from the subject, the light effectively becomes "smaller" and harder, reinforcing the effect.
Shadow Control: Instead of eliminating shadows, we embrace them. Using the reflector cardboard for negative fill (as mentioned above) was key to ensuring the shadows remained dense and didn't spill light back unnecessarily, preserving the high-contrast look.
Next time you're looking to add a layer of texture and drama to your food photography, remember: put the softbox away, grab a focused reflector, and embrace the power of hard light!