
Flash Lighting: Baselines, Positions, Angles, Modifiers and Safety Tips
Lighting with Flash: Baselines, Positions, Angles, Modifiers and Safety Tips
Develop a Workflow for your Setup: I recommend the importance of having a consistent workflow or "baseline" for every shoot. I suggest starting with a set shutter speed, f-stop, and ISO, and then only adjusting one variable at a time (e.g., flash power, light position) to see its effect. I also advise doing research on a new location beforehand to scout for good shooting areas, potential challenges (like reflective surfaces), and different colours and textures to incorporate into the photos.
Having your own baseline set up reduces the uncertainty of knowing what light and camera settings are required, allowing you to set up more efficiently. For example, my base line set up is as follows:
Camera Shutter: 1/125 - 1/160
Camera Aperture: 6.3 - 9.0
Camera ISO: 100
Camera Temperature: 5000K
Profoto light (500 watts): 5.0
Modifier length: Centered
Distance: 100cm from the subject matter
Angle: 45 degrees
Lighting type: Side
I start with these settings and increase/decrease as I go.
Critique the First Photo: At the start of every shoot I capture and critique my first photo. In this case of the below, I noted that it's too dark, has a "flat" quality, and is too purple/blue. After I pointed out that not enough light is hitting the subject and that the composition feels empty in some areas, we move the props around to suit the frame.
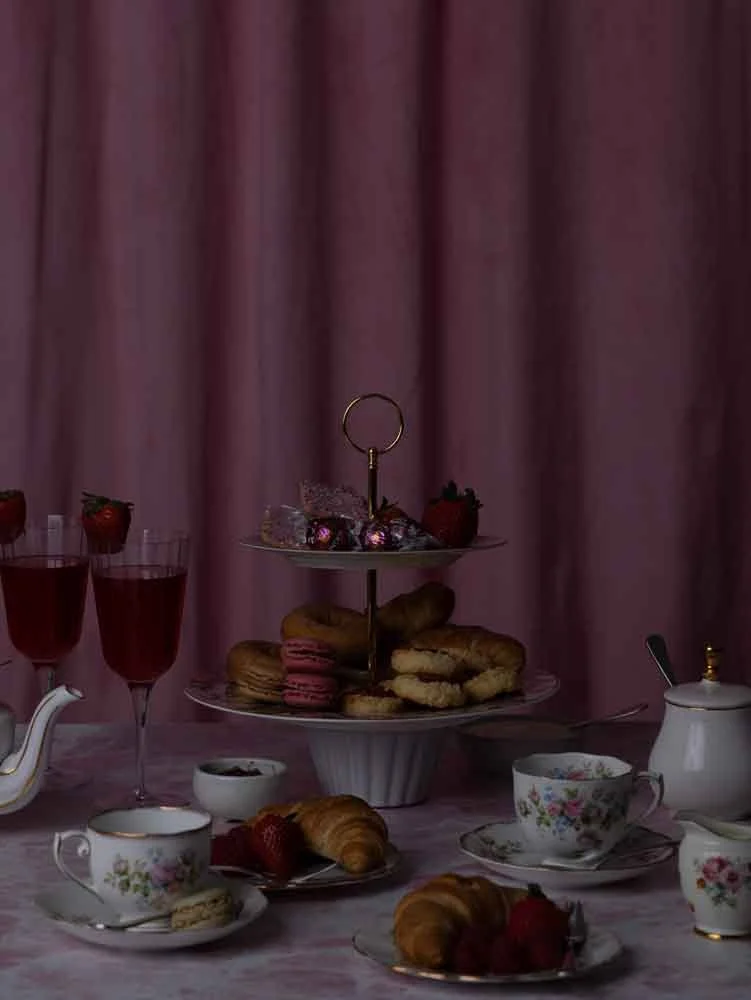
Shutter 1/100, F8.0, ISO 100 Profoto Power 5.0
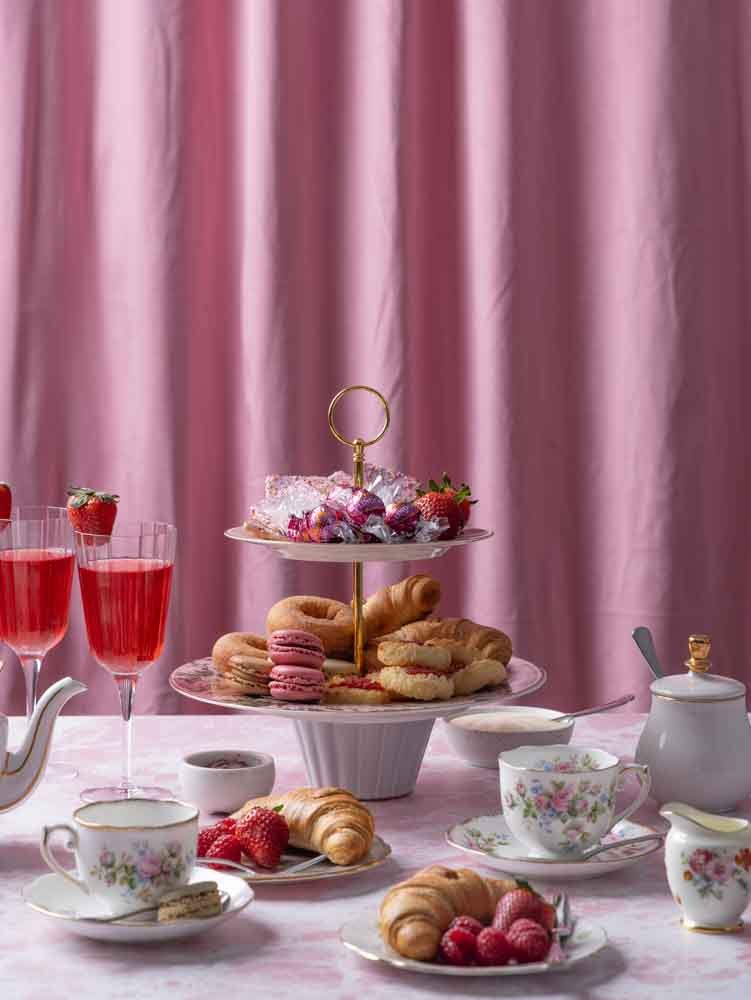
Shutter 1/100, F8.0, ISO 100 Profoto Power
The Power of Light Position: How you position the light source dramatically changes a photo's mood and depth.
Distance: Moving the light closer makes the photo brighter, while moving it farther away makes it darker.
Side Lighting: Moving the light to the side creates shadows and a three-dimensional, "moody" feel.
Backlighting: Placing the light behind the subject creates a high-contrast, moodier photo.
We can connect lighting to storytelling, explaining that bright, front-lit photos may be good for bright, happy stories, while backlighting is great for dramatic, high-contrast scenes.
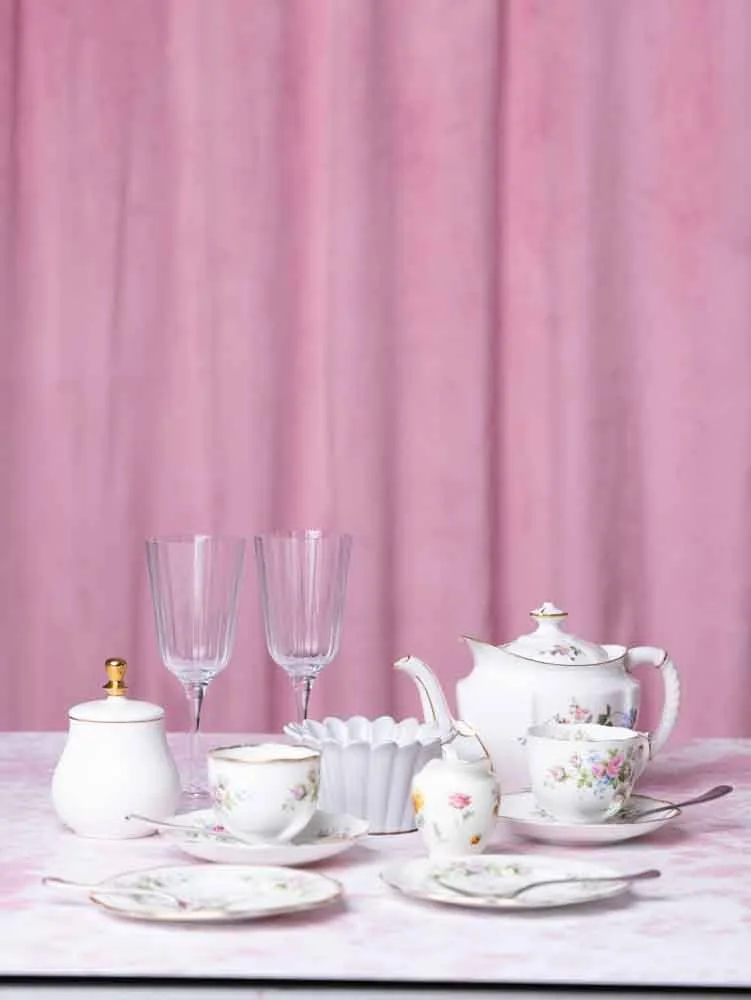
Front Lighting
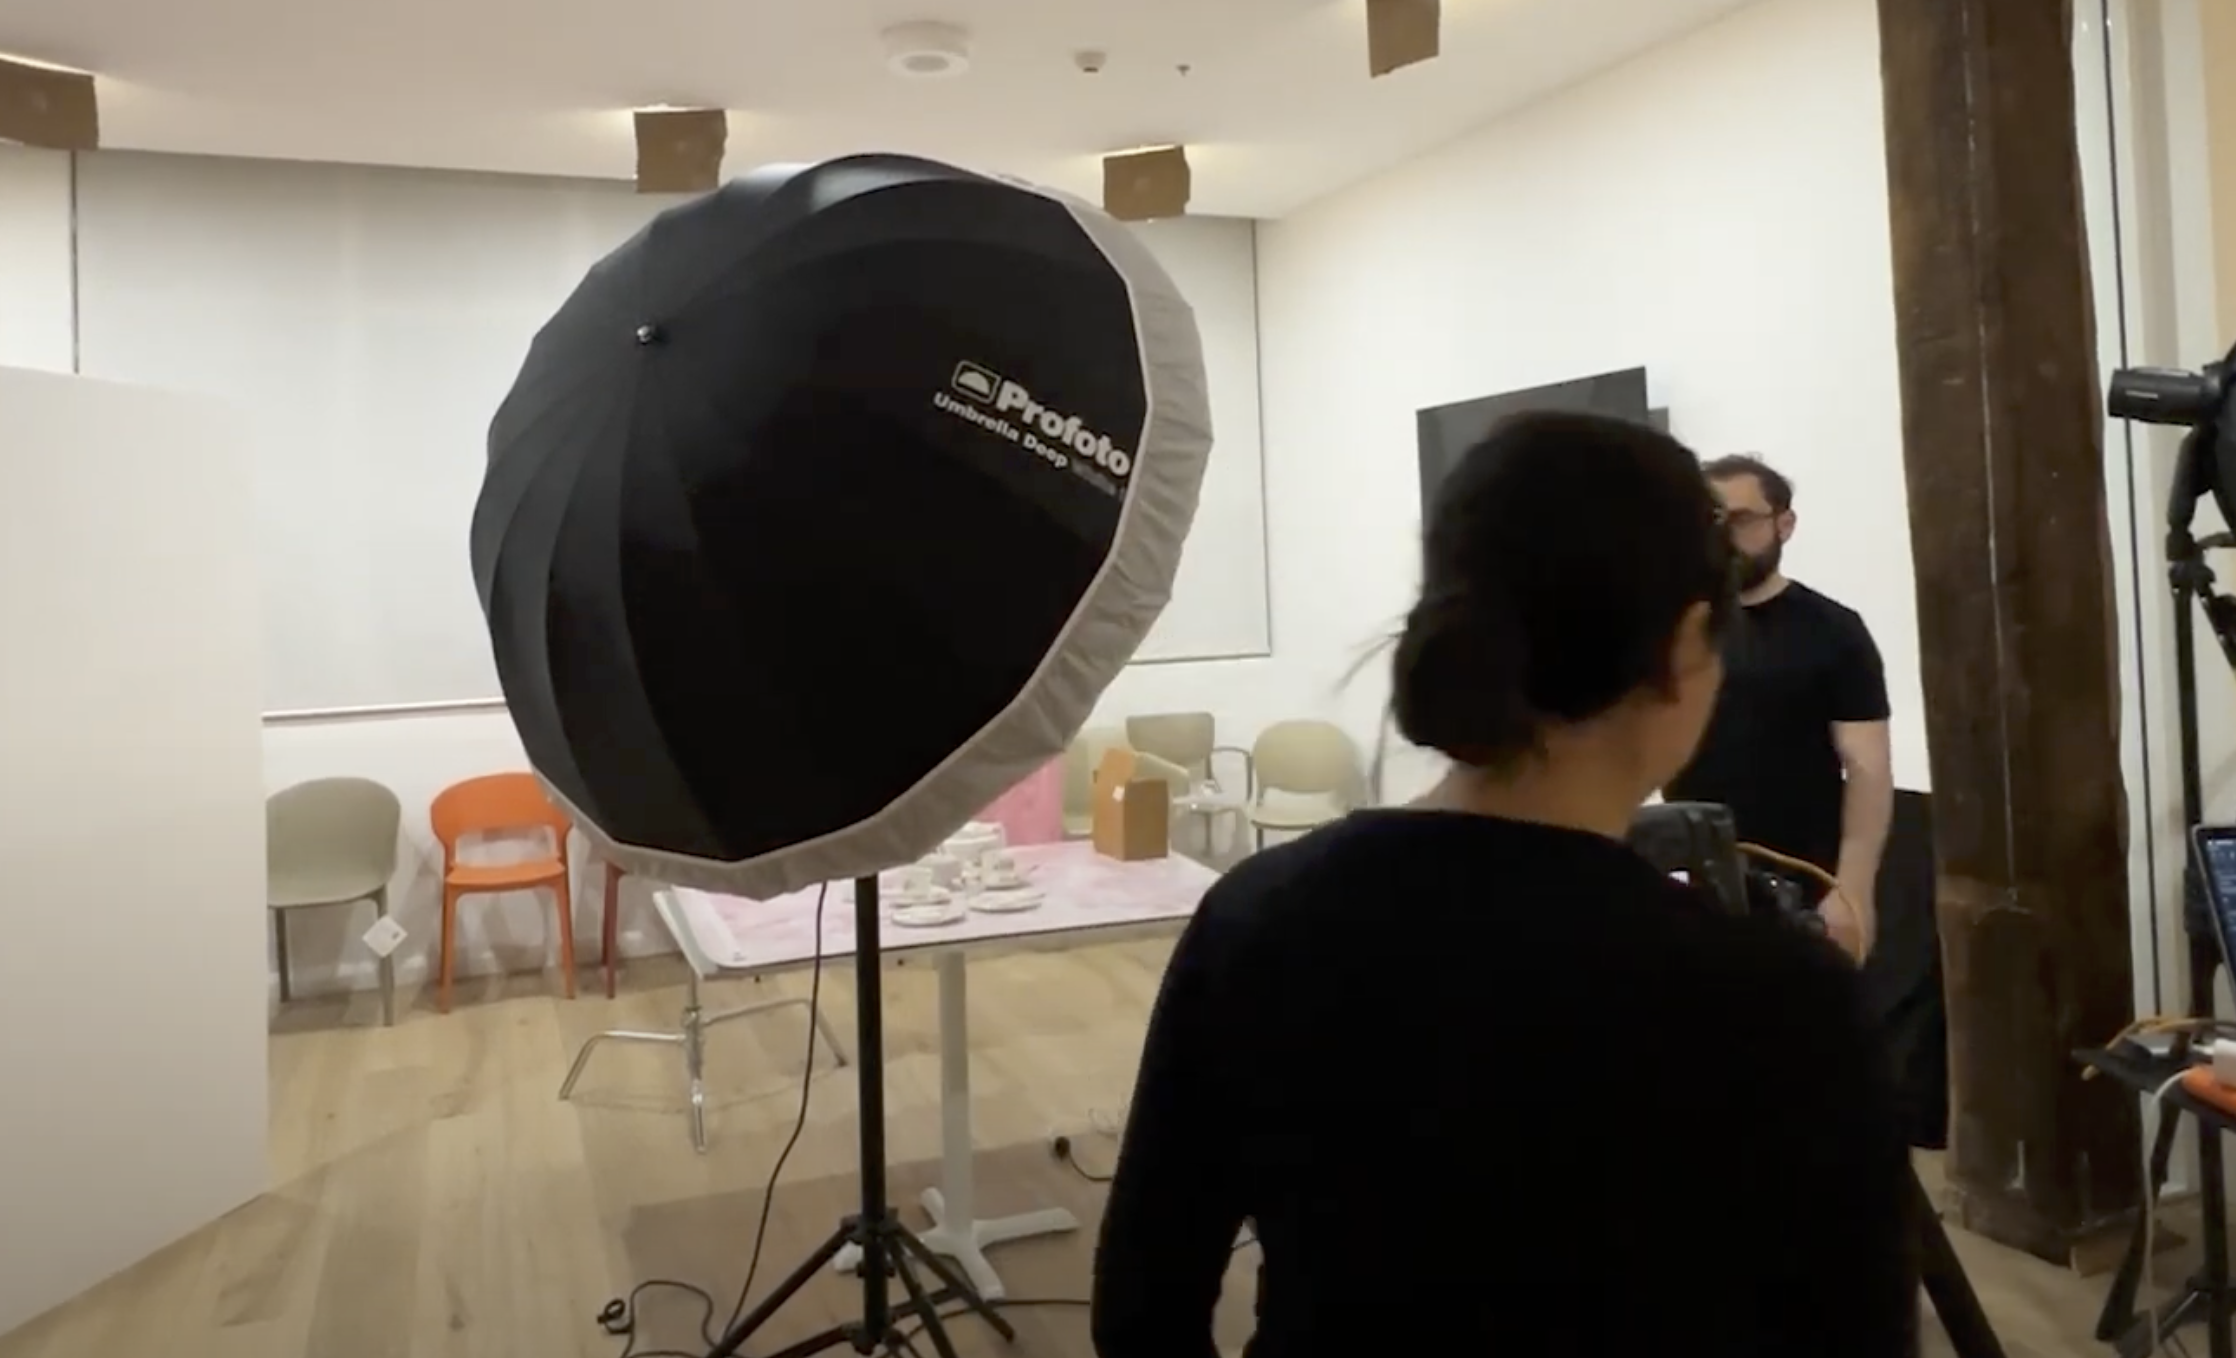
Front Lighting BTS
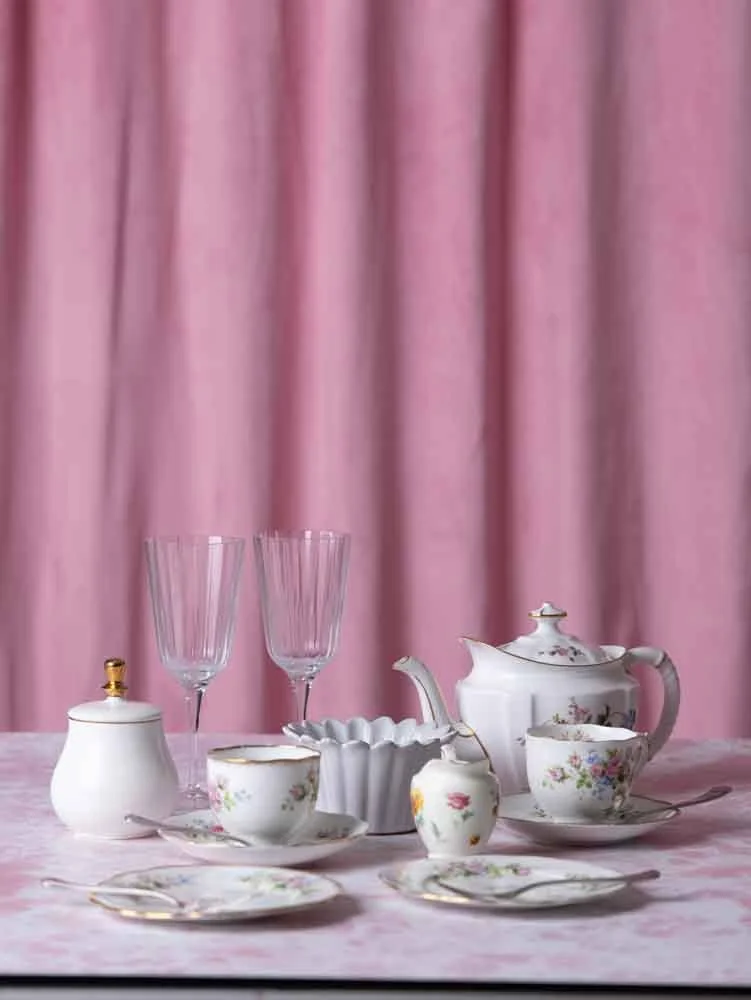
Side Lighting
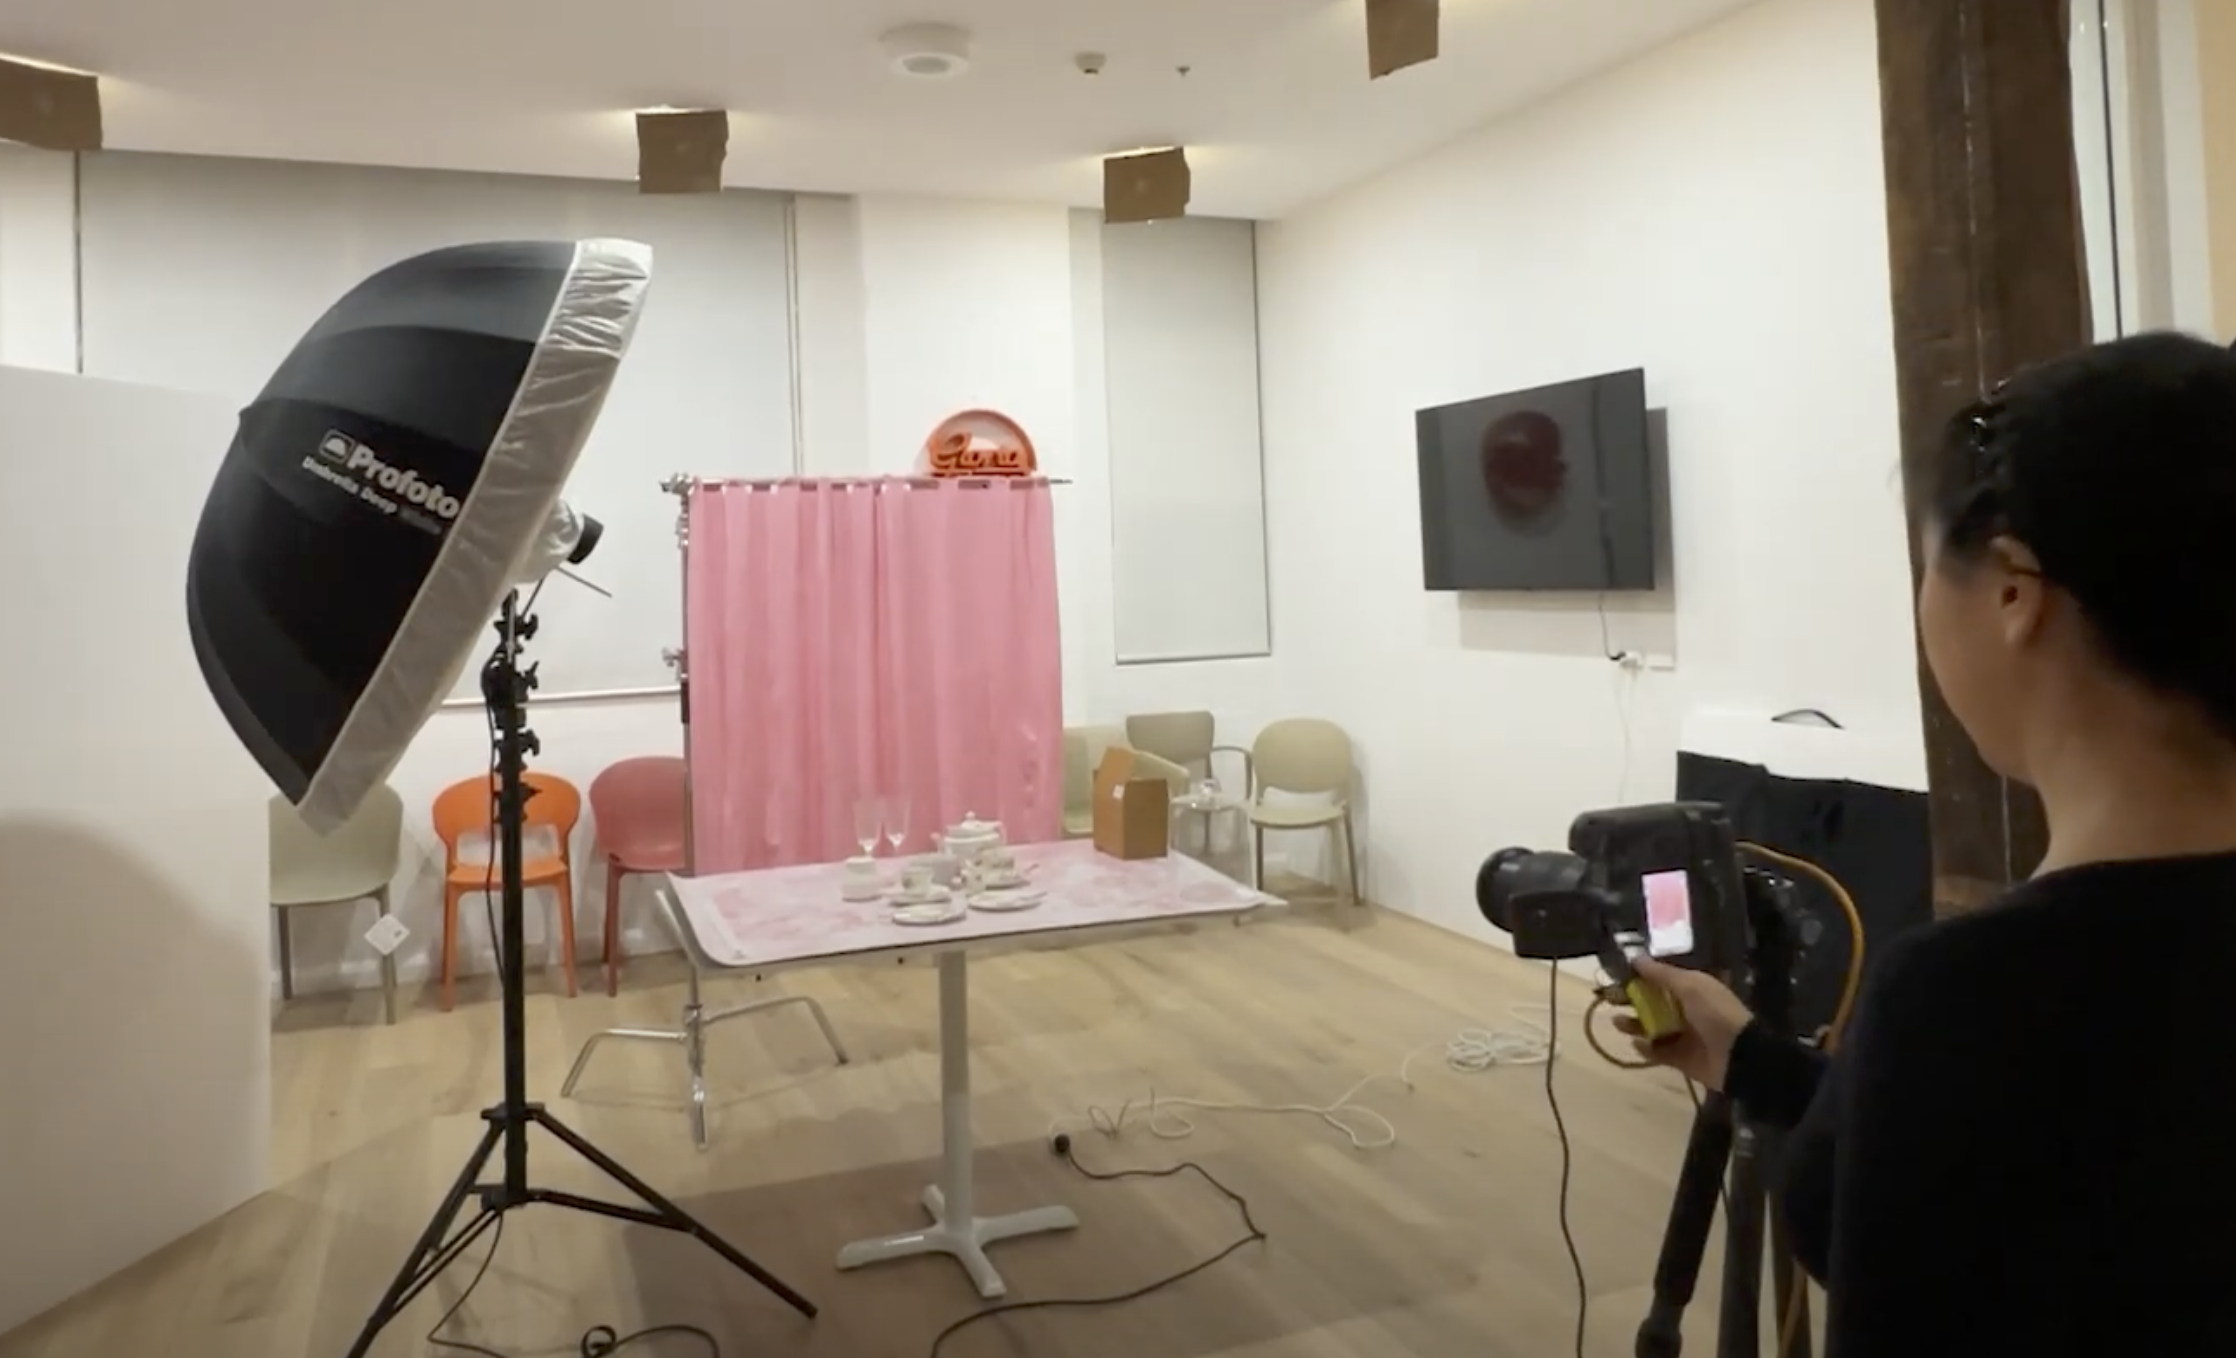
Side Lighting BTS
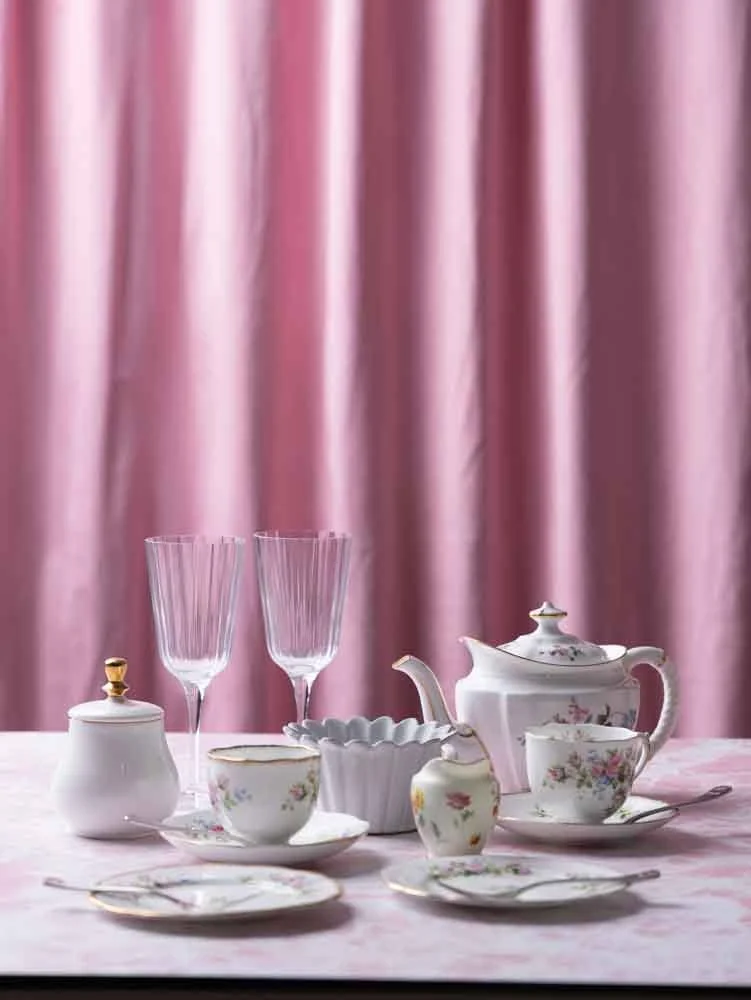
Back Lighting
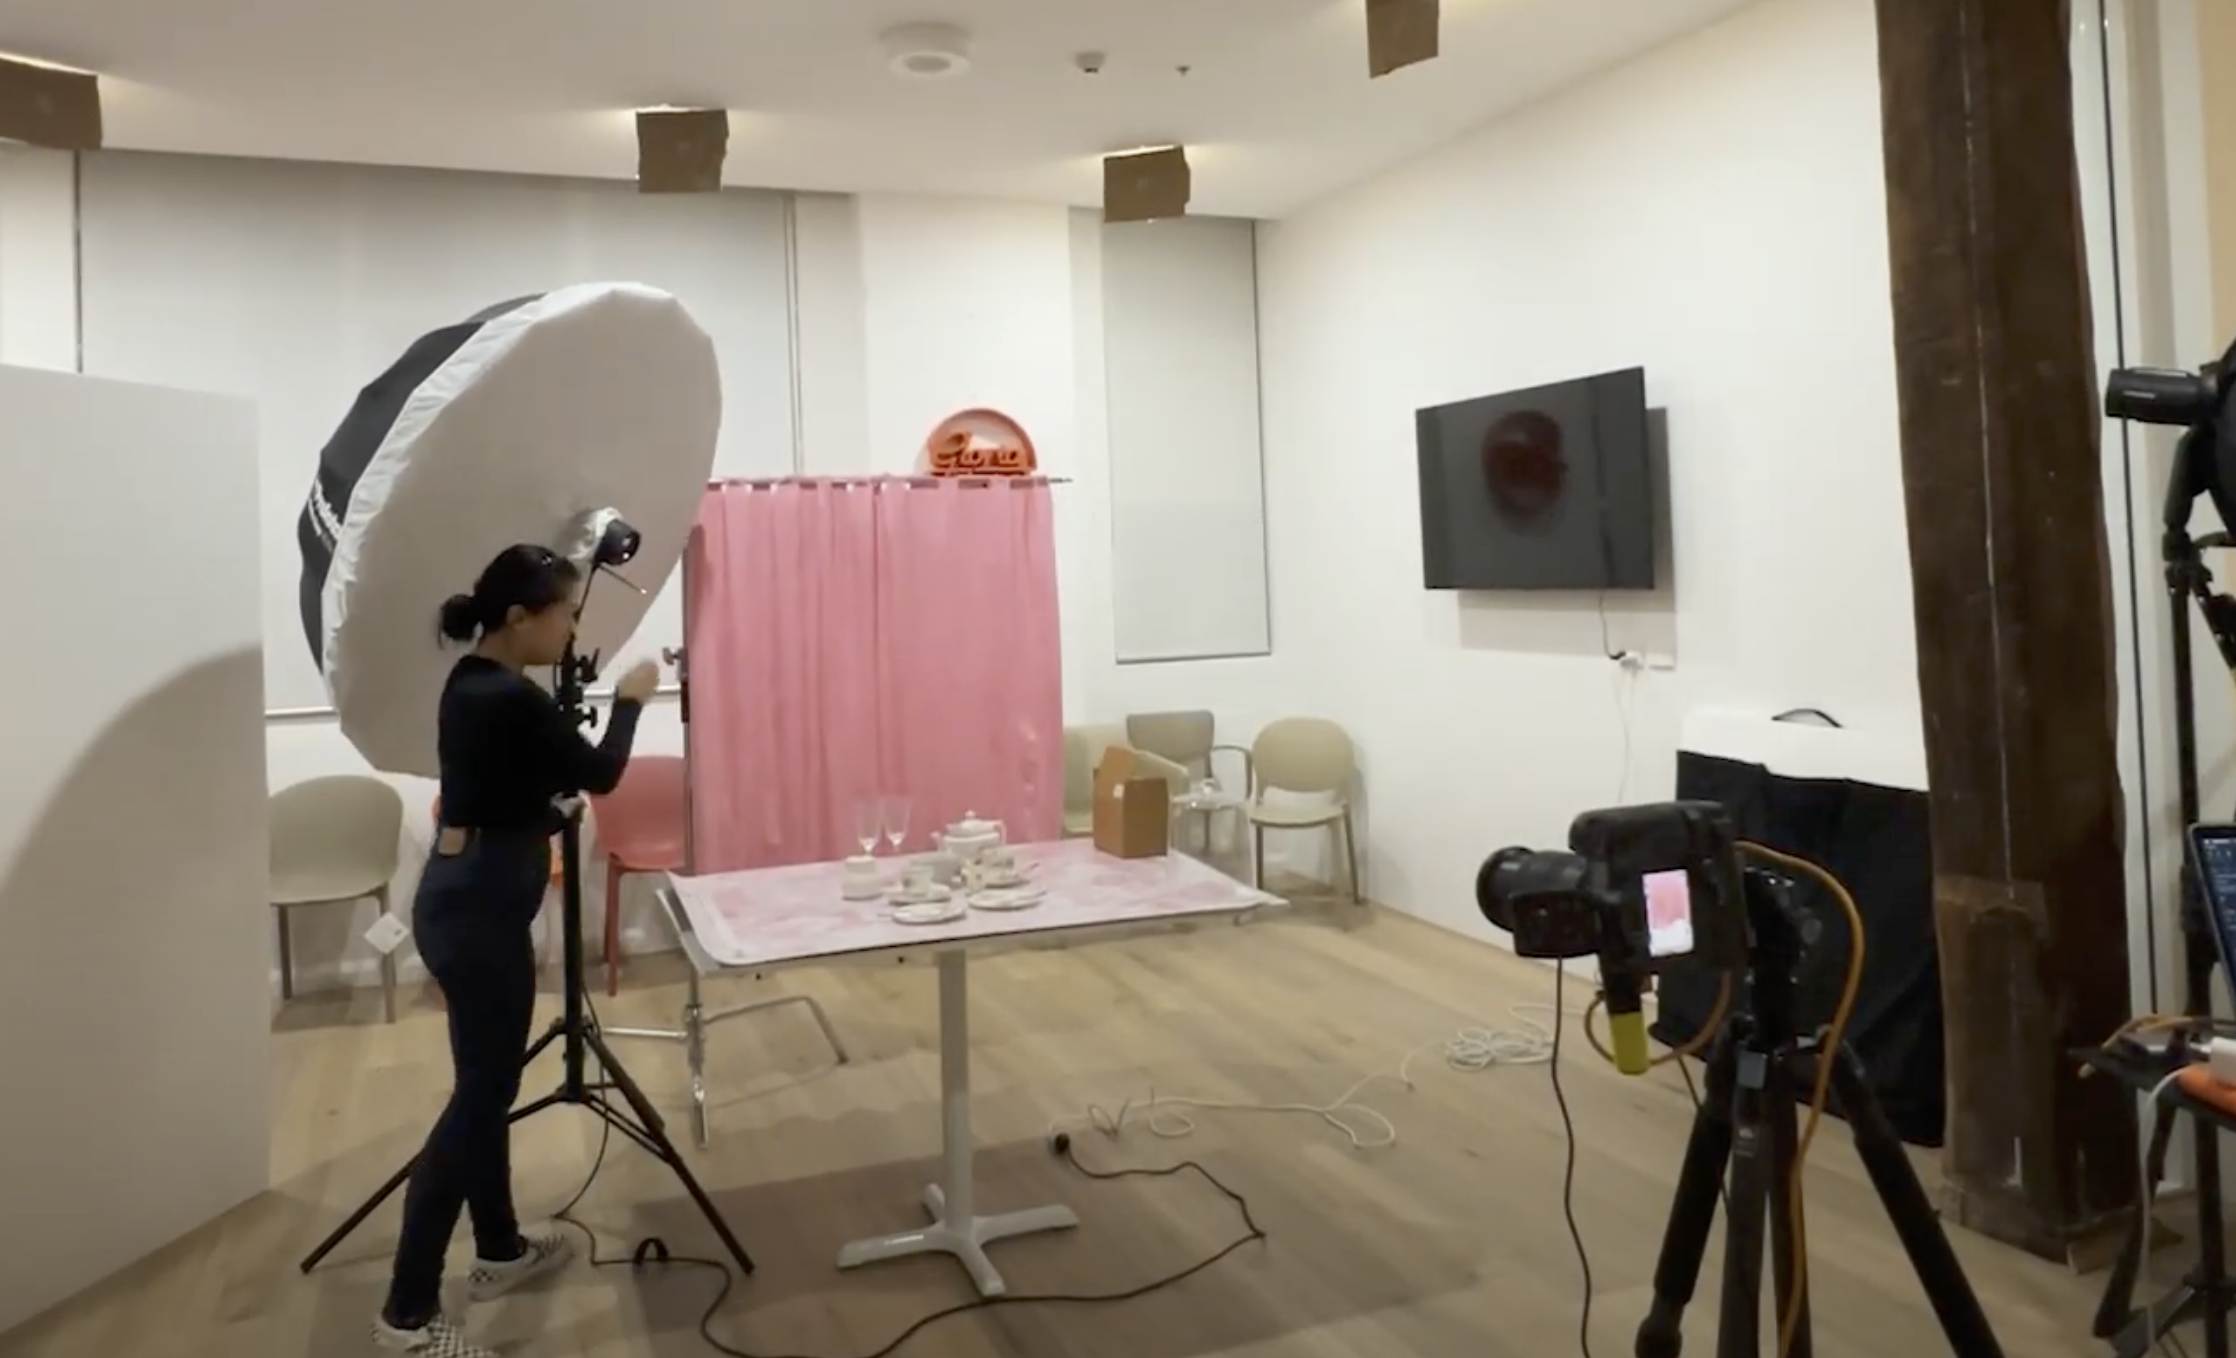
Back Lighting BTS
Controlling Light with Power & Tools: It is common that students make this following mistake: they change their camera settings without fully exploring the extent of their flash. I firstly recommend that instead of raising the ISO (which can reduce image quality), it's better to increase the power of the flash to get a brighter image. If we cannot increase the power of the light, or we can consider changing the camera settings up as increasing ISO, lowering shutter speed, or opening the aperture wider.
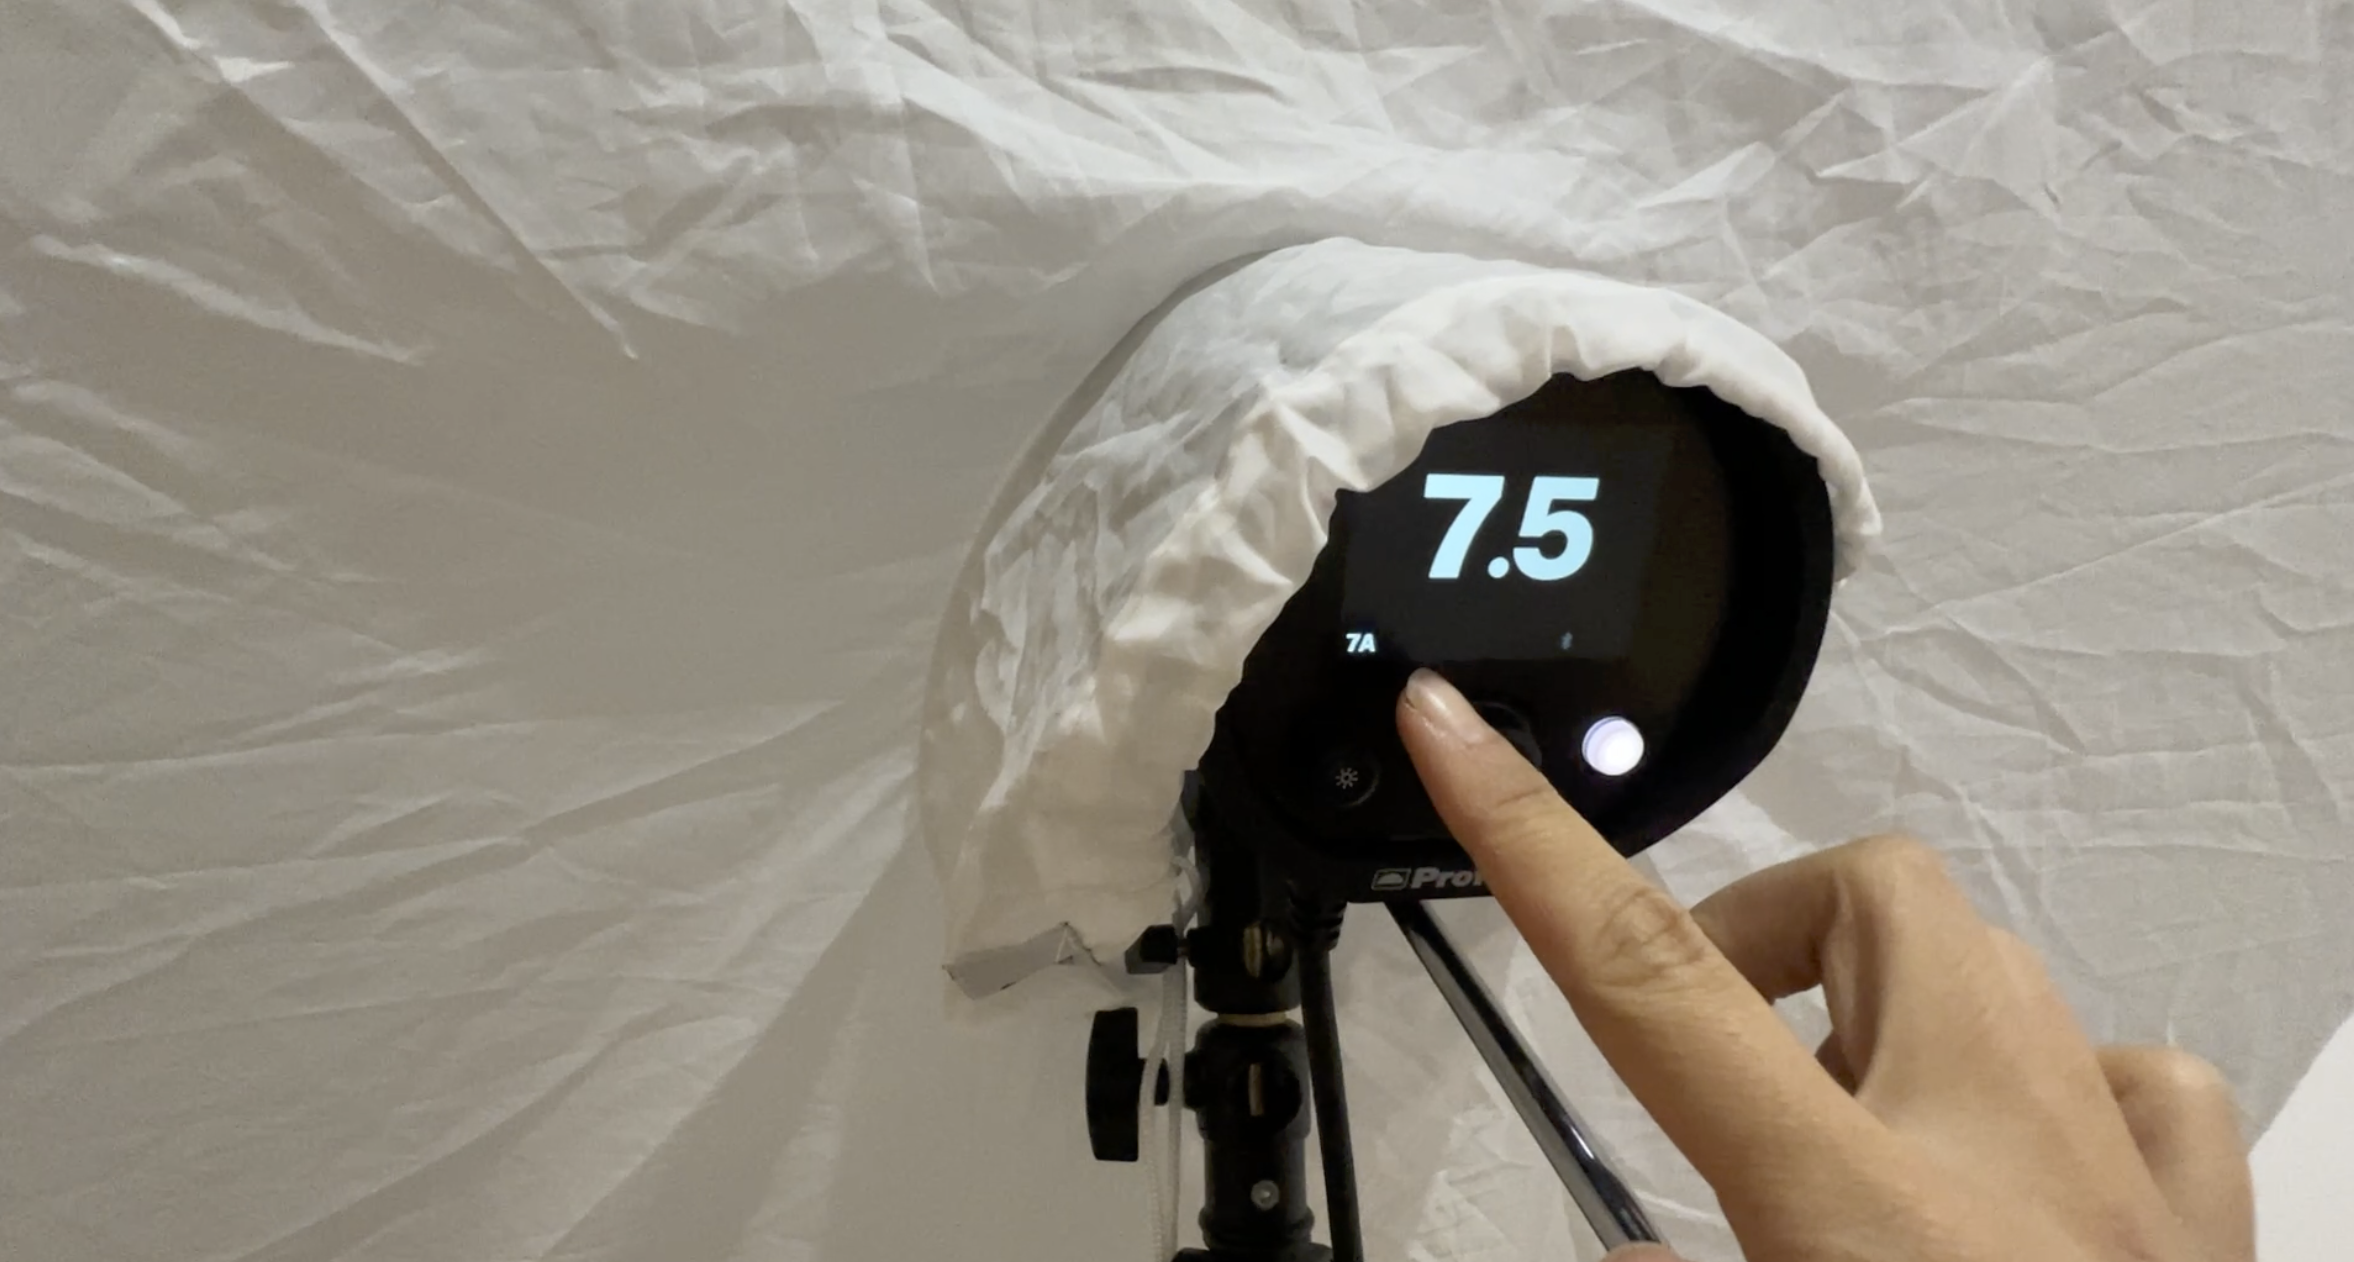
Bounce Cards: These are used to "fill" in shadows on the subject. White cards create a softer fill, while silver cards create a stronger, more reflective light.
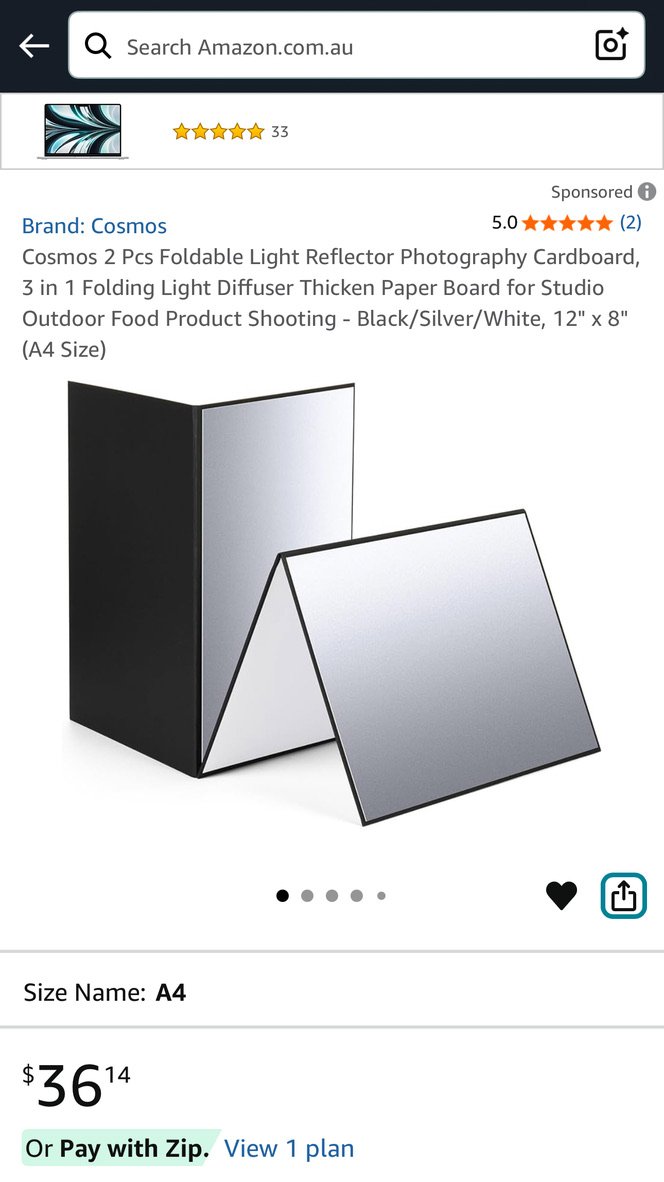
Here is an example of a compact, foldable bounce card.
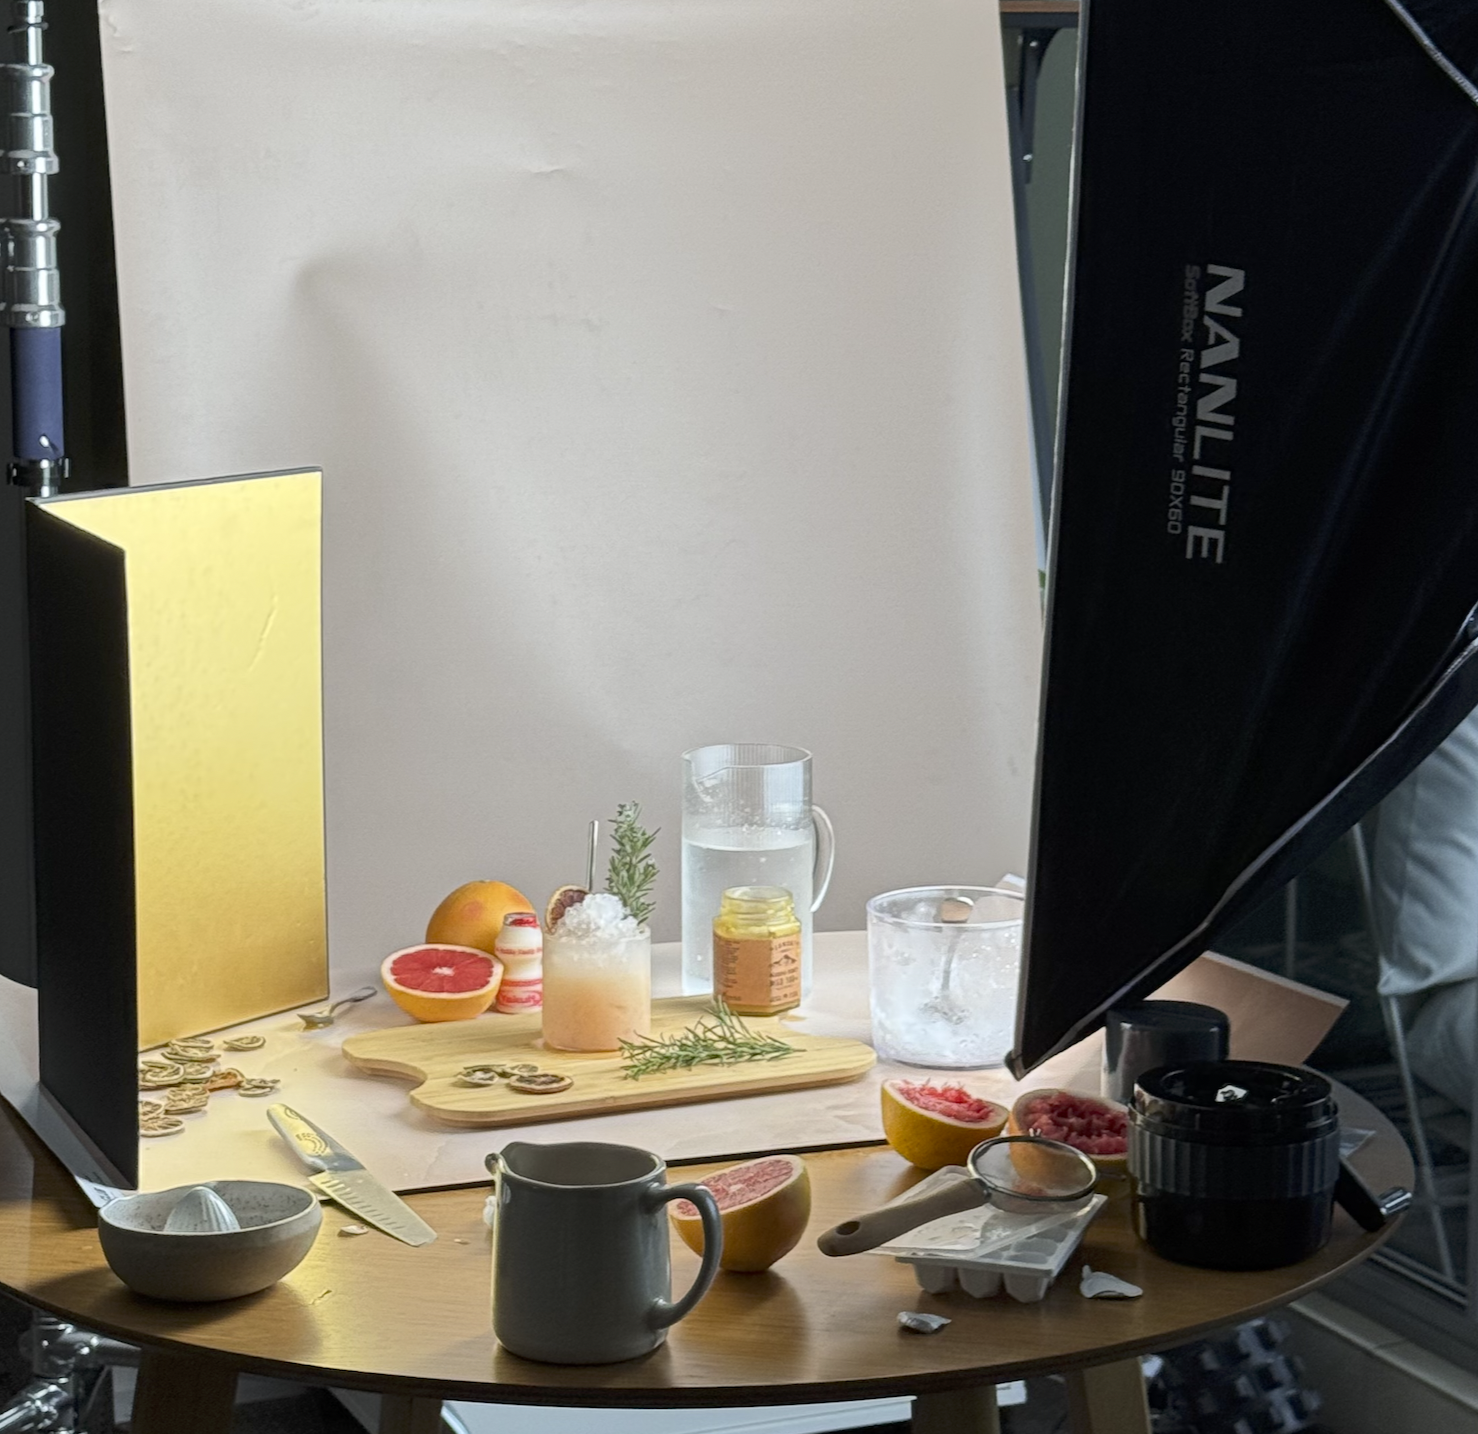
Using the bounce card (the golden side) to bounce a warmer light towards the subject.
Diffusers (Scrims): These can be used to soften a light source, creating a more diffused look. Thee tools can be difficult to use alone without an assistant, but are valuable to have in any case.
Multi-Light Setup: If you have an additional light, using a second light can be used to fill in shadows and adds to the creative control. This is an advanced technique and I recommend learning this once you’ve mastered the single light set up first.
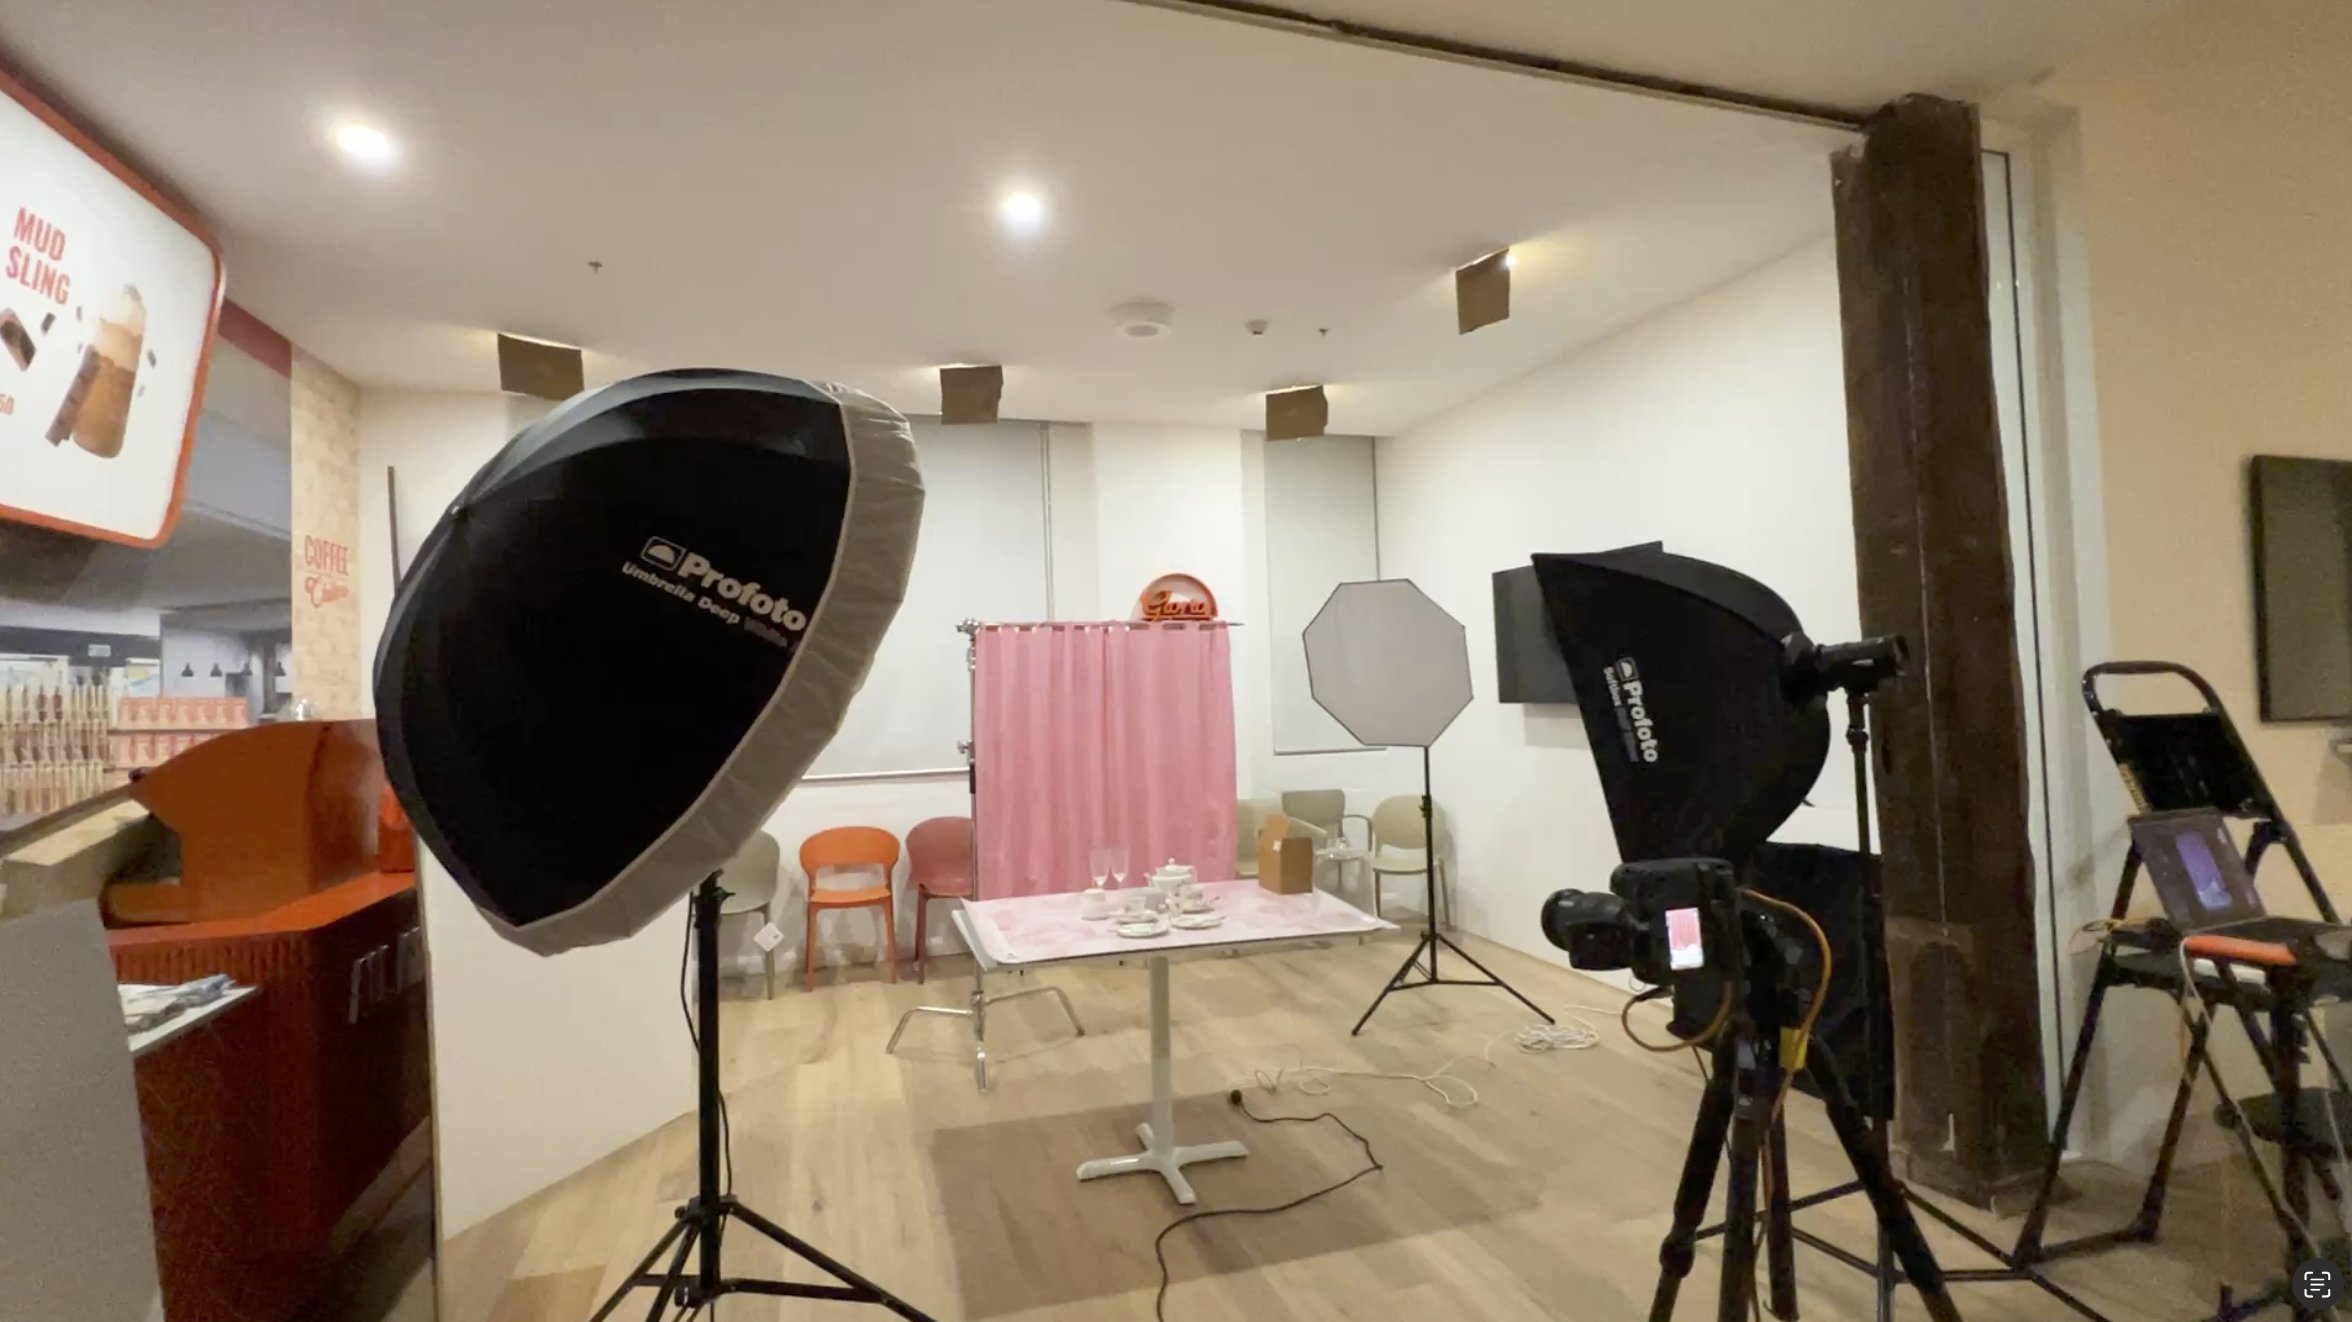
Example of a 3 Light Set Up. Light 1 (aka Key or Main Light) on the left. Fill Light 2 on the right (closer to the camera). Fill Light 2 (aka Rim/Hair Light) on the right, behind the table.
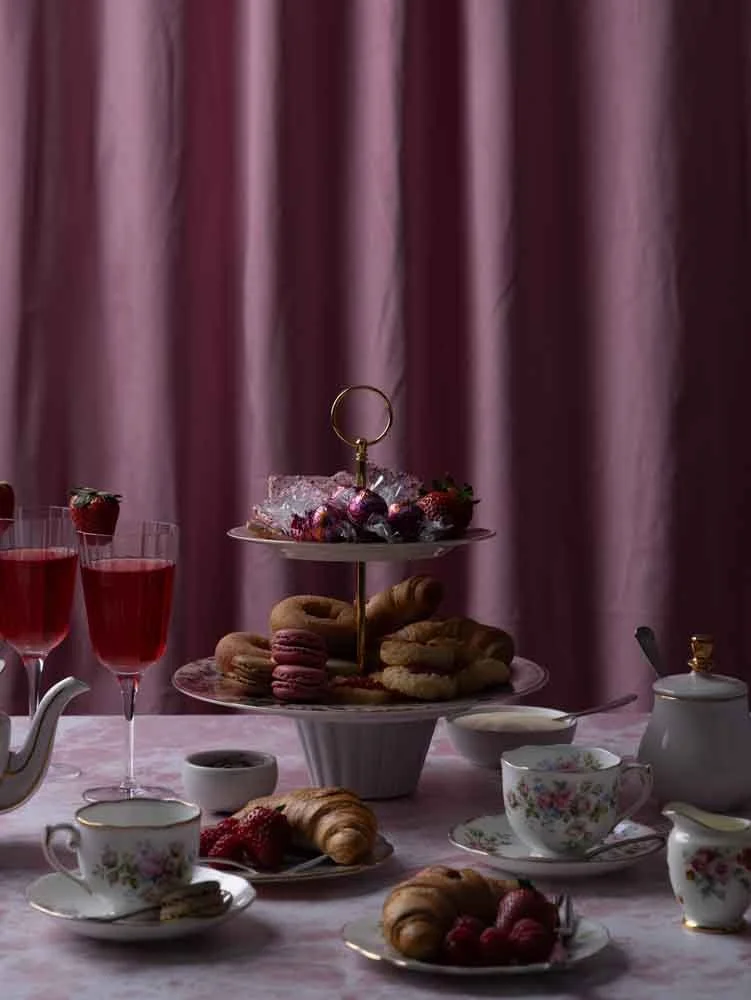
Single Light / One Light.
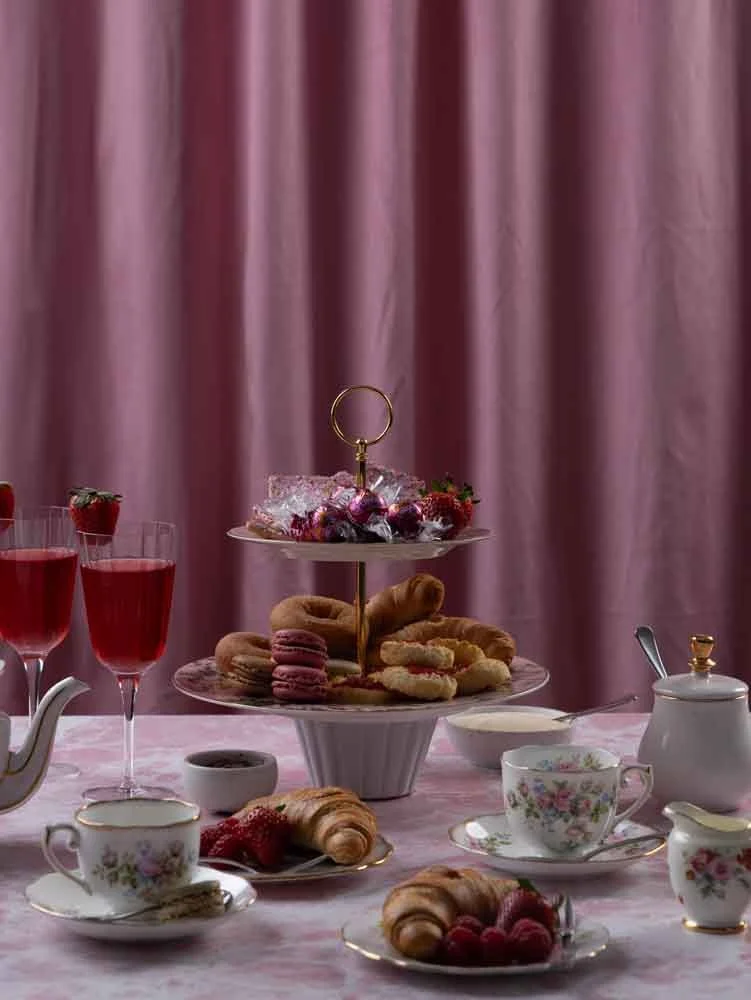
Add Rim Light / 2 Light set up.
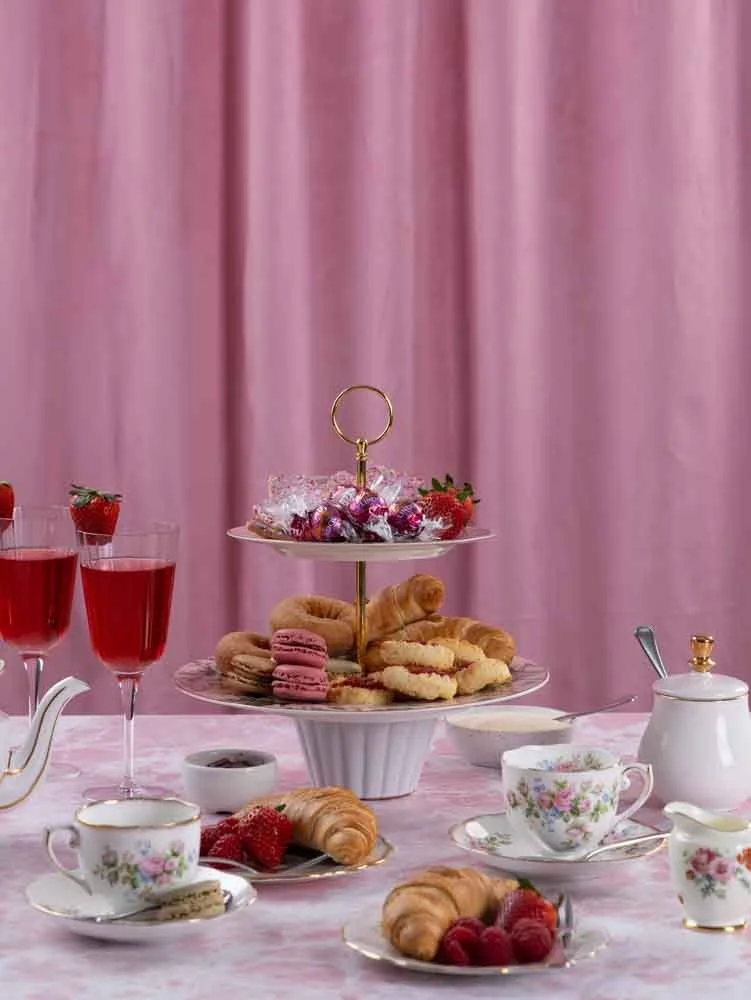
Add another Fill Light / 3 Light Set up.
3 Light Set Up
Single Light Set Up
Post-Production & Realism: If you find that you are having a hard time filling in shadows in real time, some shadows can be lifted in post-production, a technique we call "shoot to edit”, meaning that it’s acceptable to a degree to shoot underexposed, for we will edit this later. Purists will argue that this is cheating, however, this may be the reality of a photographer's job; sometimes you have to work with limited resources and can't achieve everything you want.
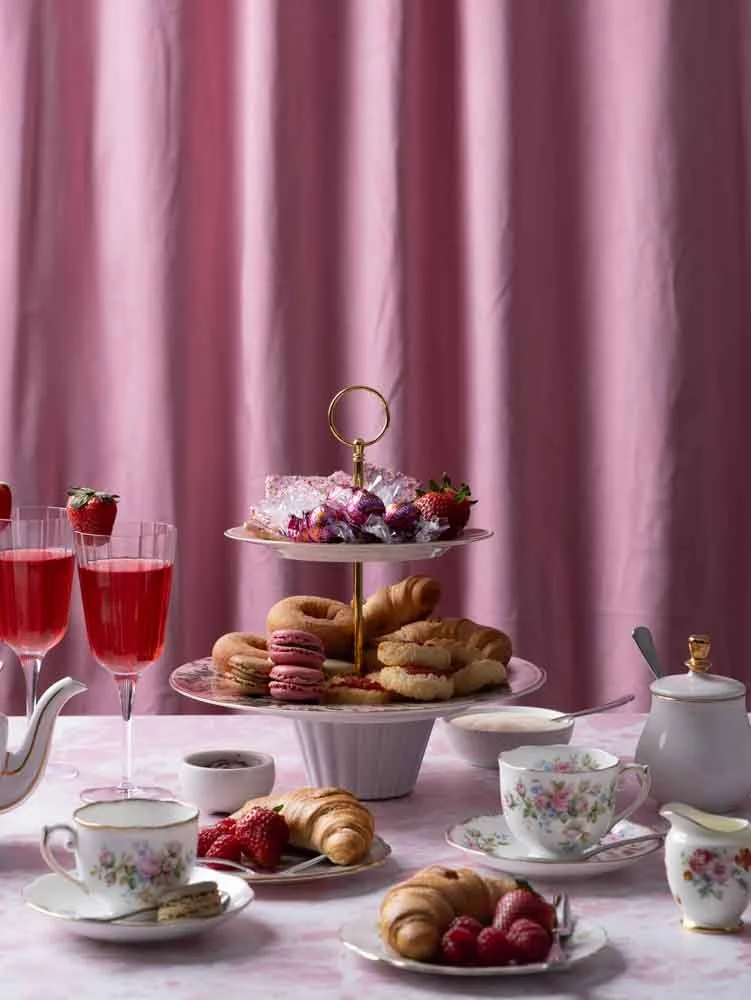
RAW Image, no edits.
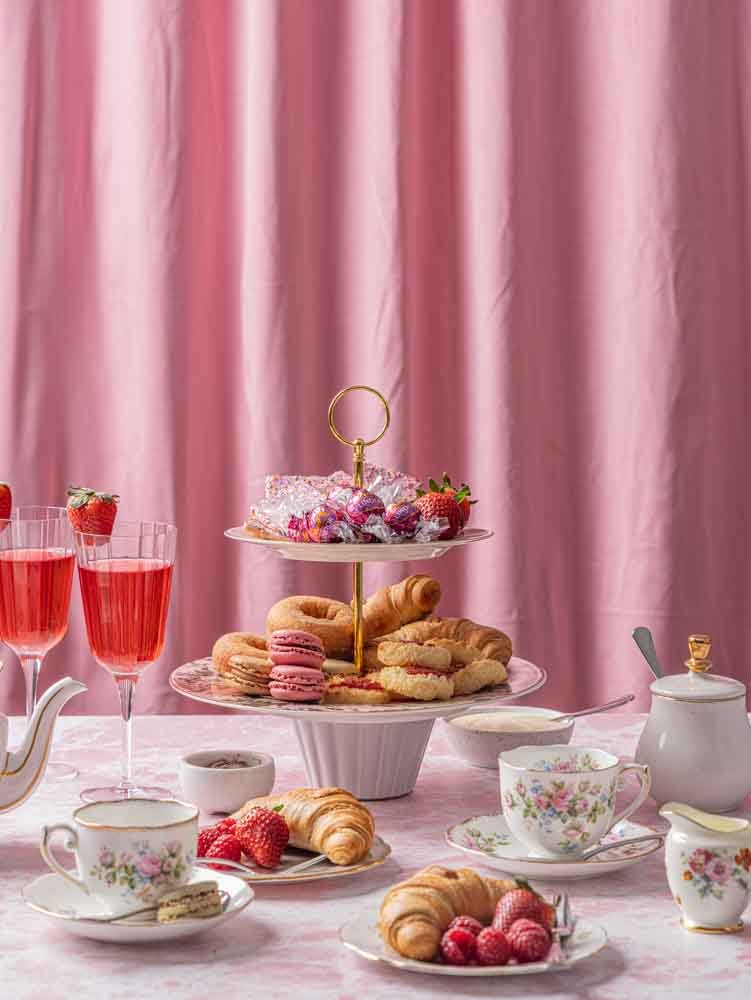
Edited: Warmer, Reduced Shadows, Reduced Highlights, Increased Exposure, Clarity and Texture.
Shutter Speed and The Black Line: Another crucial, practical tip for working with flash: never shoot with a shutter speed higher than 1/200, and in some cases 1/250. Your camera's shutter is closing too fast for the flash to fully illuminate the sensor. Every camera has what's called a sync speed (or flash sync speed). This is the fastest shutter speed at which the camera's entire sensor is fully exposed to the light at once. For most cameras, this speed is typically around 1/200 or 1/250 of a second. For most of our work, sticking to that 1/125 to 1/160 range is perfectly fine.
How the shutter speed alters the image:
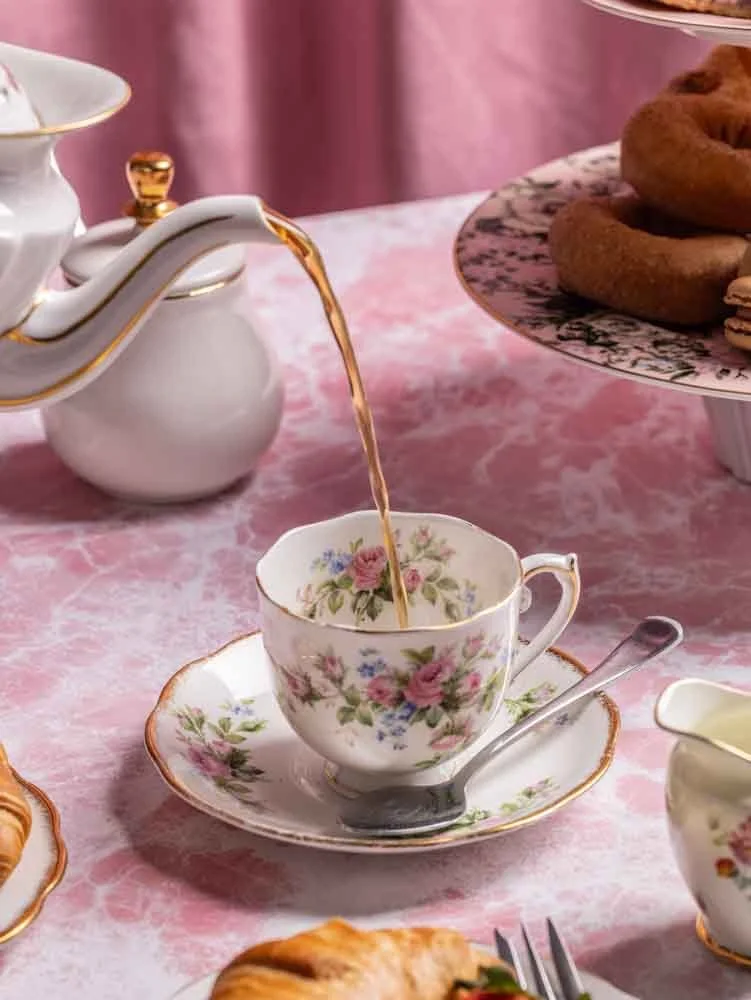
Shutter: 1/160
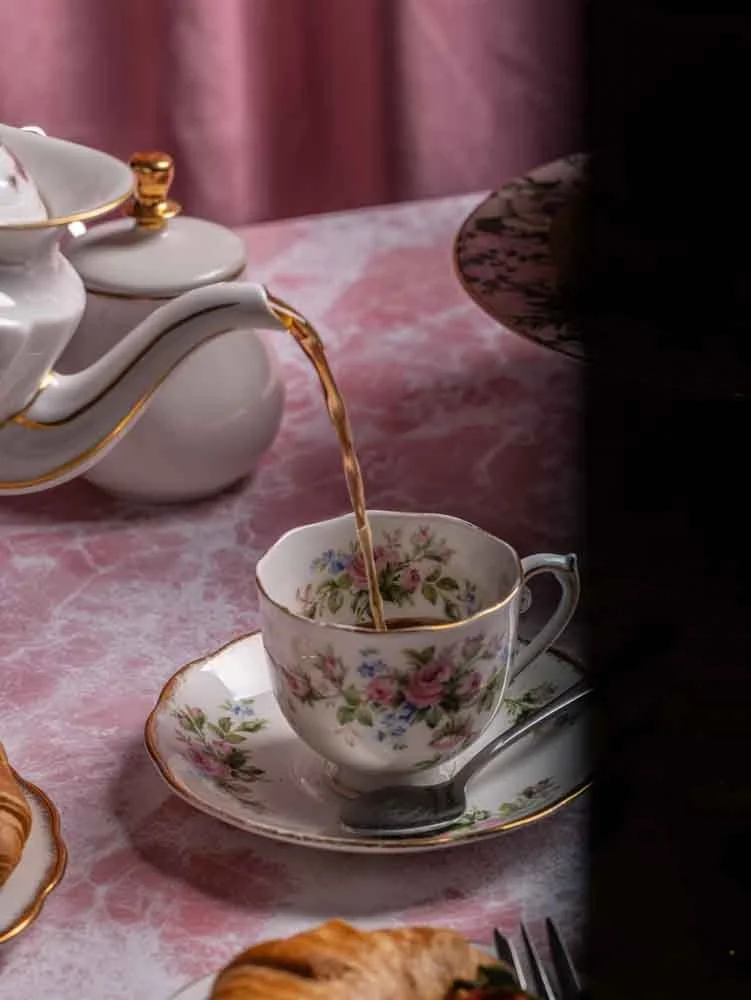
Shutter: 1/320
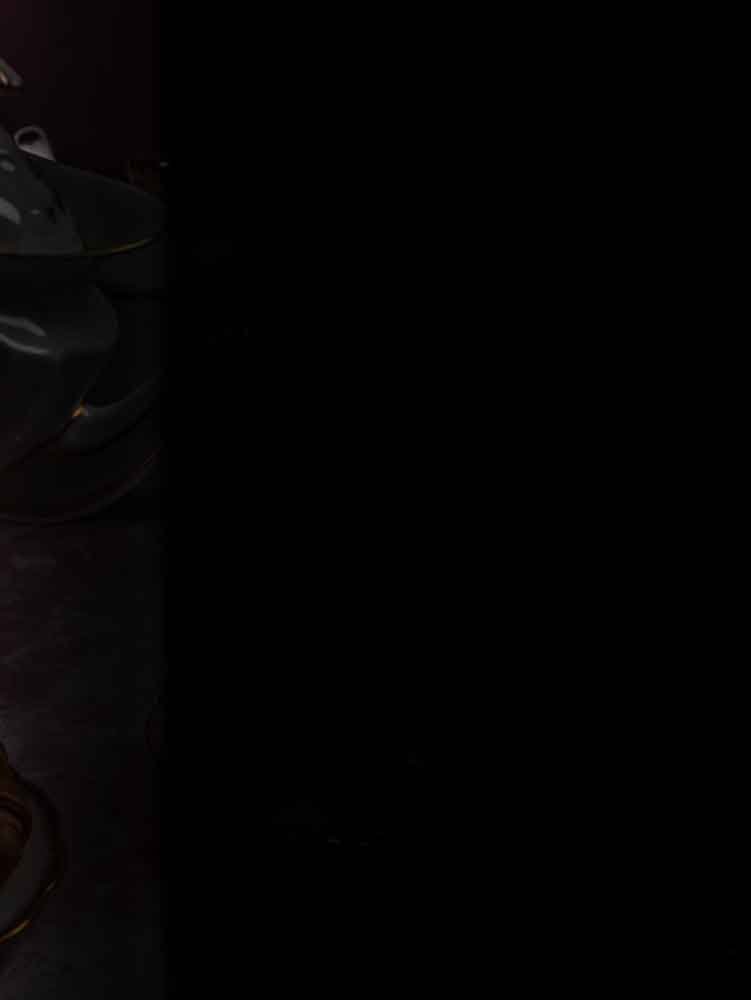
Shutter: 1/800
Filters: Use a polarising ND filter when you want to battle glare. This is a powerful tool for reducing glare on shiny surfaces like glass, plates, and cutlery. Note that this is best used on a tripod, as even a small movement can change the effect of the filter.
Bare Bulb & Snoot: Using flash without any soft modifier at all can be scary, but done right can yield great results. This bare bulb approach creates a harsh, high-contrast light that perfectly mimics direct sunlight. I use this for photos that need to look bright and sunny.
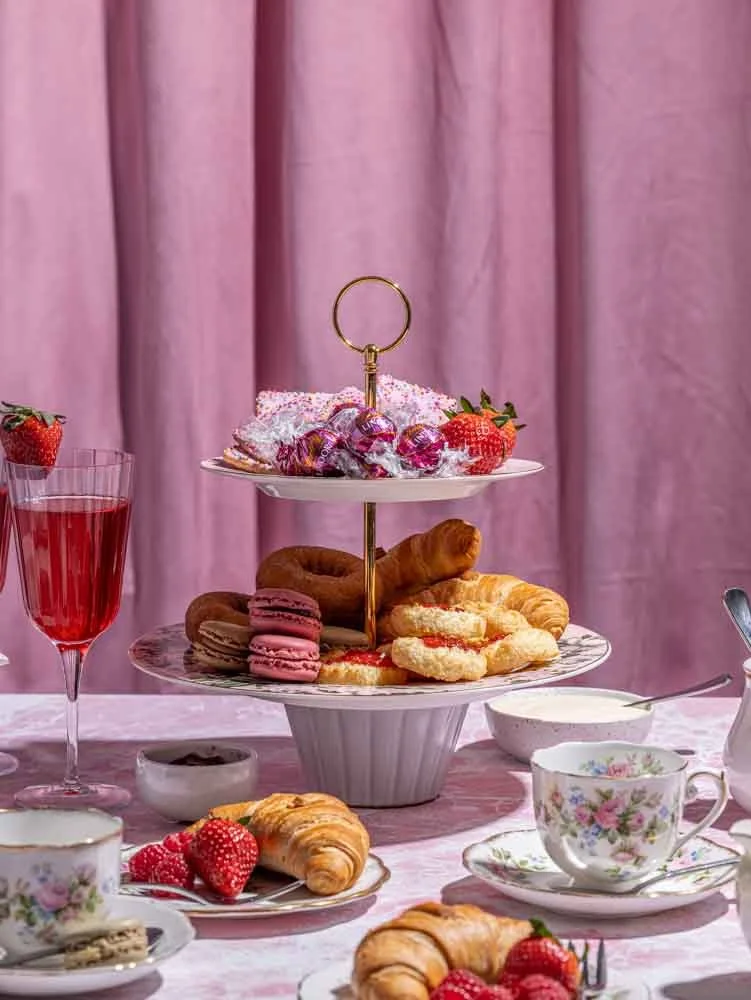
Bare Bulb effect creates sharper shadows.
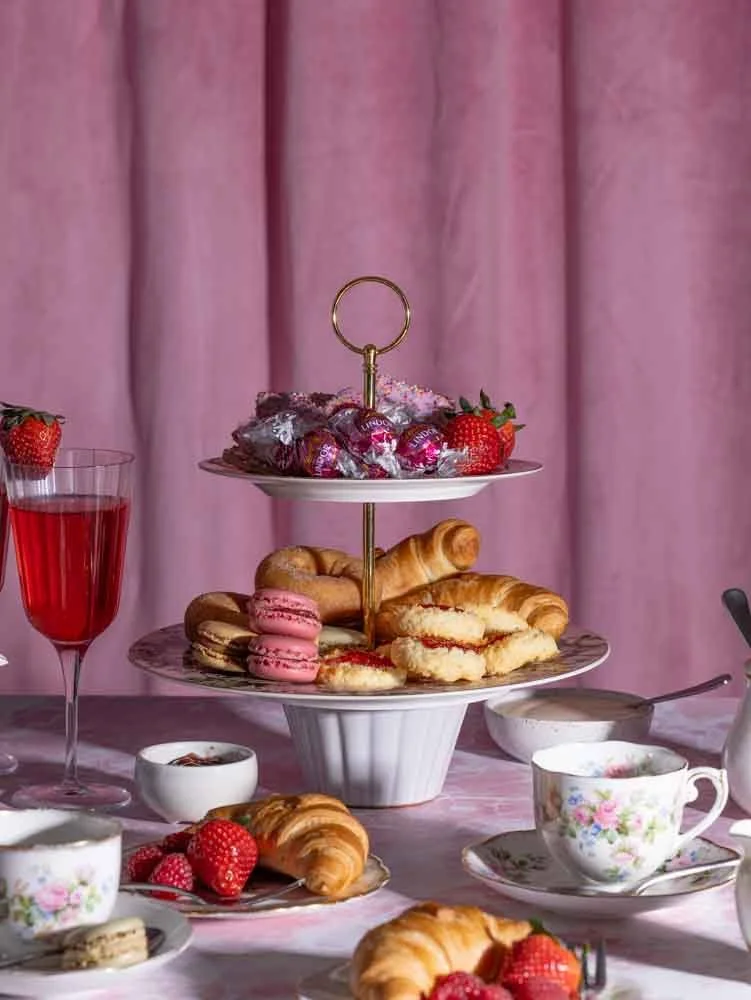
Bare Bulb effect creates sharper and LONGER shadows when placed a low angle.
A snoot is a modifier that narrows the light into a tight beam, creating a spotlight effect. While not common for most food photography, I would use this for a dramatic shot, such as this single cocktail in a dark, underground bar.
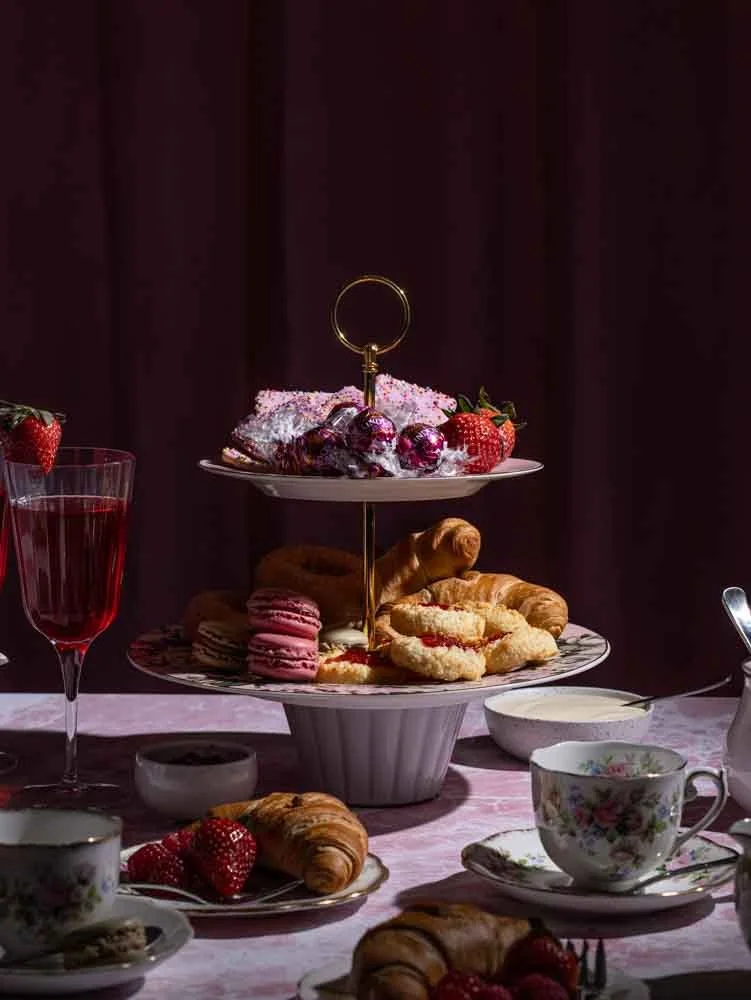
Snoot modifier.
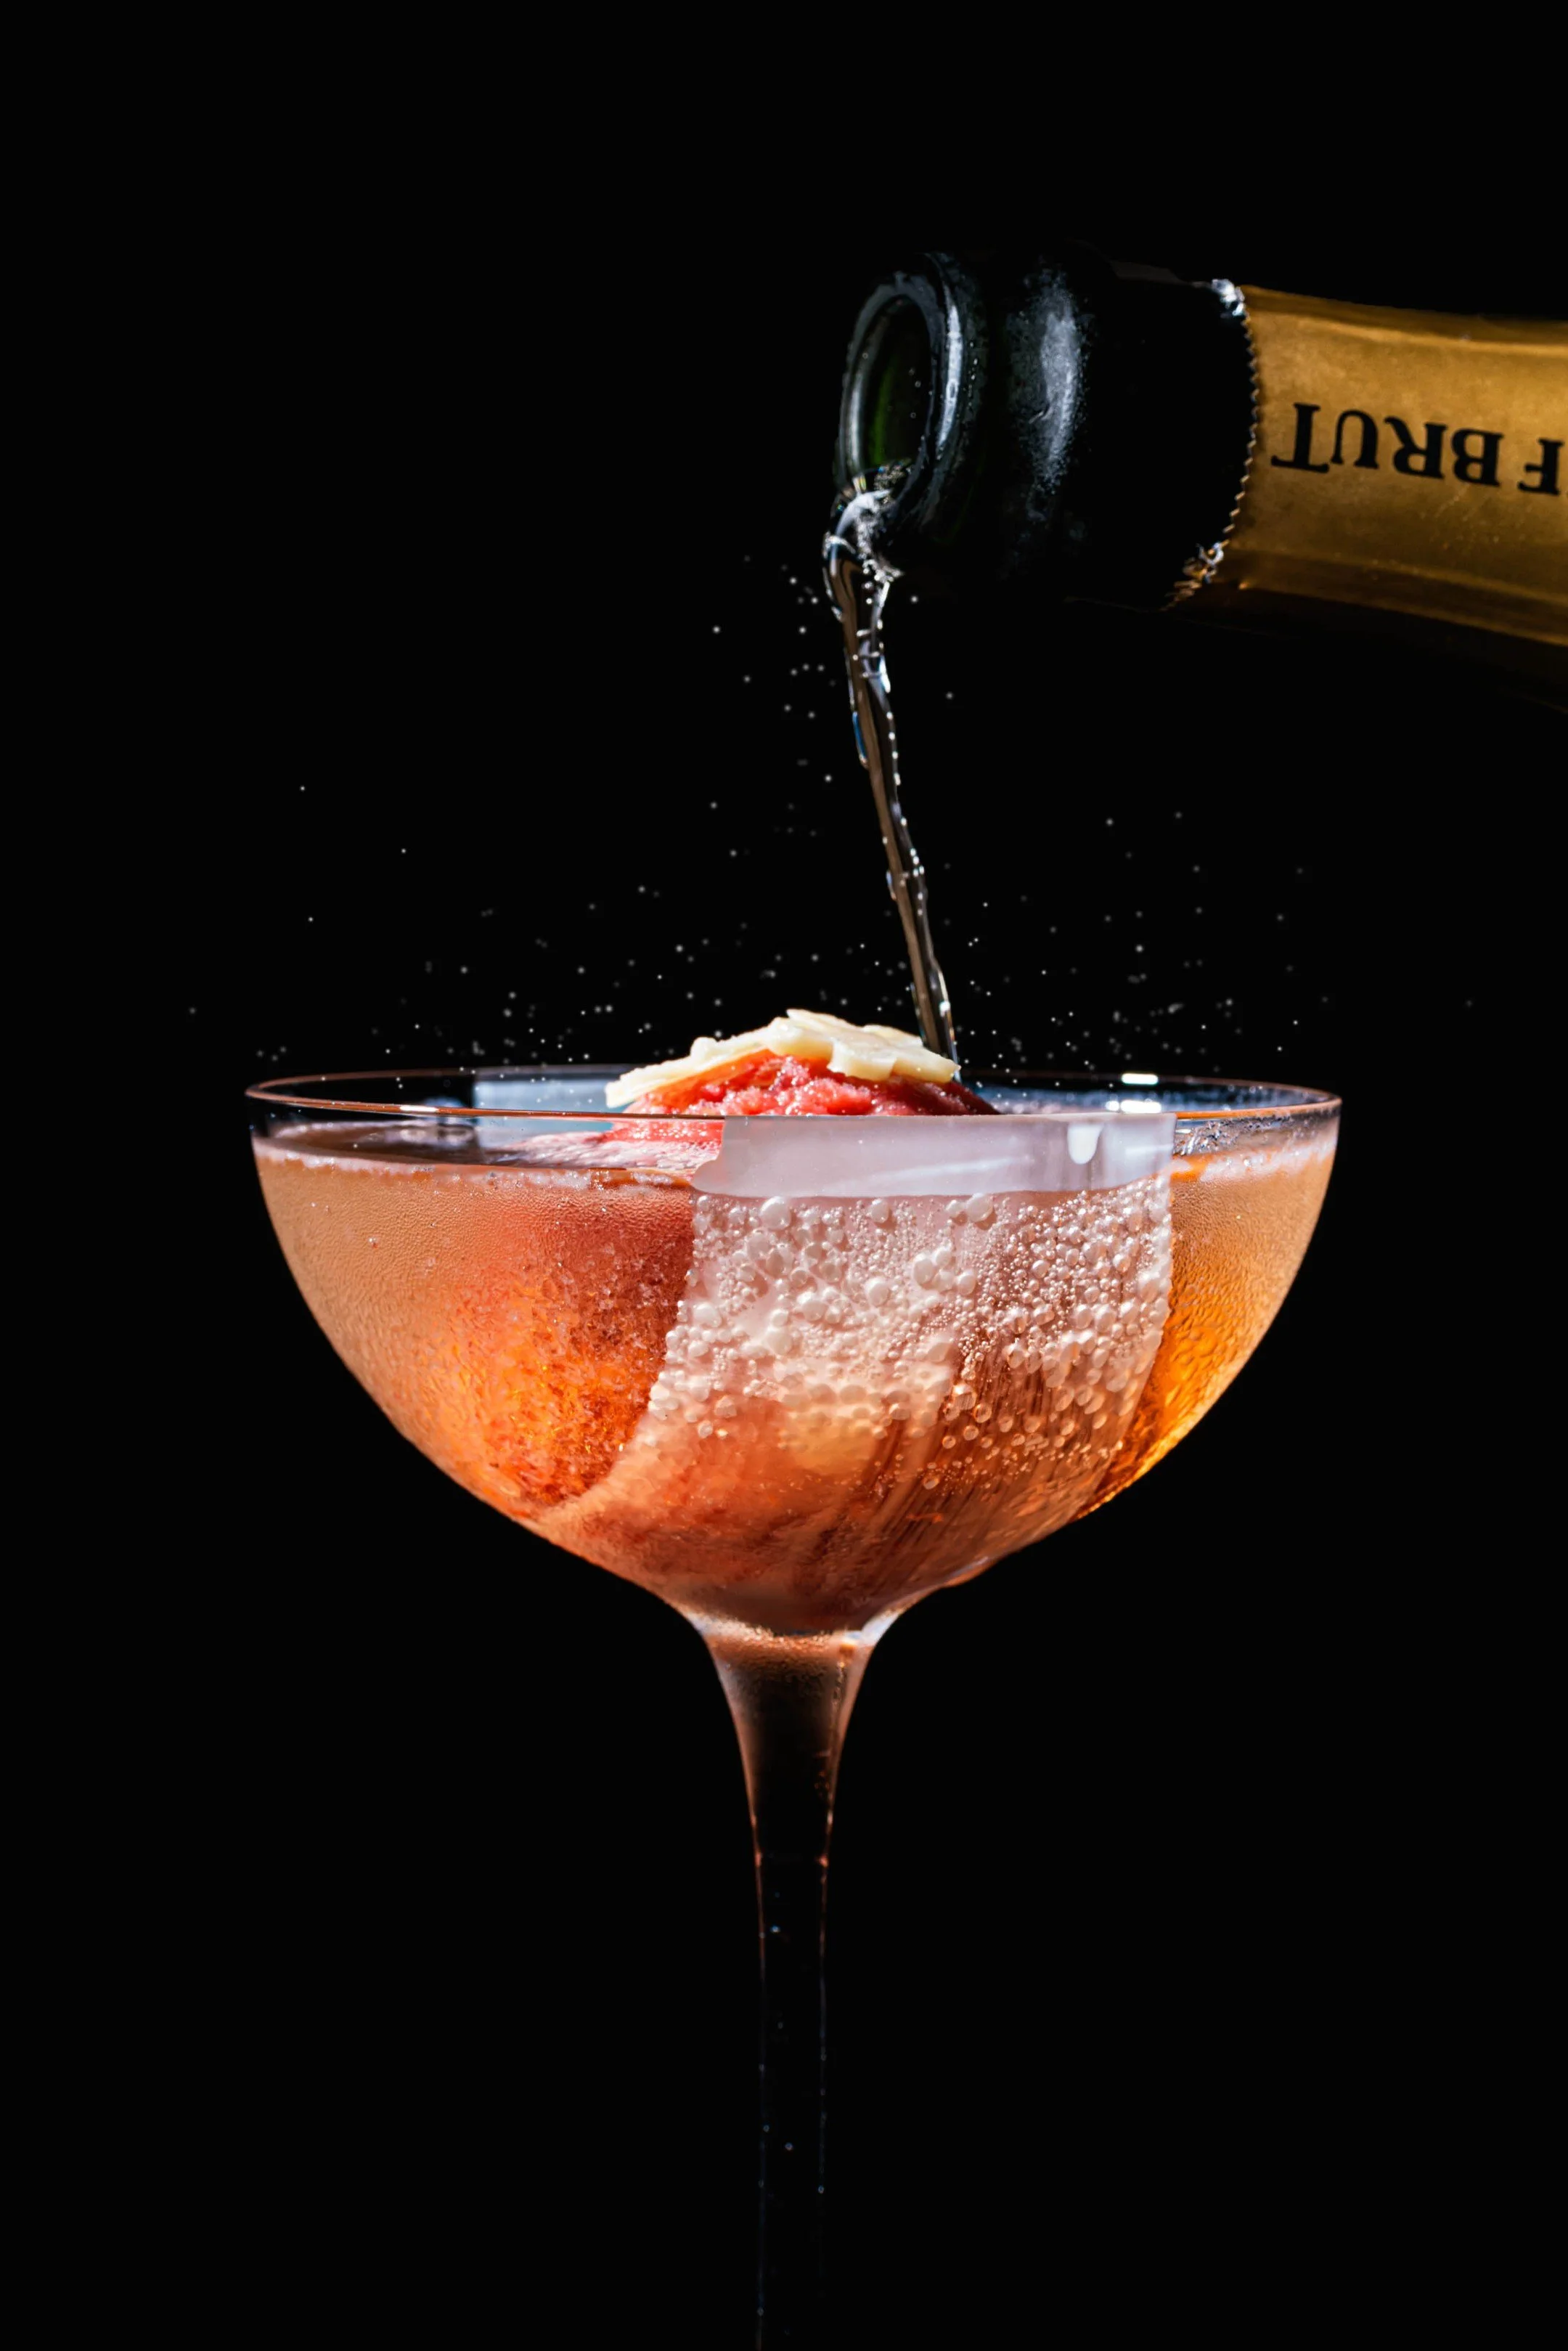
Snoot modifier used for a underground bar shot.
Shutter Speed and Ambient Light: Lowering your shutter speed can make a difference in your photos. This becomes more obvious at 1/10 or lower. Notice the shadow underneath the plate of donuts (center right of the frame) becomes more obvious the lower the shutter speed. This can be incredibly useful for mixing ambient light with flash.
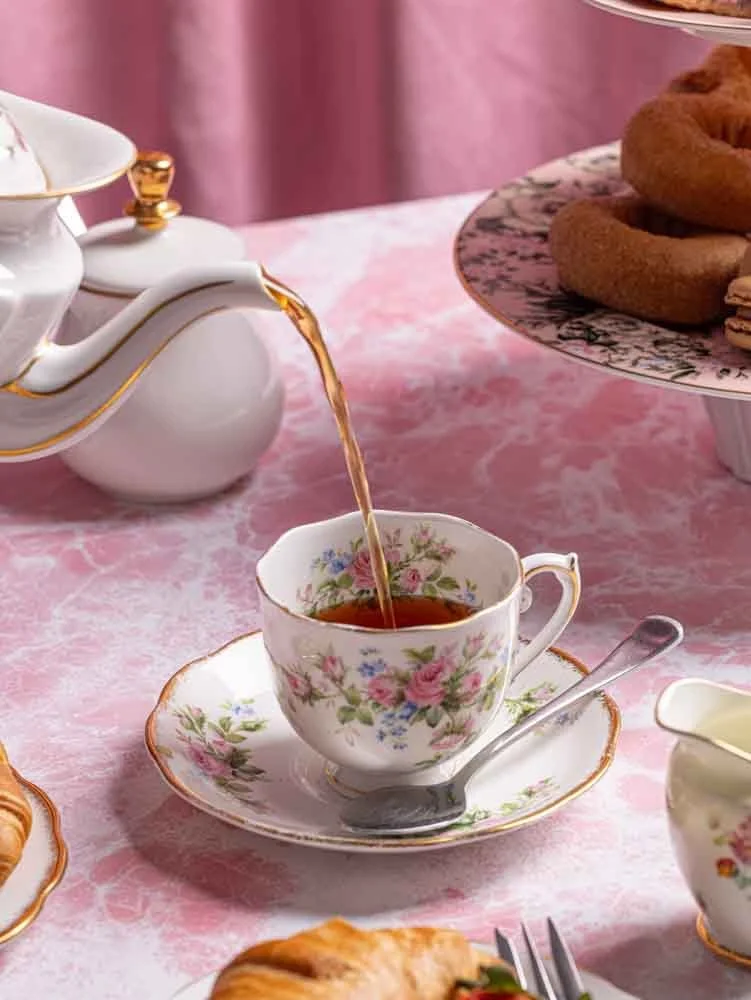
Shutter: 1/160
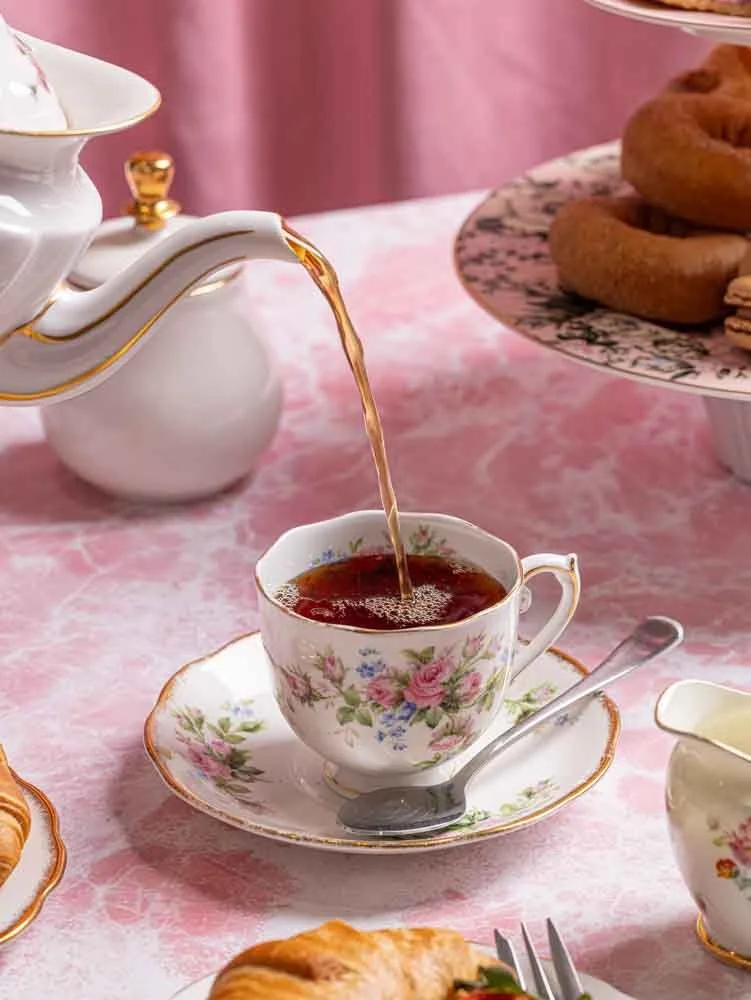
Shutter: 1/10
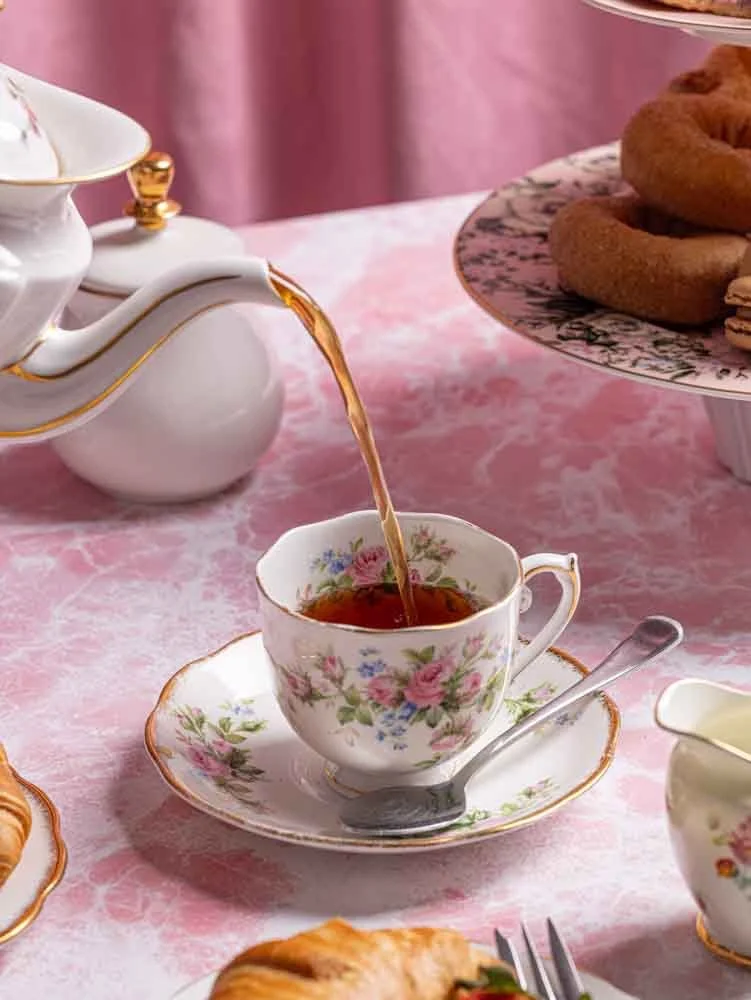
Shutter: 1/50
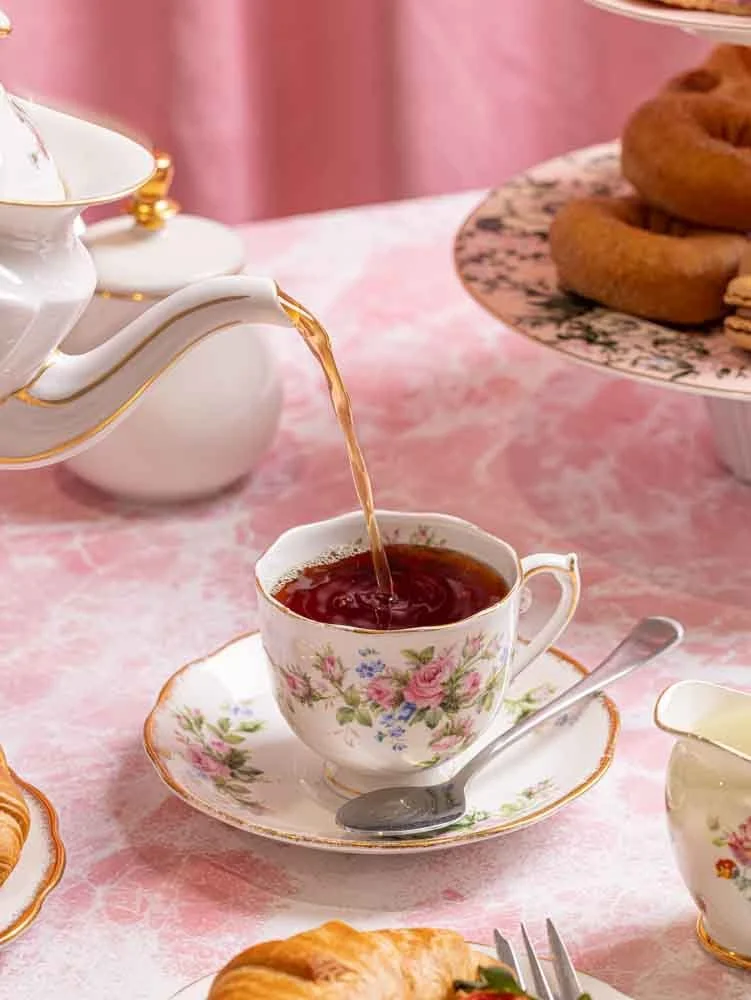
Shutter: (0.3)