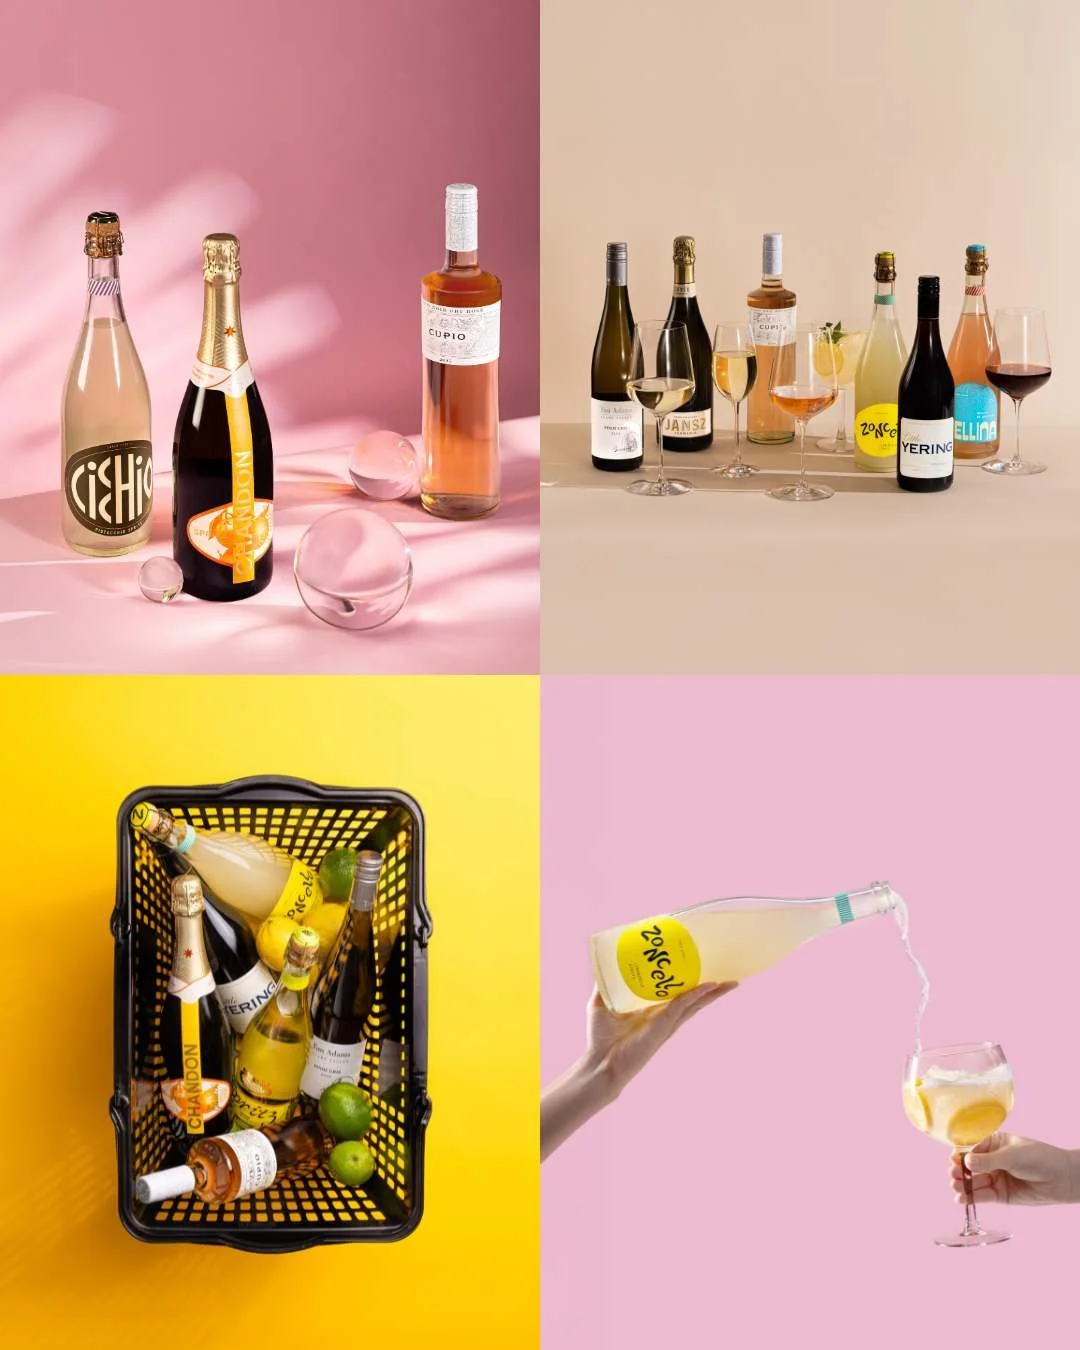
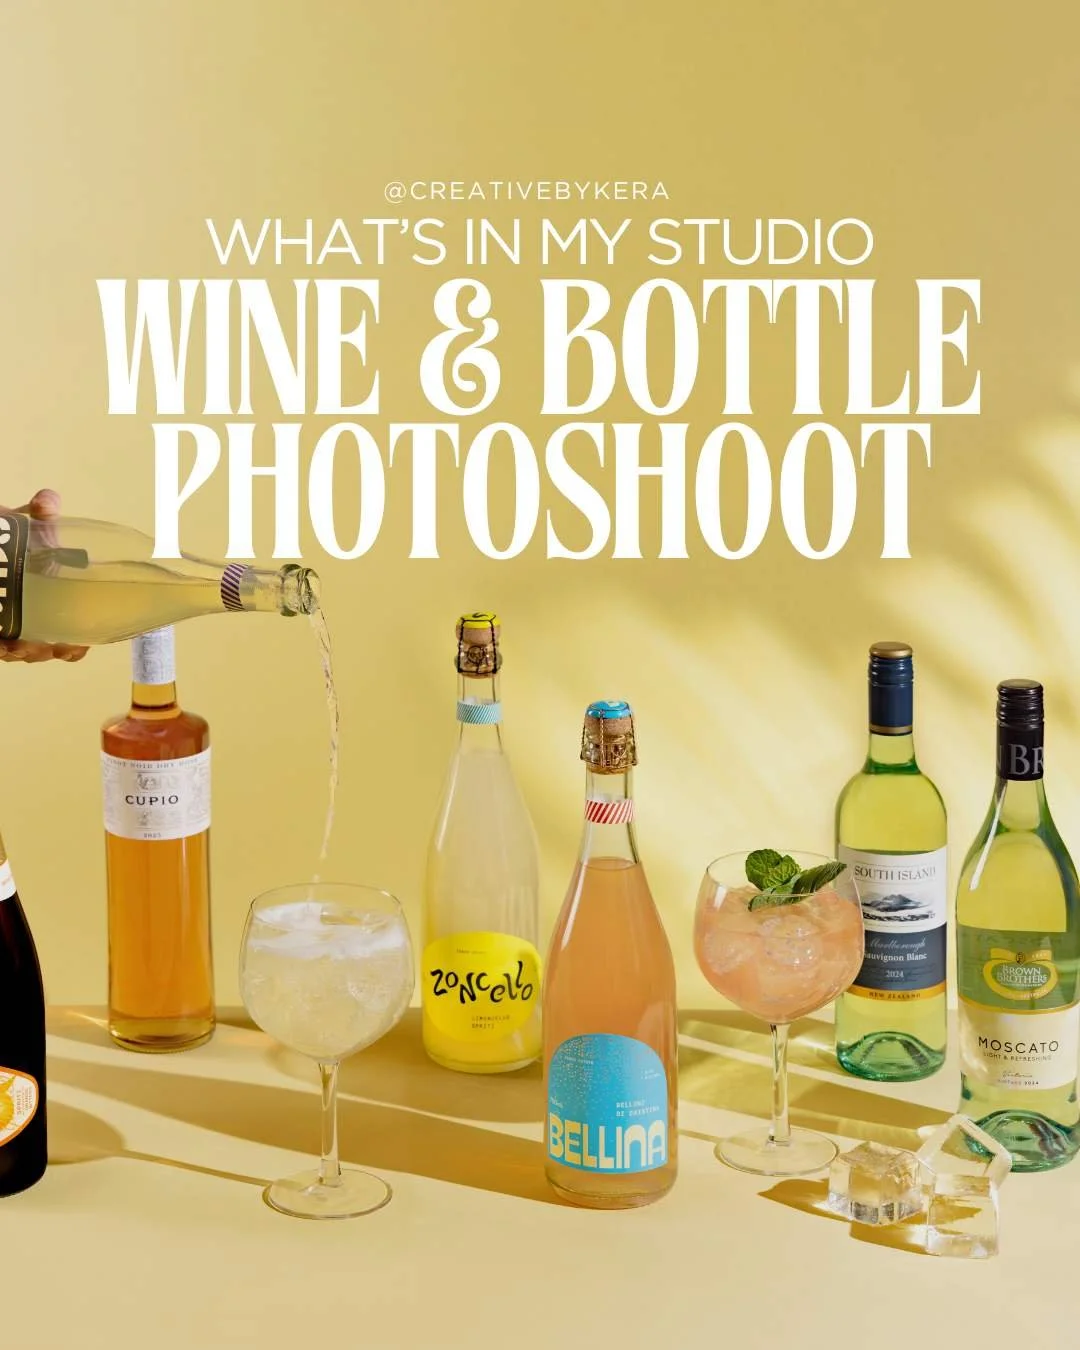
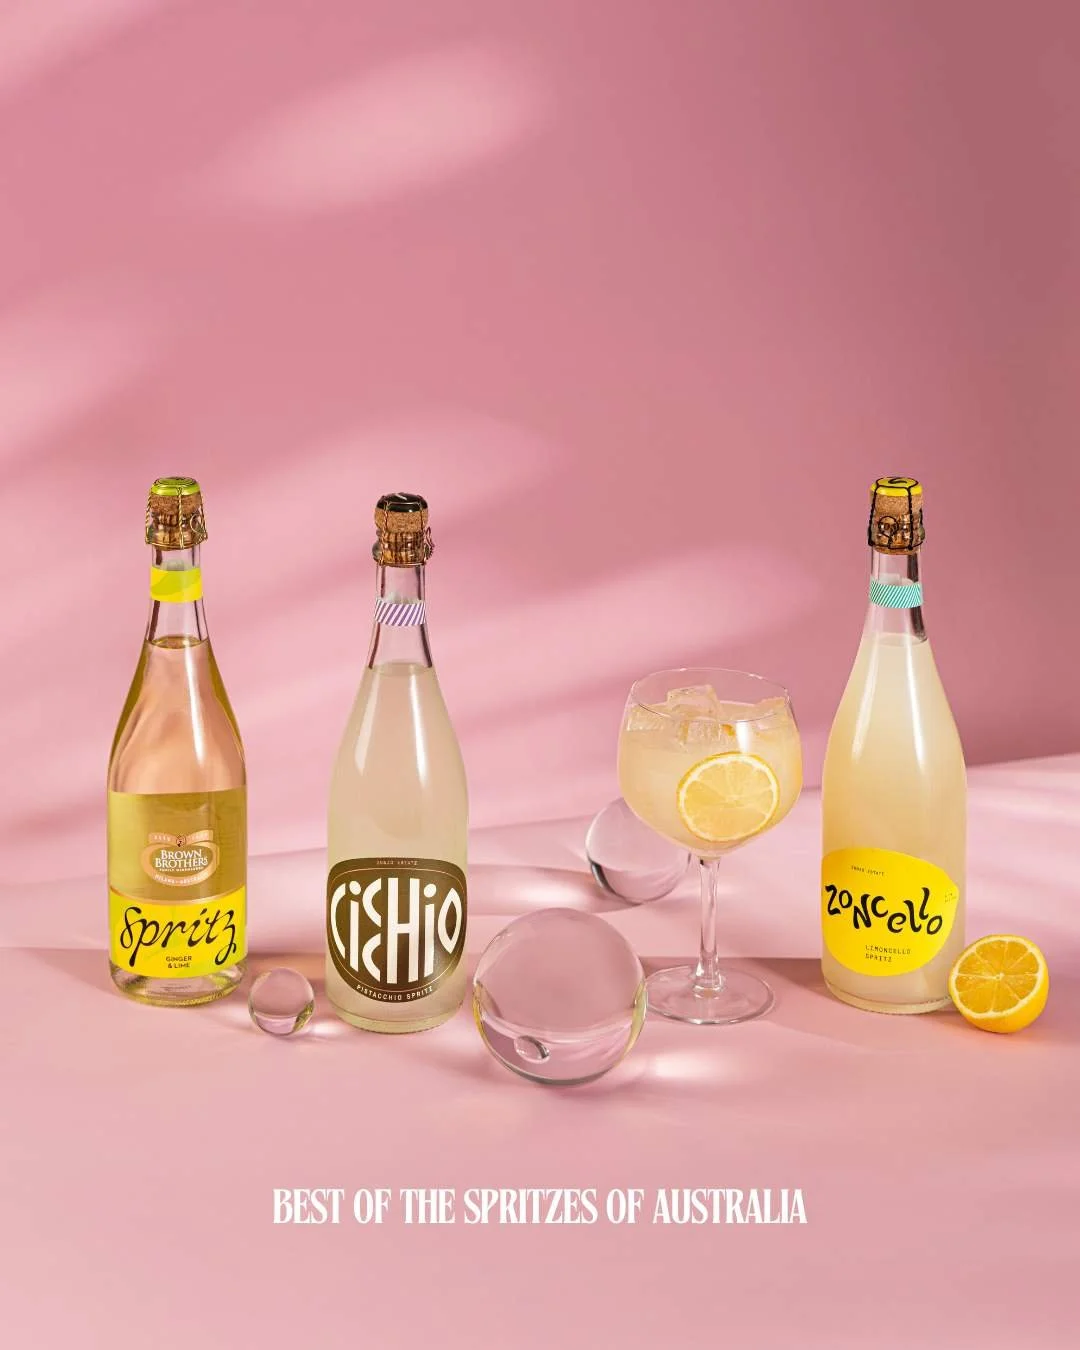
What’s In My Studio? Wine & Bottle Photoshoot
Mastering the Light: A Detailed Look at Our Studio Setup
We recently tackled a studio project that required meticulous control over light, shadows, and mood to beautifully showcase a collection of wine bottles. Achieving this clean, sophisticated look relied on a multi-layered lighting strategy using a range of Nanlite lighting fixtures and key light modifiers. Here is a breakdown of the complex, yet highly effective, setup we used.
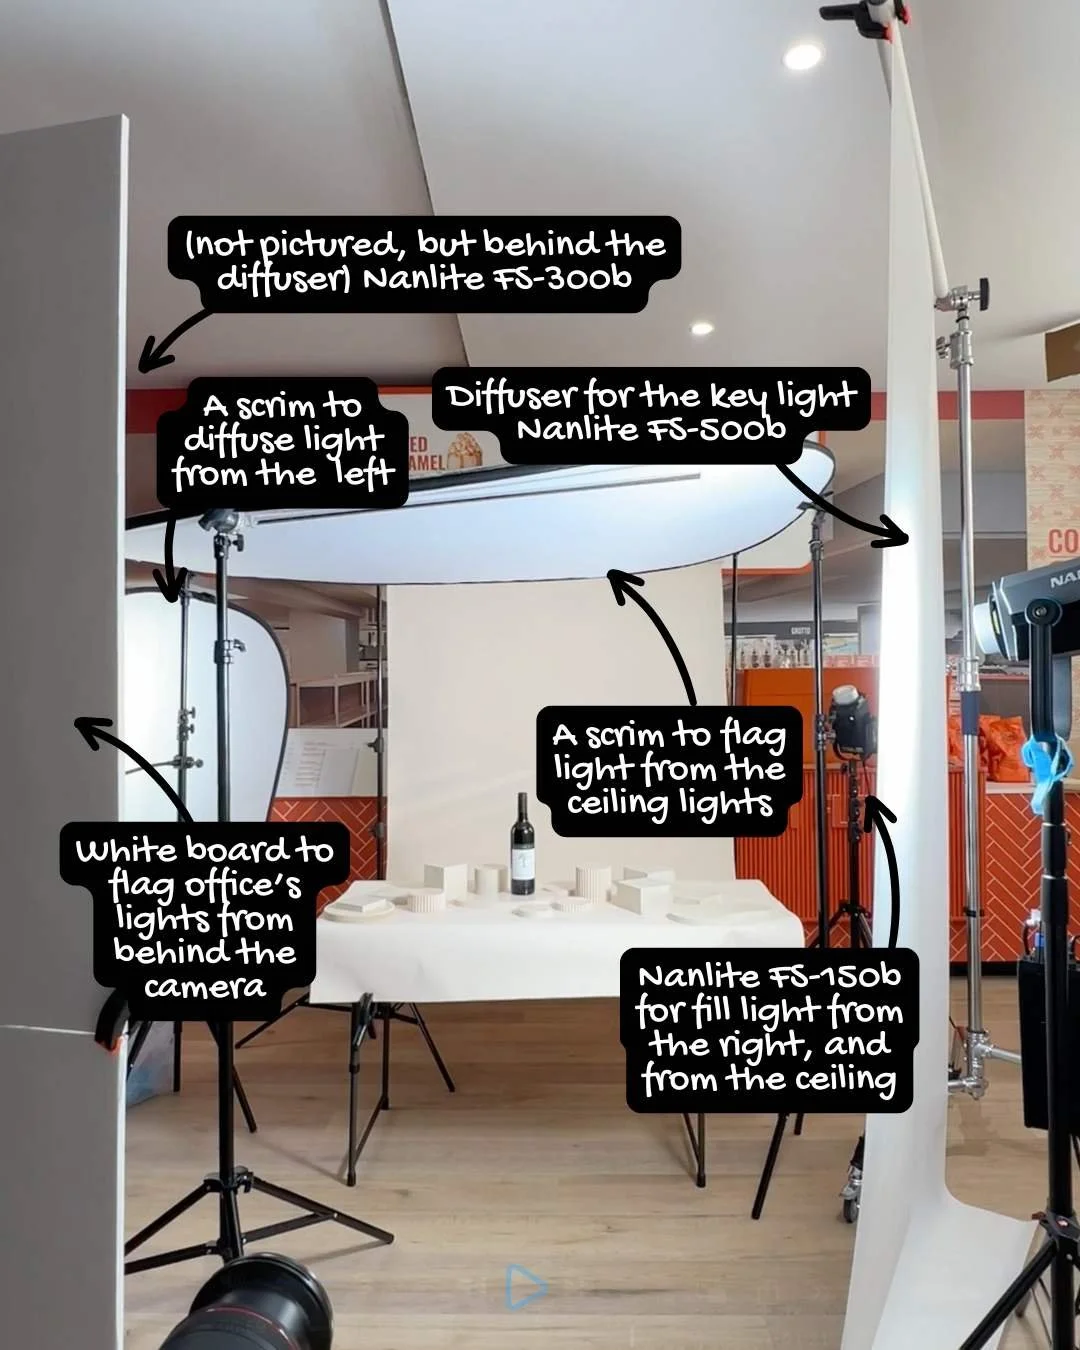
(Lighting Setup Overview):
(not pictured, but behind the diffuser) Nanlite FS-300B
A scrim to diffuse light from the left
Diffuser for the key light - Nanlite FS-500B
A scrim to flag light from the ceiling lights
White board to flag office’s lights from behind the camera
Nanlite FS-150B for fill light from the right, and from the ceiling
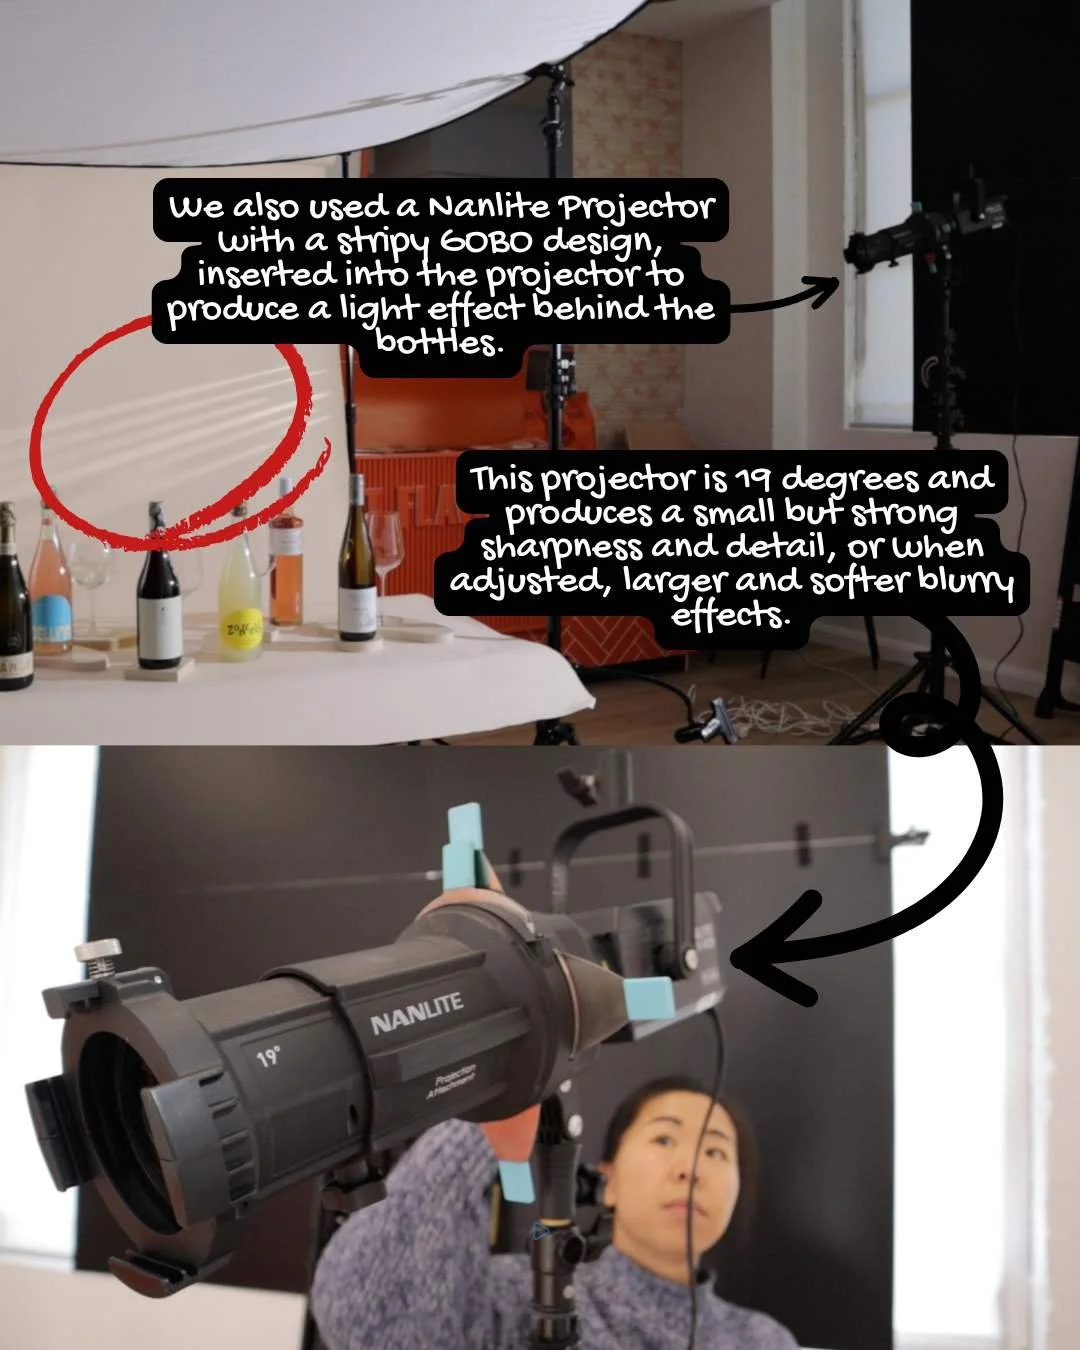
(Projector/GOBO Detail):
We also used a Nanlite Projector with a stripy GOBO design, inserted into the projector to produce a light effect behind the bottles.
This projector is 19 degrees and produces a small but strong sharpness and detail, or when adjusted, larger and softer blurry effects.
The Foundation: Key and Fill Lights
Our primary light source, or key light, was provided by a powerful Nanlite FS-500B, positioned to the right of the subject (from the camera's perspective). To soften this intense light, we shot it through a massive diffuser, ensuring the bottles were bathed in a flattering, even illumination that highlighted their curves without harsh specular highlights. For our fill light on the right side, we utilized a Nanlite FS-150B. This light served a dual purpose, providing gentle fill from the side while also being strategically aimed toward the ceiling to bounce and create a subtle overhead glow. Furthermore, an unseen Nanlite FS-300B was placed behind the main diffuser, likely acting as a dedicated background or subtle accent light to lift the overall scene.
Shaping the Light and Controlling Reflections
Controlling ambient light and unwanted reflections is crucial in studio photography. We employed several scrims and flags to precisely sculpt the light path. A scrim was placed to the left to diffuse light entering the scene from that side, further ensuring a soft transition across the bottles. Another scrim was carefully positioned to flag (block) any harsh light spilling down from the main studio or office ceiling lights. Finally, a large white board was strategically placed to flag off any distracting lights coming from behind the camera position, ensuring only the intended light shaped the final image.
The Creative Detail: Adding Depth with GOBO Projection
To elevate the visual interest and add depth to the background, we introduced a creative element: a Nanlite Projector. Inserted into the projector was a stripy GOBO (Goes Between Optics), which allowed us to project a distinct, controlled pattern of light directly behind the bottles. This projector, equipped with a 19-degree lens, is incredibly versatile. It was used to produce a focused, small but strong light effect, emphasising sharpness and detail in the background. By adjusting the lens, the same unit could be transformed to create larger, softer, and more blurry effects, demonstrating how a single accessory can dramatically change the mood and complexity of a shot.

Mastering GOBOs and Projection in Studio Photography
While a solid key and fill light setup provides the necessary foundation, it’s the subtle, creative details that truly make a photograph stand out. In our recent product shoot, this extra layer of complexity was provided by the sophisticated use of a Nanlite Projector and a GOBO (Goes Between Optics).
What is a GOBO and Why Use a Projector?
A GOBO is essentially a stencil or disc placed inside a light fixture. In this case, a dedicated projector that blocks certain parts of the light beam to cast a specific shape or pattern. For product photography, especially with bottles or glass, the background often needs a dynamic element to prevent the image from looking flat or sterile.
Instead of relying on digital overlays or physical backgrounds, we used a Nanlite Projector loaded with a "stripy" GOBO design. This produced a beautiful, controlled pattern of light and shadow directly behind our wine bottles. This technique is superior because:
It’s Real: The lighting interaction is physically real, meaning the light falls off and interacts with the scene authentically, adding depth that is hard to replicate digitally.
Total Control: Unlike bouncing a light off a patterned wall, a projector gives you absolute control over the pattern’s size, sharpness, and placement.
Precision and Versatility: The 19-Degree Lens
The specific model we used was equipped with a 19-degree lens. This is a critical detail. Lenses on light projectors, much like camera lenses, determine the spread and intensity of the beam:
Narrow Lenses (like 19°): These produce a highly focused, concentrated beam of light. This is ideal when you need to project a small but incredibly sharp and detailed pattern. In our shoot, we leveraged this to create clean, crisp stripes of light that provided a modern, architectural feel behind the subject.
Wider Lenses: These would spread the light more broadly, reducing intensity and sharpness.
Crucially, the beauty of these projectors is the built-in focusing mechanism. Even with the narrow 19-degree lens, we had the flexibility to manipulate the effect:
Focusing the Lens: By precisely focusing the lens, we achieved that powerful sharpness and detail that made the projected stripes pop.
Defocusing the Lens: By deliberately throwing the lens out of focus, the resulting light effect became larger, softer, and blurrier. This transformed the geometric stripes into abstract, diffused streaks of light, offering a completely different mood without changing the GOBO itself.
This single tool allowed us to create a complex, layered background that subtly directs the viewer's eye back toward the product, proving that often, the most detailed and impactful elements in a photo come from the most precise control over light.
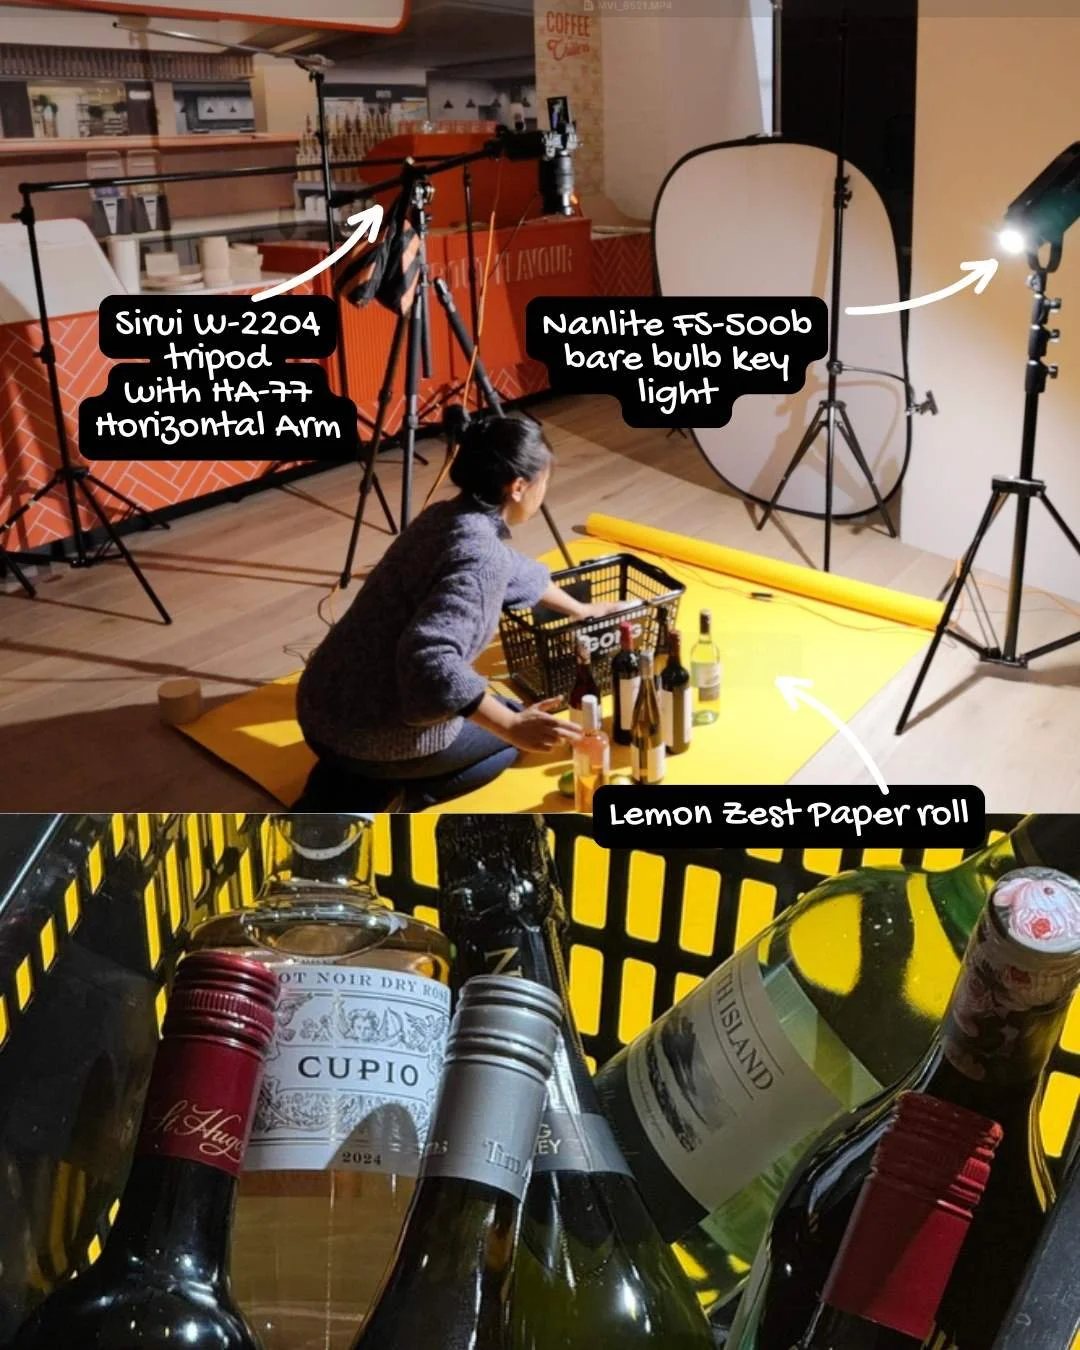
Sirui W-2204 Tripod with HA-77 Horizontal Arm
Nanlite FS-500B bare bulb key light
Lemon Zest Paper roll
Creating Impactful Product Shots with Minimal Gear
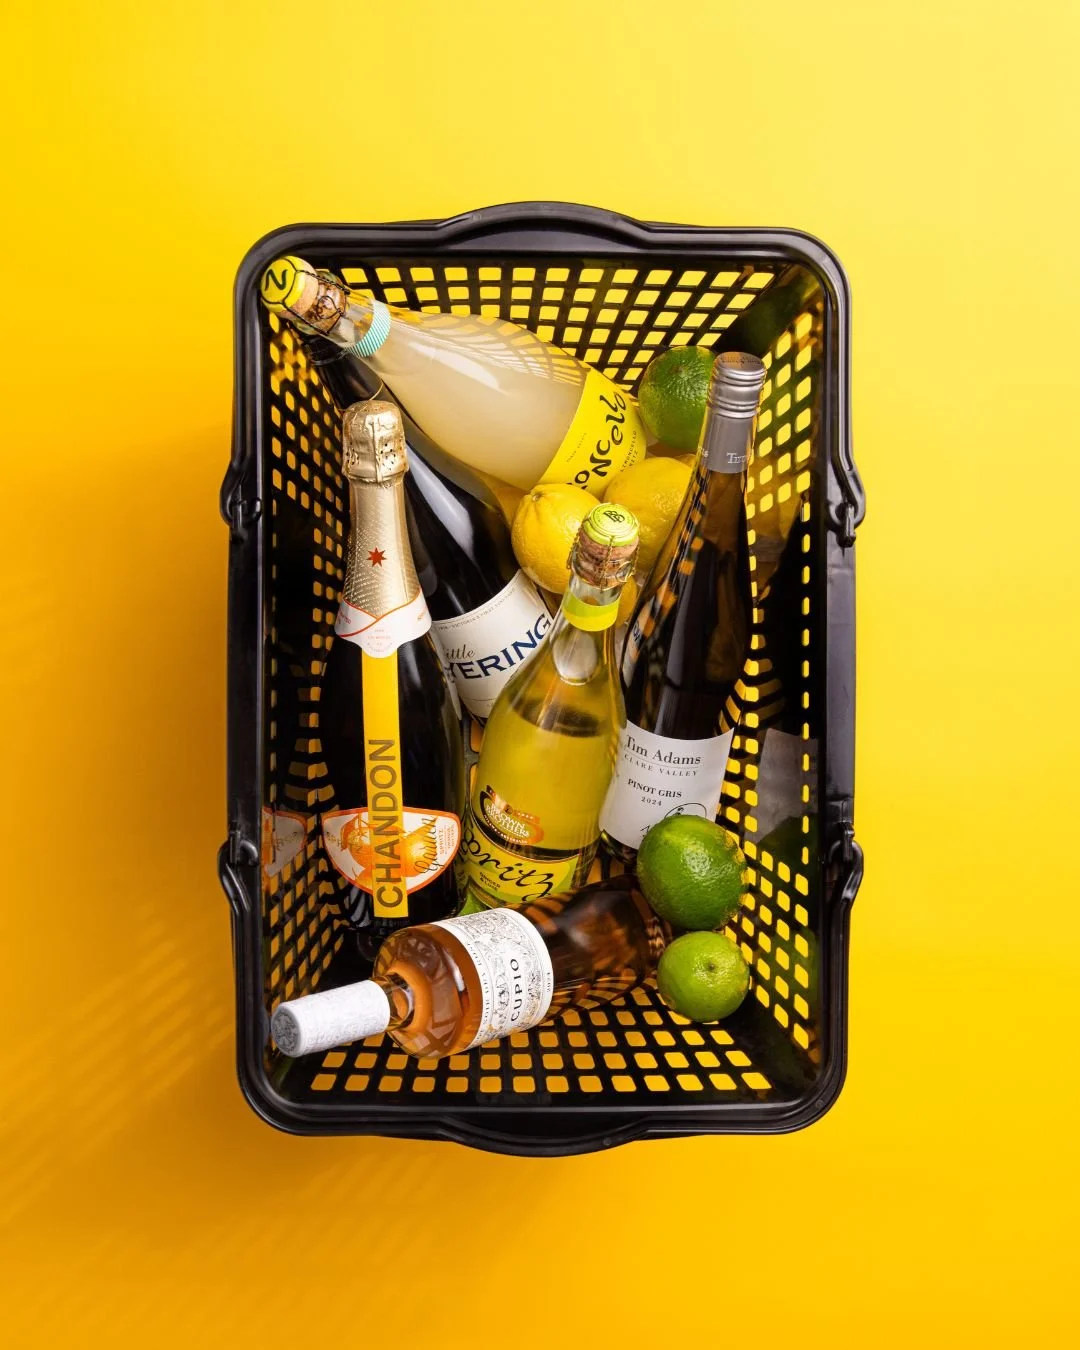
Sometimes the most engaging product photography is achieved not with many different types of gear. The image above shows a great example of a portable and efficient setup designed to create a vibrant, high-impact product shot featuring a collection of bottles within a basket. This setup prioritises simplicity, colour, and strategic light placement.
The Power of Simple, Bold Colour
The foundation of this shot is the Lemon Zest Paper roll laid on the floor. Choosing such a vivid, saturated colour for the background immediately injects energy and modernity into the scene. This "lemon zest" yellow hue acts as a huge, reflective surface, bouncing warm, sunny light back up into the subjects. This eliminates the need for complex floor fill lighting and gives the bottles a lively, energetic base colour that complements the liquids and labels. By utilising a simple paper roll, the setup remains flexible and portable, perfect for location shooting outside of a traditional studio space.
Stripped Down Lighting: The Bare Bulb Key Light
For the main illumination, or key light, we are seeing a conscious choice to use a Nanlite FS-500B as a bare bulb key light. In contrast to using a large softbox or diffuser (as is often required for reflective products like glass), using the bare bulb creates a hard, high-contrast light.
This approach generates intentional, deep shadows and bright, sharp highlights (specular reflections) on the glass and liquid. While often avoided, this dramatic, punchy look is perfect for edgy commercial work, giving the bottles a strong, defined form. The intensity of the FS-500B ensures that even when bouncing off the bright yellow floor, the light source maintains a strong presence and directionality, highlighting the texture of the basket and the rich colors of the bottles within.
Achieving Flexible Angles with Specialized Gear
The choice of camera support speaks directly to the need for flexibility and low-angle shooting in product photography. The photographer is using a Sirui W-2204 Tripod paired with the HA-77 Horizontal Arm. This configuration is essential because it allows the camera to be positioned:
Directly over the subject (for a flatlay or top-down view).
Extended out and down (for a low-angle shot without the tripod legs being visible in the frame).
In this specific setup, we are working very close to the subject on the ground, likely aiming for a tight, immersive shot inside the basket. The HA-77 arm is critical for achieving this aggressive angle while maintaining stability, allowing us to frame the shot without needing to set the camera directly on the floor.